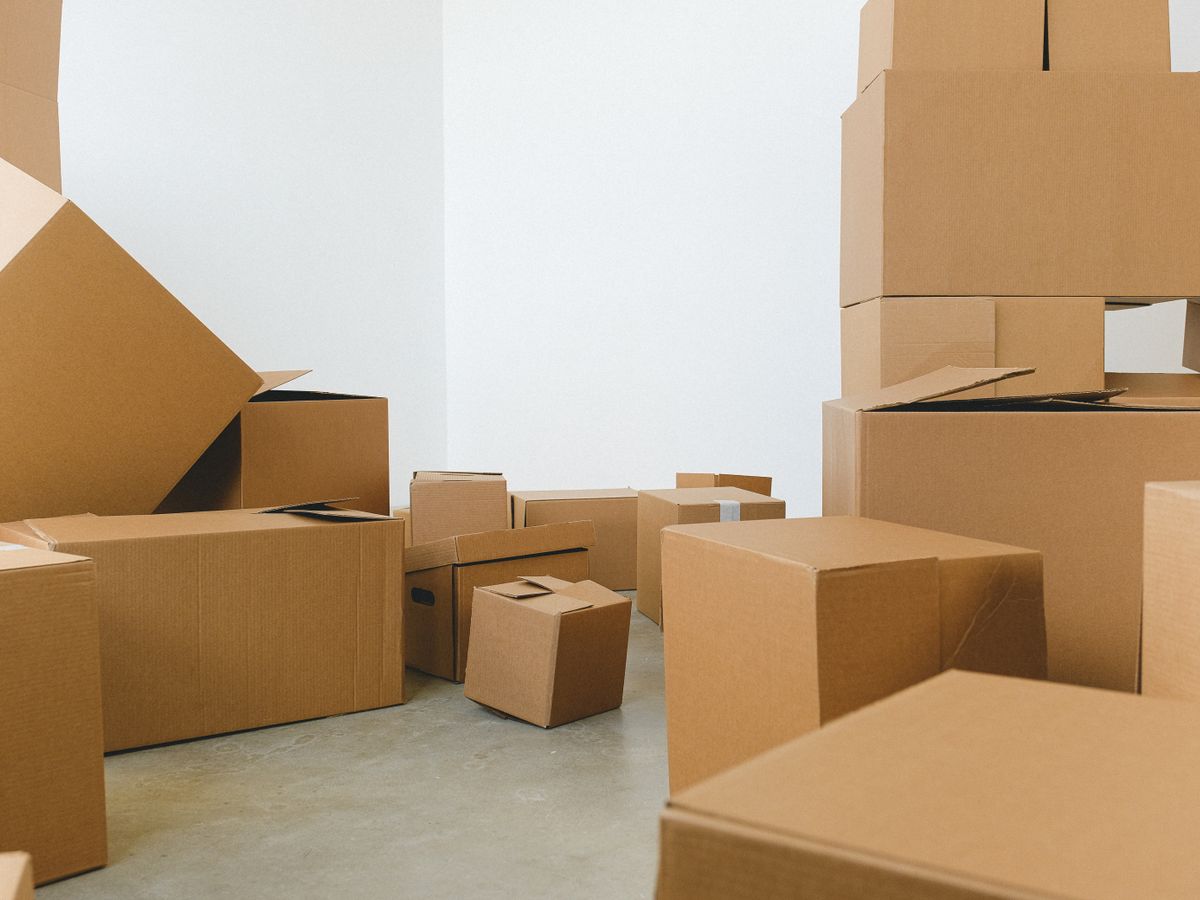
The movers just pulled away, the door clicks shut, and you are standing in the middle of a room stacked with boxes, holding a single roll of paper towels and no idea where the scissors are. The first night in a new rental is equal parts exciting and overwhelming, and what you do in the next two days sets the tone for everything after.
The first 48 hours are not about unpacking everything. They are about making the place safe, functional, and livable, so you can sleep well and tackle the rest without panic. Here is exactly what to prioritize.
Why the first 48 hours matter so much
Those opening two days are when you protect your deposit, confirm everything works, and set up the systems that make daily life run. Miss them and small problems, a leaky faucet, a missing smoke detector battery, quietly become your responsibility.
There is also a legal angle. Many leases give you a short window to report pre-existing issues, and once it closes, the burden shifts to you. Acting fast in the first 48 hours keeps that window firmly on your side.
Front-loading a few key tasks also removes stress. When your bed is made and the bathroom is stocked, the mountain of boxes stops feeling like an emergency and starts feeling like a weekend project.
Think of the first 48 hours as triage, not a marathon. You are not trying to finish; you are trying to stabilize. That mindset shift alone keeps move-in exhaustion from turning into a week of chaos.
Hour 0 to 6: document and inspect
Before a single box is unpacked, walk the empty unit with your phone and photograph everything. Every scuff, stain, cracked tile, and worn spot goes on the record now, while it is unmistakably not your doing.
This step is your single best deposit protection, and it takes about 30 minutes. Our full guide on how to document your rental condition covers the exact shots to capture and how to store them.
Shoot wide shots of each room plus close-ups of any existing damage, and make sure your phone stamps the date. Email the photos to yourself or upload them to the cloud so they are timestamped somewhere you cannot accidentally delete them.
Test what you cannot see
Flip every light switch, run every faucet, flush toilets, and check that the stove, fridge, and outlets work. Note anything broken and email your landlord the same day so it is timestamped and on them, not you.
Do not forget the less obvious items: test the smoke detectors, run the heat and the air conditioning for a minute each, and check that windows lock. A five-minute walkthrough now beats discovering a broken lock at midnight.
Hour 6 to 24: safety and the essentials box
Safety comes before comfort. Confirm smoke and carbon monoxide detectors have working batteries, locate the electrical panel and water shutoff, and change or re-key the locks if your lease allows it (ask first).
Knowing where the water shutoff and breaker box are can save you hundreds if a pipe bursts or an outlet trips at 2 a.m. Snap a photo of the breaker labels too, so you are not fumbling in the dark later.
Then unpack your essentials box, the one you hopefully packed last and labeled clearly. If you did not, here is what it should contain.
Keep this box with you rather than burying it in the truck, so you are never digging through twenty cartons for a phone charger at bedtime. Living out of one well-stocked box for two days is completely doable and surprisingly calming.
- Bathroom: toilet paper, hand soap, a towel, toothbrush, and any daily medication.
- Bedroom: sheets, a pillow, and a phone charger so night one is restful.
- Kitchen: a mug, a plate, utensils, dish soap, and a sponge.
- Tools: scissors, a box cutter, a flashlight, and a basic screwdriver.
- Cleaning: paper towels, all-purpose spray, and trash bags.

Hour 24 to 48: utilities, address, and systems
With safety handled, turn to the invisible infrastructure. Confirm electricity, gas, water, and internet are in your name and active; a cold shower on day two is a preventable surprise.
File your change of address so mail follows you. The USPS official change-of-address service takes about ten minutes online and forwards mail for months while you update accounts.
While you are at it, update the address on your bank, employer, and any subscriptions in a single sitting. Batching these boring tasks in one focused hour on day two keeps them from dribbling into weeks of forgotten mail.
Get online first
Internet often has the longest lead time, so if you did not schedule installation before move-in, call on day one. In the meantime, a phone hotspot covers the essentials, but do not assume a technician can come same-day.
Also locate your mailbox and figure out how packages are received in the building. Knowing whether deliveries sit in a lobby, a locker, or at your door prevents lost parcels during the flurry of move-in orders.
Set up the daily-life anchors
Pick and set up three anchor zones: where you sleep, where you make coffee, and where you drop keys and bags by the door. Nail those and the apartment functions even while the rest stays boxed.
These anchors give your brain a sense of order in the middle of the mess. A made bed and a working coffee station on morning two do more for your morale than any amount of frantic unpacking the night before.
What can absolutely wait
Just as important as the to-do list is the not-yet list. Hanging art, organizing closets perfectly, and decorating can all wait until week two, and trying to do them now only scatters your energy.
Deep cleaning beyond the essentials can wait too. A quick wipe of the surfaces you will touch is plenty for now; a full scrub of the oven or baseboards is a week-two job when you have more energy and fewer boxes.
Resist the urge to buy furniture in a panic, too. Live in the space for a few days first; you will make smarter choices about what you actually need. Our list of first apartment essentials and what can wait is a helpful gut check before you spend.
A calm plan for the days after
Once the first 48 hours are behind you, the pressure drops and you can unpack at a human pace. A simple room-by-room rhythm beats frantic all-nighters every time.
Set one small goal per day, like finishing the kitchen or the bedroom closet, and stop when it is done. Steady, bounded progress prevents the burnout that comes from staring at a half-finished apartment for weeks.
For a structured approach to the rest, our unpacking strategy to settle into a new rental in three days maps out what to open and when, so the momentum you built does not stall.
A note on leases and deposits
Before you change locks, drill anything, or alter the unit, reread the relevant lease clauses. Rules on locks, alterations, and deposit conditions vary by state, city, and lease, so check your agreement and local tenant resources rather than assuming.
If anything is unclear, a short, friendly email to your landlord asking permission, and keeping their reply, protects you far better than a verbal yes. Documentation in these first days is cheap insurance for the whole tenancy.
Keep a running note on your phone of anything you spot that needs the landlord, a shop, or a follow-up call. Capturing it in the moment means nothing slips through the cracks once normal life resumes.
Your next step: tonight, do just the first 6-hour block, photograph the unit and test the utilities. Everything else can wait until tomorrow, and you will sleep far better knowing the record is set and the water runs hot.

Luiza Ferraz writes about making rental spaces feel like home. Based in Minneapolis, Minnesota, she shares practical, damage-free upgrades, smart organization hacks, and proven ways to protect your security deposit. Her goal is to help renters create beautiful homes without ever picking up a drill.