Every renter knows the sound: the soft thud of a “damage-free” hook hitting the floor at 2 a.m., taking your favorite print down with it. You wake up, heart pounding, convinced the whole gallery wall has collapsed. Sometimes it has. The good news is that learning to hang pictures without drilling is less about luck and more about matching the right method to the right wall and weight.
After years of moving between apartments in Minneapolis, I have tested nearly every no-hole option on the market. Some are brilliant. Some quietly peel the paint off the moment you remove them. This guide walks through seven renter-safe ways to hang pictures without drilling, with real weight limits, price ranges, and the small habits that keep your art on the wall and your security deposit intact. Every method here lets you hang pictures without drilling and remove it cleanly later.
Why drilling is a renter’s worst enemy
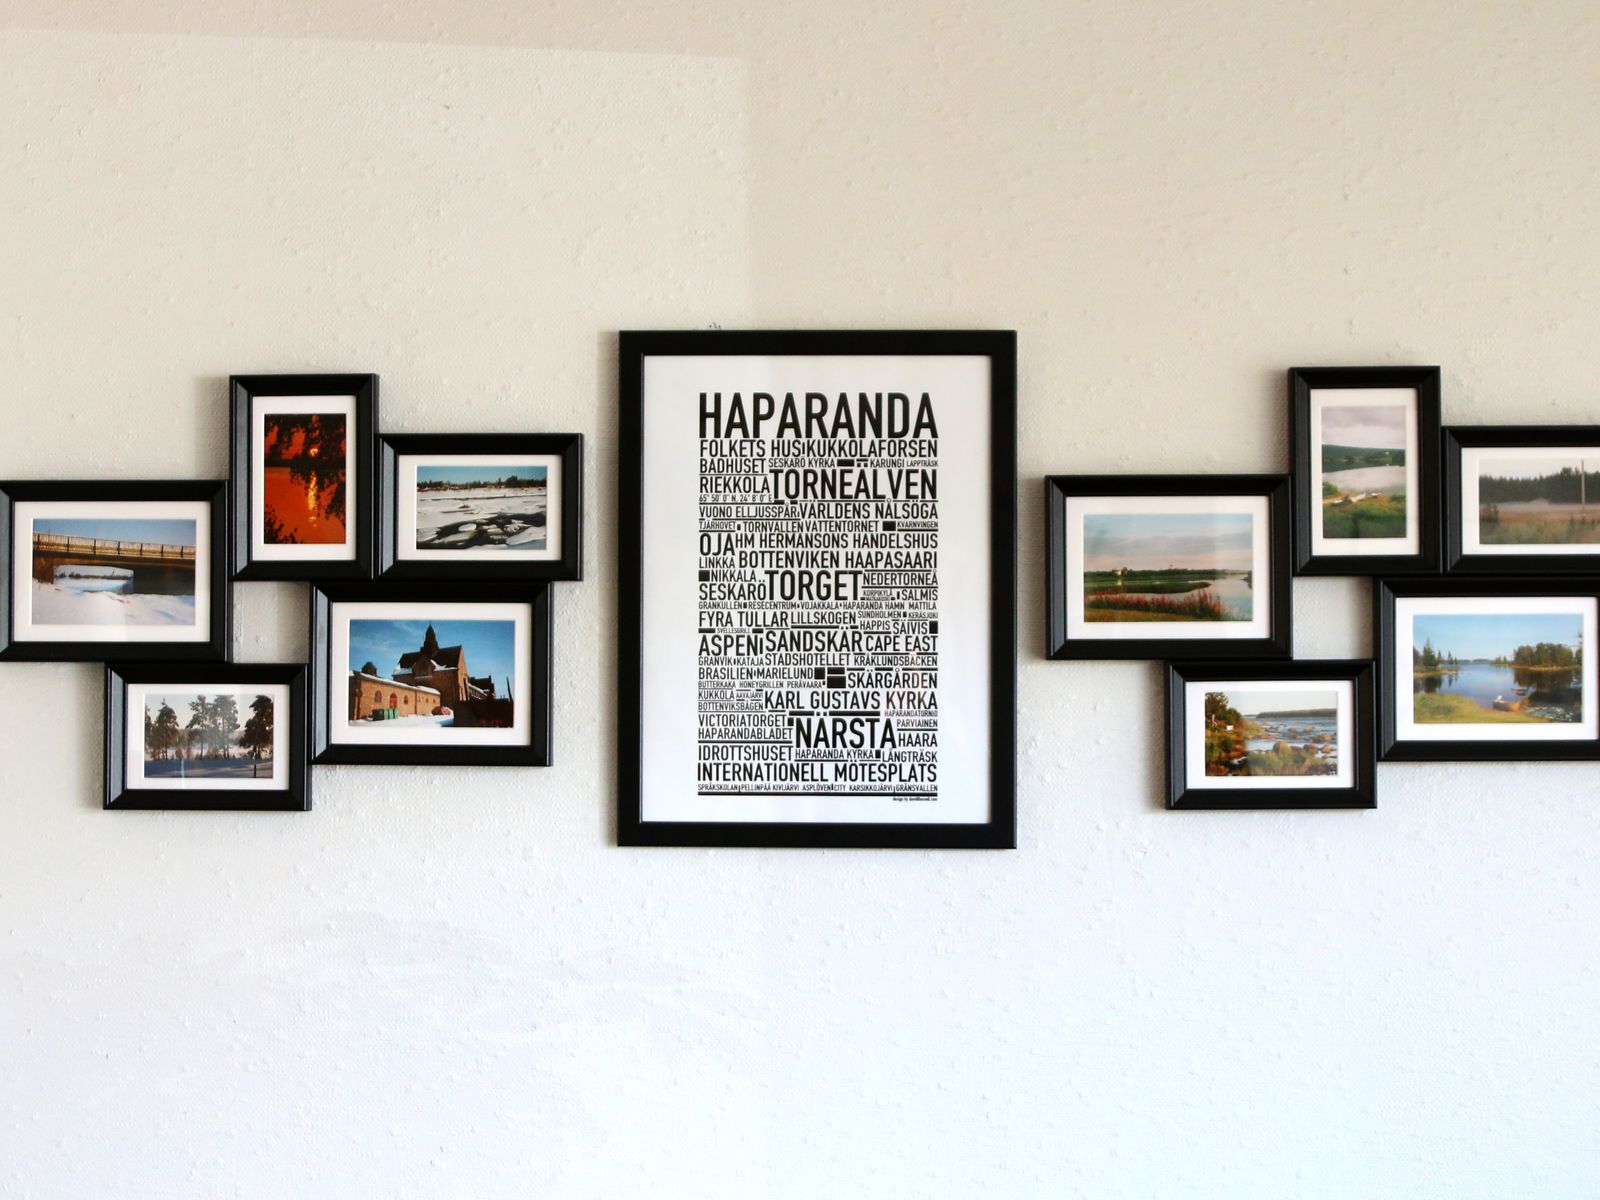
When you commit to hang pictures without drilling you dodge this trap. A single anchor hole seems harmless until move-out day, when a landlord tallies up a dozen of them across the apartment. Patching, sanding, and repainting a wall can eat a real chunk of your deposit, and not every lease treats nail holes as normal wear and tear.
What counts as acceptable damage varies by state, city, and the exact wording of your lease, so it is always worth reading your agreement and checking local tenant resources before you assume small holes are fine. When you hang pictures without drilling, you sidestep that gray area entirely and keep the wall in the condition you received it.
Know your wall and your weight first
Before you pick a way to hang pictures without drilling, you need two numbers: how much your framed piece weighs and what kind of surface you are working with. Weigh the frame on a kitchen scale, glass and all. A small 8×10 print runs about half a pound, while a large framed poster with glass can hit five to ten pounds.
Then check your wall. Smooth painted drywall is the friendliest surface for adhesive products. Textured walls, brick, tile, and glossy or freshly painted surfaces are trickier and often need a different approach. Matching the method to both numbers is the single biggest predictor of whether your art stays up.
Method 1: Adhesive strips for lightweight frames
Hook-and-loop adhesive strips are the classic way to hang pictures without drilling, and for good reason. Most standard picture-hanging strip sets hold up to about 16 pounds when you use enough pairs, but individual small strips top out closer to one to four pounds each. Always follow the package weight rating and add a pair or two of strips for margin.
The trick renters miss: wipe the wall with rubbing alcohol first, not household cleaner, which leaves a residue that ruins adhesion. Press each strip for 30 seconds, then wait a full hour before hanging the frame. A single set costs roughly $5 to $12.
Method 2: Adhesive hooks for medium art
Adhesive wall hooks handle frames with a wire or sawtooth hanger and come in ratings from one pound up to about seven or eight pounds for the heavy-duty versions. They are ideal for a single medium frame where strips feel too fiddly.
Give the adhesive a full 24 hours to cure before you hang anything heavy; patience is the secret to hanging pictures without drilling that actually lasts. Rushing this step is the number one reason hooks fail overnight. Expect to pay $6 to $15 for a multipack.
Method 3: Picture rail and leaning displays
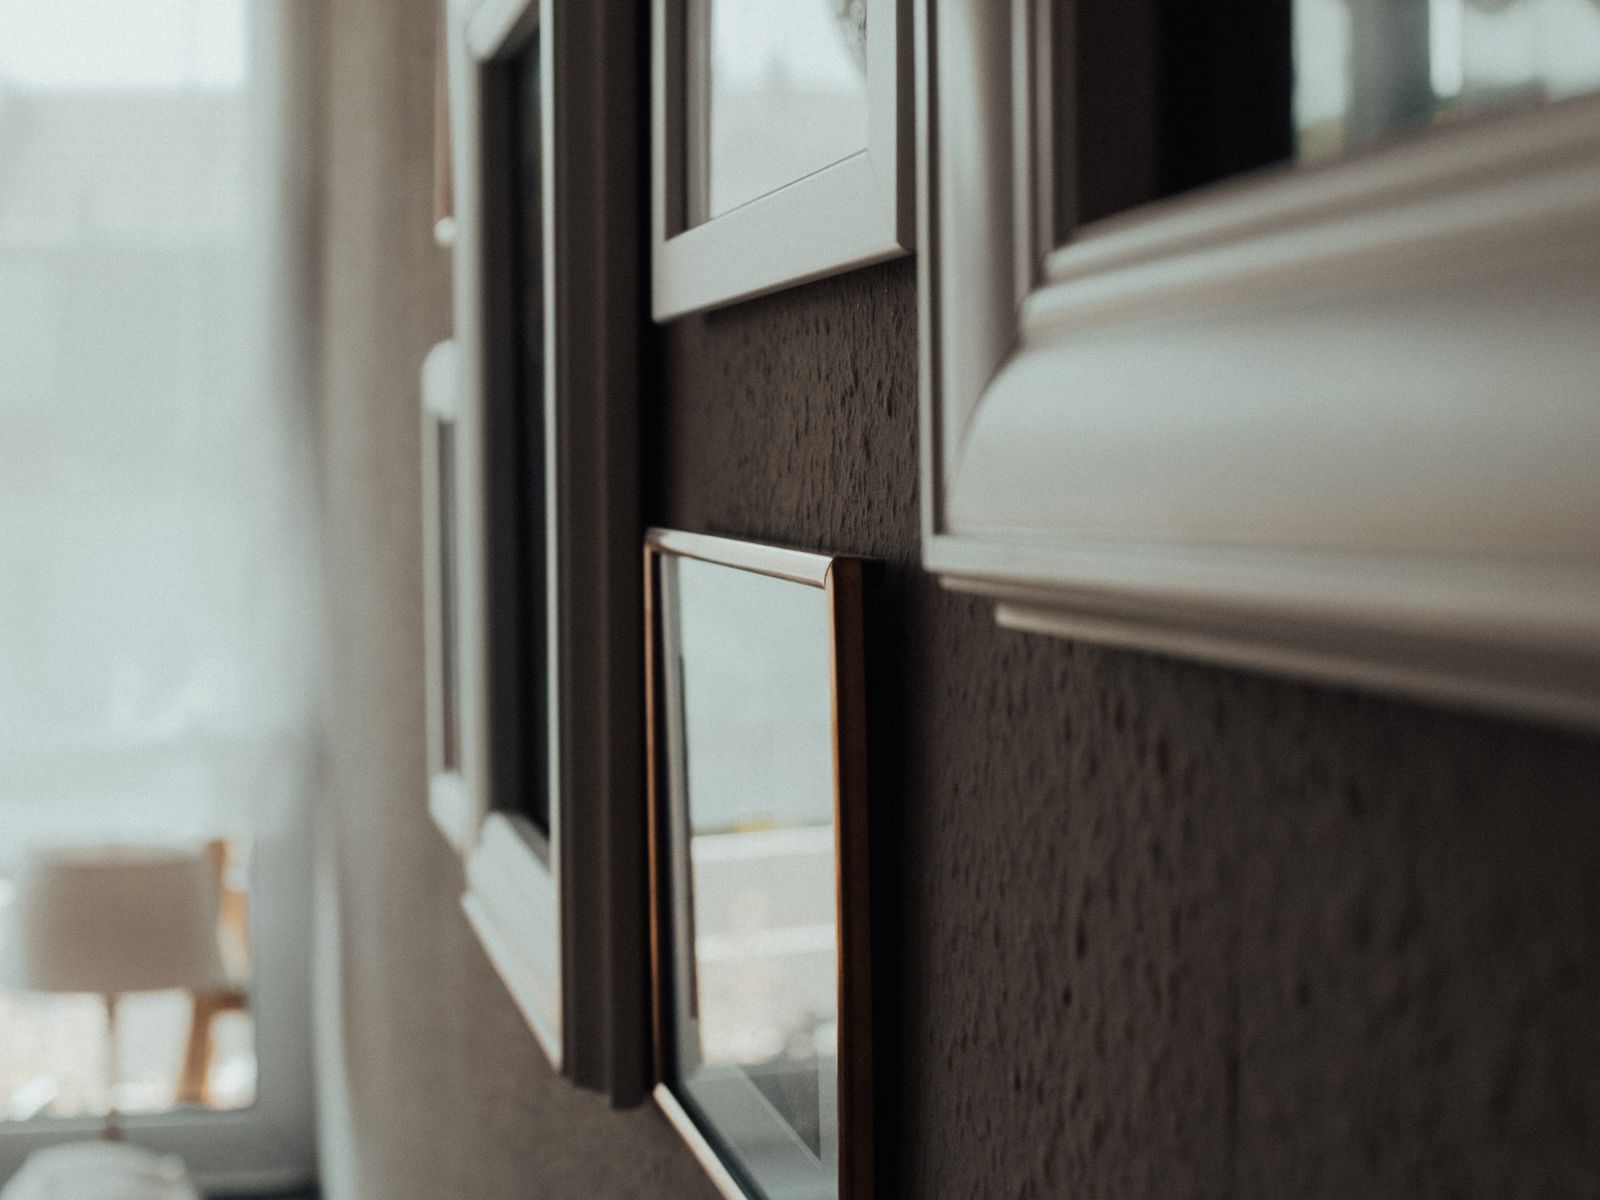
Some older rentals still have a picture rail molding near the ceiling, letting you hang pictures without drilling and without adhesive. If yours does, you can hang art from cords or hooks with zero wall contact, which is the gentlest option of all.
No rail? Lean it instead. A row of frames propped on a floating shelf, a mantel, or the floor along a wall creates a relaxed gallery look and can be rearranged in seconds. This is my favorite trick for large, heavy pieces that no adhesive would trust.
Method 4: Tips that keep everything on the wall
Once you know the methods, a few habits separate a stable gallery wall from a slow-motion disaster. These are the details that took me several fallen frames to learn.
- Clean every surface with rubbing alcohol and let it dry fully before applying any adhesive.
- Distribute weight across multiple strips or hooks rather than trusting a single point.
- Wait the full cure time on the package, even when you are impatient, usually one hour to 24 hours.
- Use small dabs of removable museum putty on the bottom corners of frames to stop tilting.
- Remove strips slowly by pulling the tab straight down along the wall, never yanking outward.
Method 5: Removing everything cleanly at move-out
The whole point of hanging pictures without drilling is a clean exit. When it is time to move, pull adhesive strip tabs slowly and straight down; they stretch and release without lifting paint. For stubborn hooks, warm the adhesive gently with a hair dryer for a few seconds to soften it.
If a little residue remains, a dab of rubbing alcohol on a cloth usually lifts it. Document the walls with photos afterward so you have proof the surface came through clean, which can matter if there is ever a dispute over your deposit.
Matching method to weight: a quick recap
For anything under a pound, a single adhesive strip or small hook is plenty. In the one-to-five-pound range, use paired picture-hanging strips or a rated adhesive hook. Above five pounds, lean the piece, use a picture rail, or rest it on a shelf rather than trusting adhesive alone.
When in doubt, size up. A strip set rated for more weight than your frame will hold longer and cost only a dollar or two more. For manufacturer weight ratings and surface guidance, the product packaging and sites like 3M Command’s official resources are worth a quick look before you commit.
Conclusion: your walls, your deposit, your art
Choosing to hang pictures without drilling is not a compromise; done right, it is genuinely more flexible than nails. You can rearrange a whole wall in an afternoon and leave no trace behind.
Your next step: weigh your three favorite frames tonight, then buy one pack of strips rated well above the heaviest. Start with a single test frame, wait the full cure time, and build your gallery from there.
What about brick, tile, and textured walls?
Not every rental gives you smooth drywall. Exposed brick, bathroom tile, and heavily textured walls all reject standard adhesive strips because the surface contact is uneven. For brick, look for specialty brick clips that hook onto the mortar lines without any adhesive or holes at all.
On tile and glass, transparent adhesive hooks rated for smooth surfaces work surprisingly well, but keep the weight low and test one first. For textured walls, a tension-mounted shelf or a leaning arrangement will always beat fighting with adhesive that cannot grip the peaks and valleys of the surface.
Planning a gallery wall without a single hole
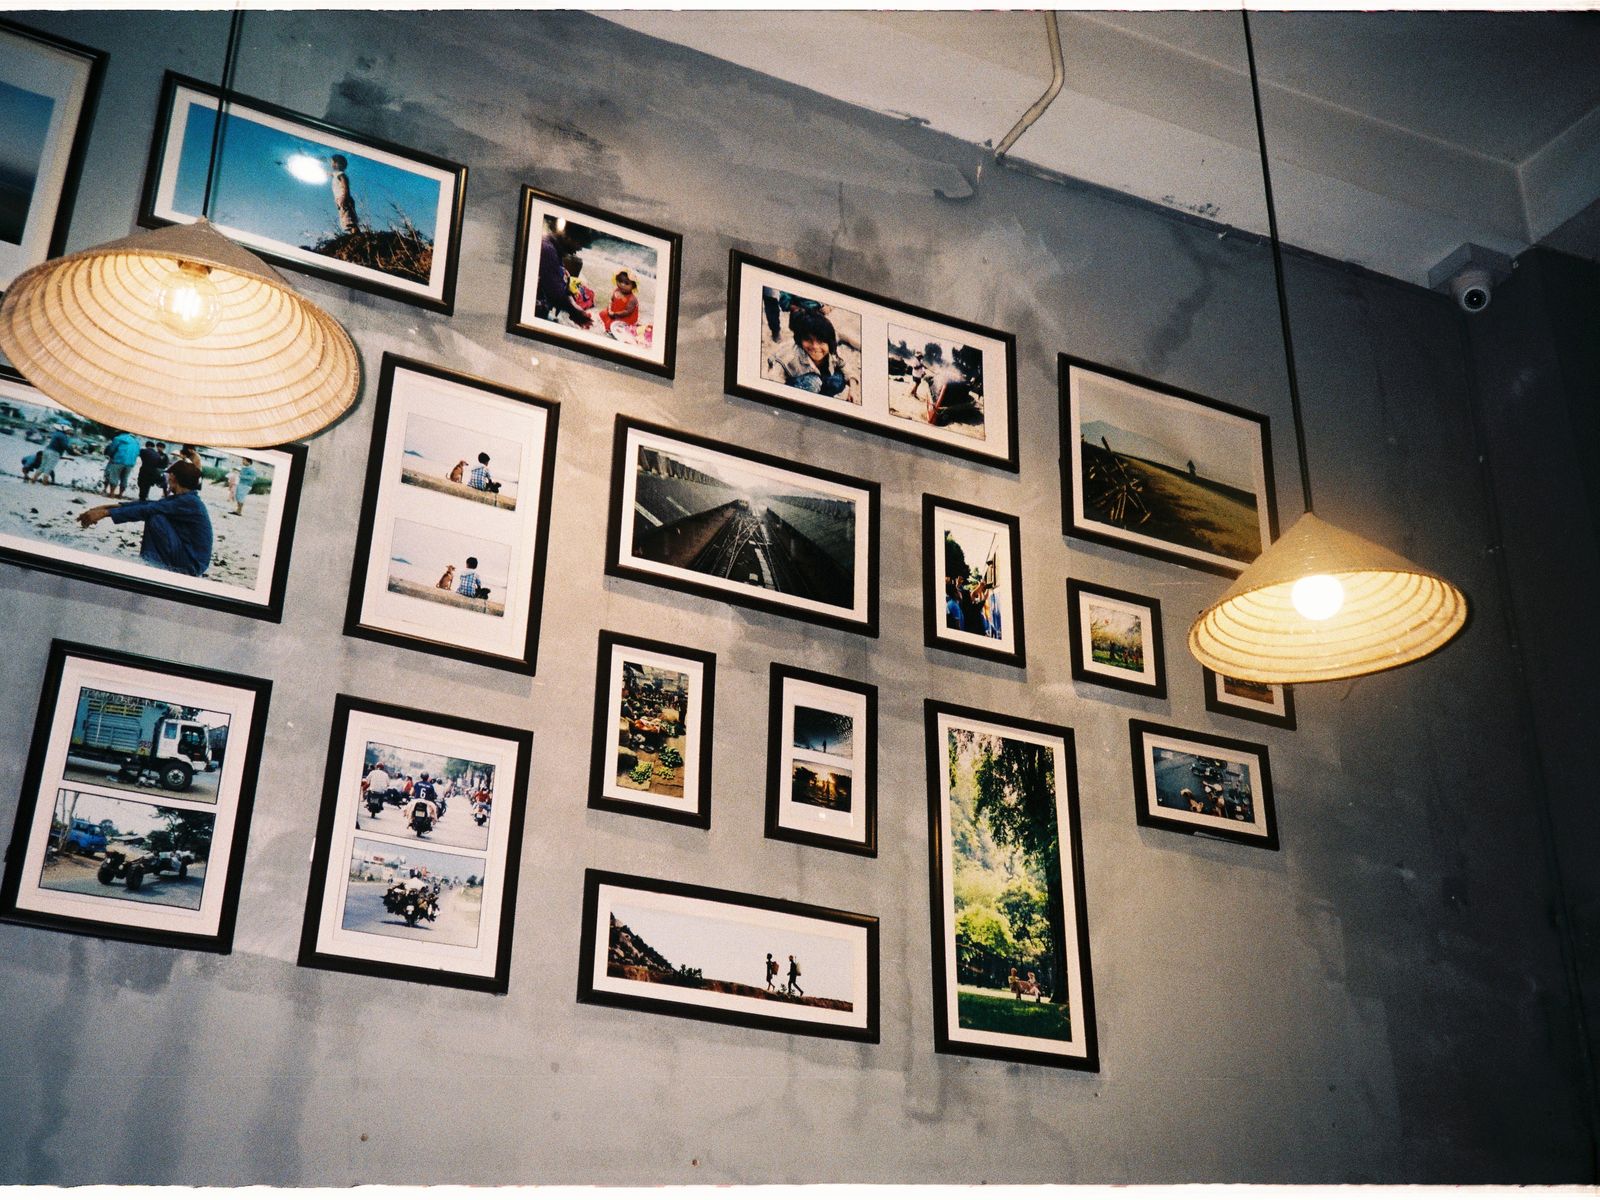
A full gallery wall feels intimidating when you plan to hang pictures without drilling, but it is very doable. Lay every frame out on the floor first and arrange the composition until it feels balanced, leaving about two to three inches between pieces. Snap a photo so you remember the layout.
Then cut paper templates the size of each frame and tape them to the wall with painter’s tape to preview spacing before committing any adhesive. Work from the center outward, hang the heaviest pieces first, and give everything a full day to settle. This patience is what separates a gallery that lasts your whole lease from one you are constantly rehanging.
One last reassurance for renters who want to hang pictures without drilling: adhesive technology has improved dramatically over the last decade, and the failures you hear about almost always trace back to a skipped step rather than a bad product. Clean the surface, respect the weight rating, and wait the full cure time, and your art will stay exactly where you put it until the day you choose to take it down.

Luiza Ferraz writes about making rental spaces feel like home. Based in Minneapolis, Minnesota, she shares practical, damage-free upgrades, smart organization hacks, and proven ways to protect your security deposit. Her goal is to help renters create beautiful homes without ever picking up a drill.