Almost every rental has that one soul-crushing ceiling fixture: a bare bulb or a dated dome that floods the room with flat, blueish light and makes everything look like a waiting room. You cannot exactly rip it out, so you learn to live under it. Except you do not have to, because you can completely upgrade rental lighting without touching the wiring at all.
Light is the single fastest way to change how a space feels, and after years of renting I am convinced it matters more than paint. This guide shows you how to upgrade rental lighting using plug-in fixtures, smart bulbs, and clever placement, all fully reversible and landlord-safe, with a clear line drawn at anything that needs an electrician.
Why lighting is the ultimate rental upgrade
When you upgrade rental lighting, you are not just adding brightness; you are adding warmth, depth, and mood that a single overhead fixture can never provide. Designers call it layering, and it is the difference between a room that feels like a home and one that feels like a rental.
The best part is that lighting is completely portable. Every lamp, bulb, and plug-in fixture you buy comes with you to the next place, so the money you spend to upgrade rental lighting is an investment in your comfort, not a gift to your landlord.
Start with the bulbs you already have
The cheapest way to upgrade rental lighting is to swap every bulb in the apartment. That harsh overhead becomes tolerable the moment you replace a cold, bright bulb with a warm one around 2700 kelvin.
Match color temperature across the room so the light feels cohesive, and choose a brightness that suits the space rather than defaulting to maximum. Keep the original bulbs in a box to reinstall at move-out. A pack of quality bulbs costs 10 to 25 dollars and transforms the feel of a room in ten minutes.
Smart bulbs without any installation
Smart bulbs screw into existing sockets and let you dim and change color temperature from your phone, which is a game changer to upgrade rental lighting in a place with no dimmer switches. Set them warm and low in the evening and bright for cleaning, all without an electrician.
Add layers with plug-in fixtures
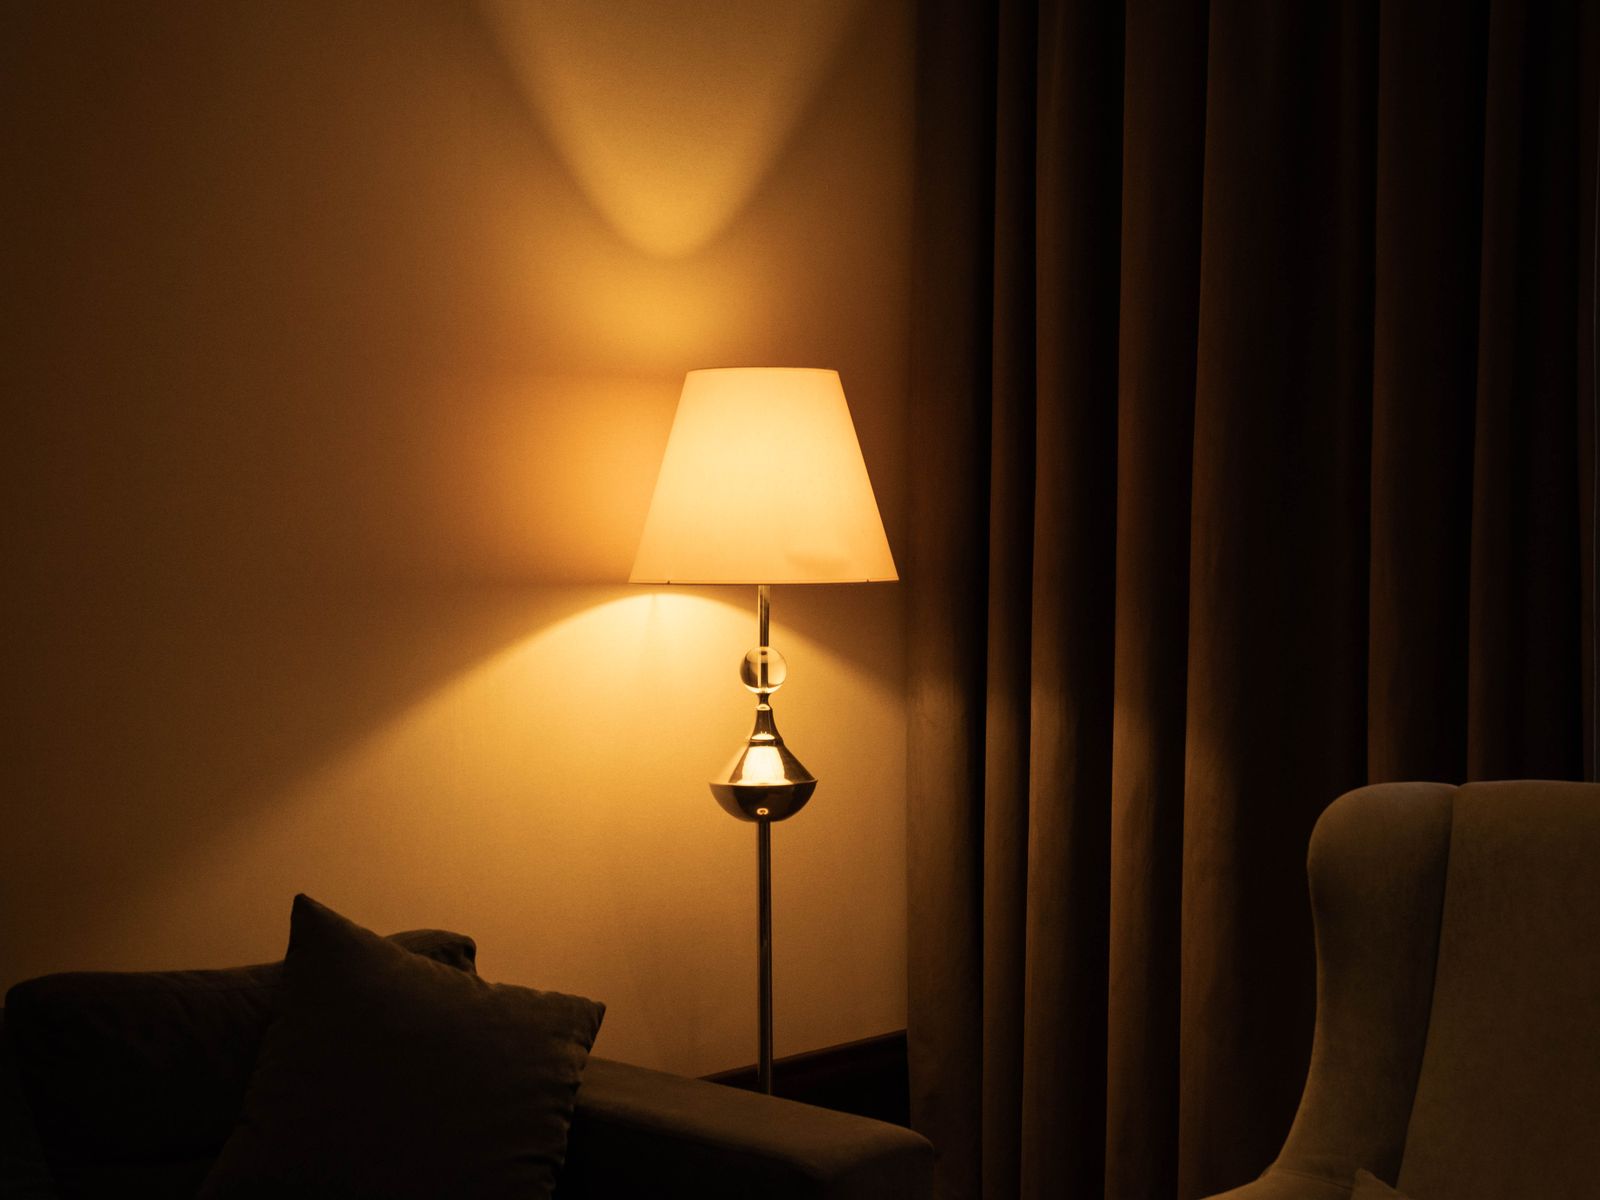
The heart of learning to upgrade rental lighting is adding light sources at different heights, and every one of them can simply plug into an outlet. Aim for three layers in a main room: overhead, mid-level, and low.
- Floor lamps fill corners and add height without any wall damage.
- Table lamps bring a warm mid-level glow to side tables and desks.
- Plug-in pendant lights hang from an adhesive hook and drape the cord to an outlet.
- LED strip lights peel-and-stick behind a shelf or TV for a soft wash.
- Clip-on reading lights add task light exactly where you need it.
The plug-in pendant trick
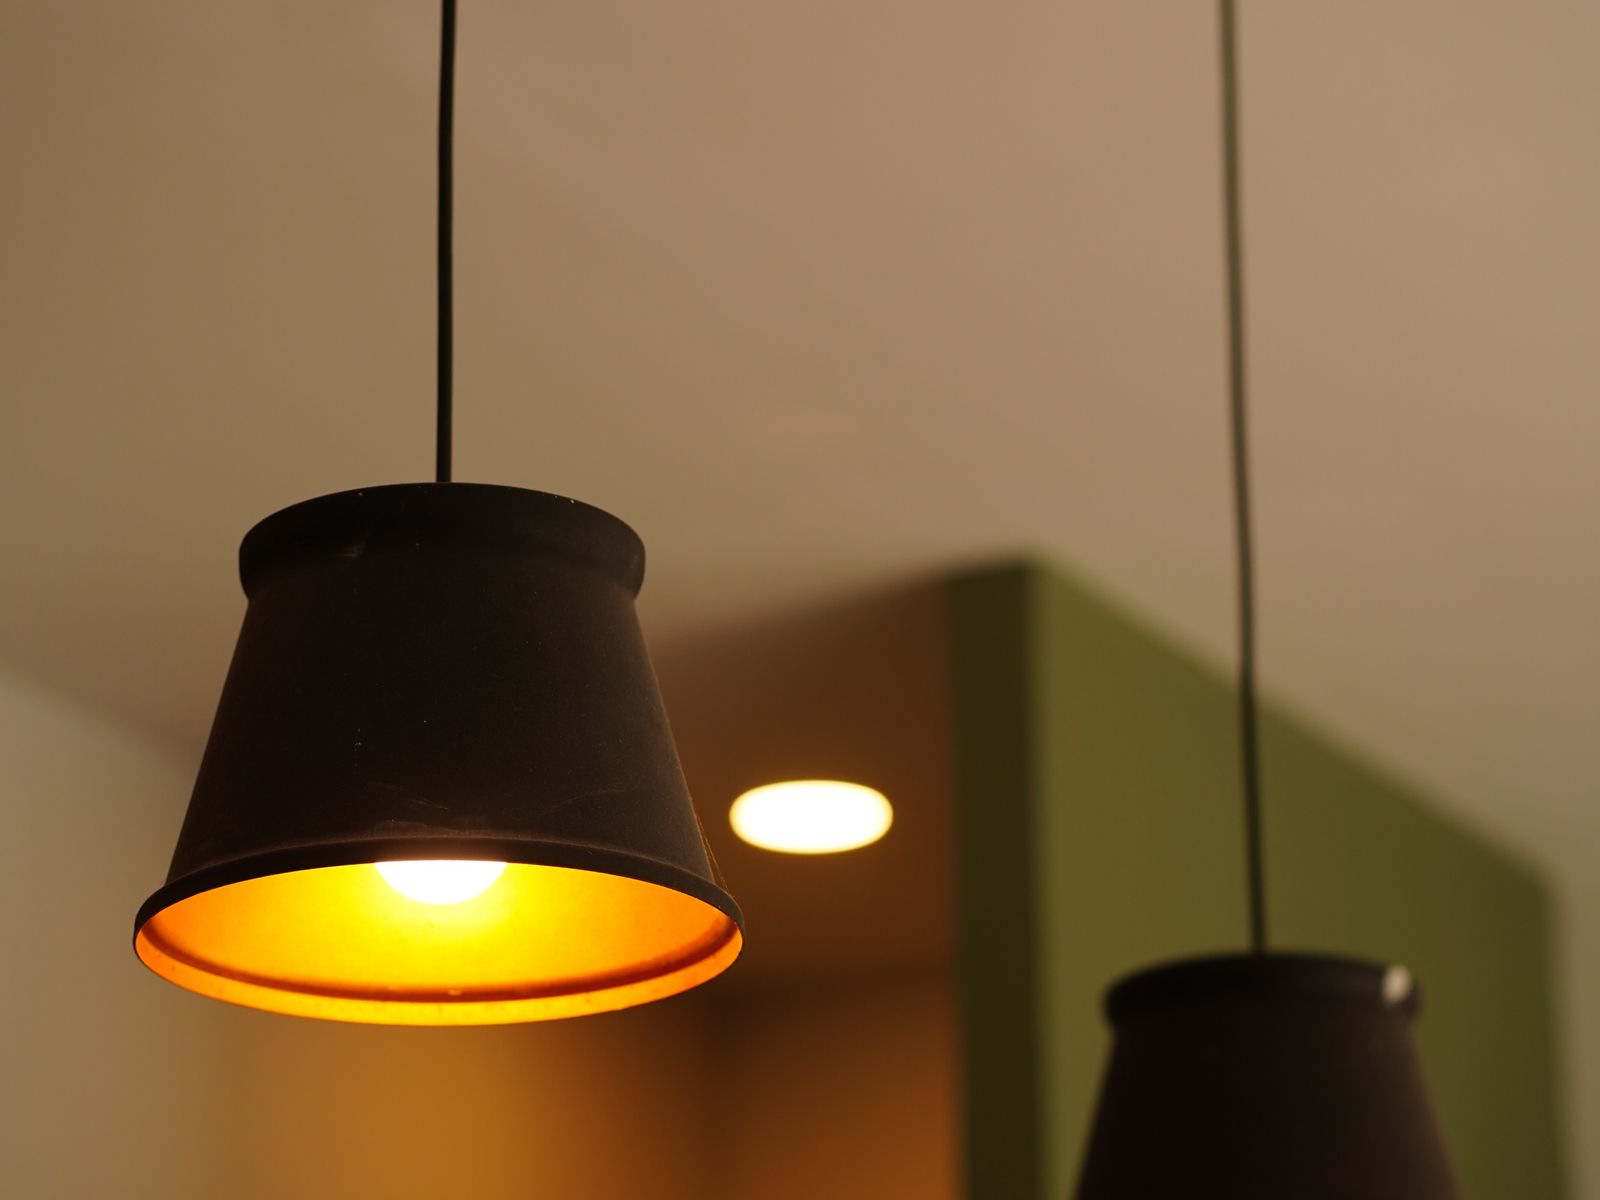
If you hate the ceiling fixture but cannot replace it, a plug-in pendant lets you upgrade rental lighting dramatically. Hang the pendant from a ceiling hook or a wall bracket, run the fabric cord to an outlet, and suddenly you have a designer light with zero wiring. To pick a hook that holds, our guide on command strips versus adhesive hooks covers real weight limits.
Where to draw the line: no rewiring
The one hard rule when you upgrade rental lighting is to never touch the wiring. Do not swap a hardwired fixture, replace a switch, or install anything that connects to the electrical system, because that is unsafe, usually against your lease, and can create liability if something goes wrong. Basic electrical safety guidance from a source like the Electrical Safety Foundation is worth a read before you even consider it.
Electrical rules and what a tenant may alter vary by state, city, and lease, so if you genuinely want a hardwired change, ask your landlord in writing and let a licensed electrician handle it. Everything in this guide plugs in, screws into a socket, or sticks on, which keeps you safely on the reversible side of that line.
Accent and mood lighting that sticks on
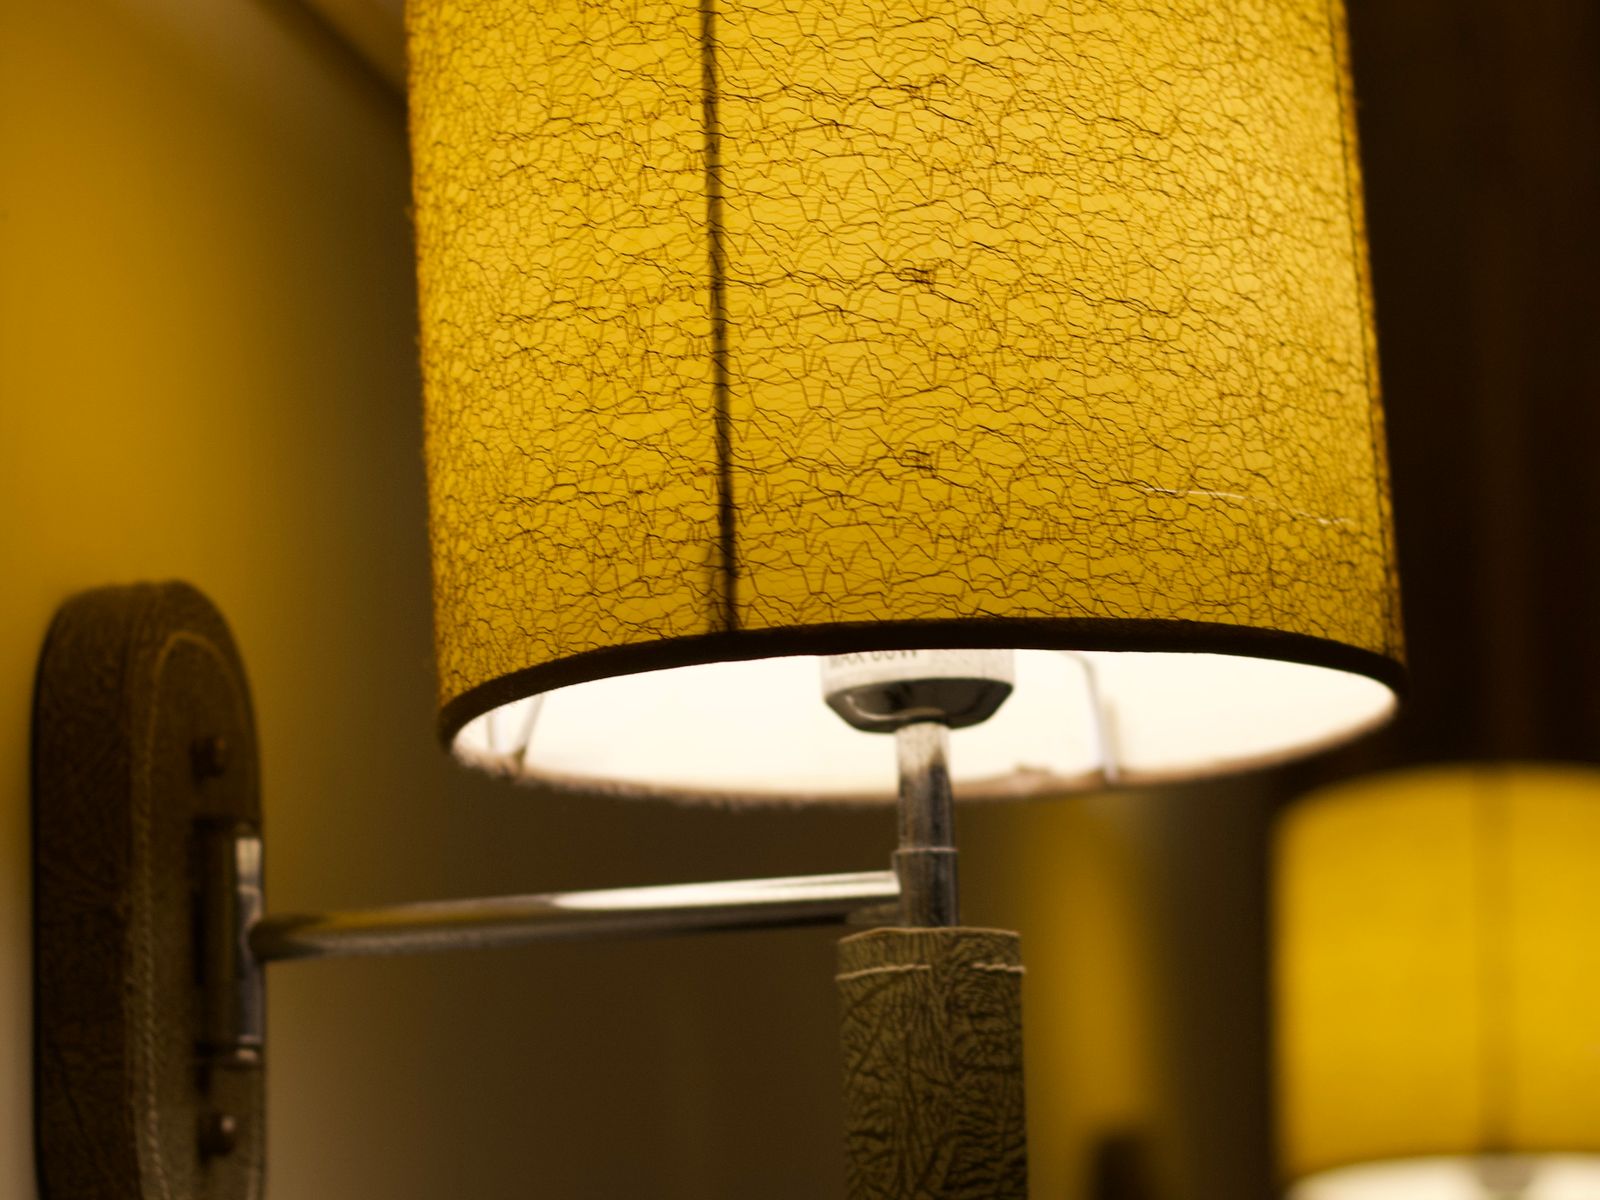
To finish the layers, add accent lighting that requires no tools at all. Battery-powered puck lights stick inside a dark closet, LED strips define a shelf or headboard, and a small rechargeable lamp adds a glow to a nightstand.
These touches are what make a rental feel curated rather than merely functional, and they pair beautifully with other reversible upgrades. A removable accent wall behind a lamp, like the ones in our peel-and-stick wallpaper guide, doubles the impact of good lighting.
Lighting by room: a quick plan
Different rooms need different light, so tailor your plan as you upgrade rental lighting throughout the apartment. The living room wants three warm layers for lounging; the bedroom wants soft, dimmable bedside light; the kitchen wants brighter task light where you actually chop and cook.
In a home office, position a lamp to the side of your screen to cut glare, and add a warmer lamp nearby for evening video calls. Matching the light to the activity is what makes a space genuinely comfortable rather than just bright.
Renting on a budget
You do not need to buy everything at once. Start with the two highest-impact moves, warm bulbs and one floor lamp, then add a table lamp and stick-on accents over a few paychecks. A complete lighting refresh for a one-bedroom can be done for well under 150 dollars if you shop secondhand for lamps and buy bulbs in multipacks.
Common mistakes that keep rooms gloomy
The biggest mistake is relying on that single ceiling fixture and calling it done. One overhead light casts hard shadows and flattens a room no matter how bright it is, which is exactly why layering matters when you upgrade rental lighting.
The second mistake is mixing wildly different color temperatures, so one corner glows warm and orange while another beams cool and blue. Pick a temperature, usually a warm 2700 to 3000 kelvin for living spaces, and keep it consistent. The third is hiding cords sloppily; a few adhesive cord clips routing wires along a baseboard keep the look tidy and safe.
Keeping it renter-safe and reversible
Everything here is designed to leave no trace, but a couple of habits keep it that way. Use adhesive hooks and clips rated for the weight of what they hold, keep the original bulbs and any fixture globes you remove, and photograph the space before you start so you have a baseline for move-out.
Because what you may alter varies by state, city, and lease, skim your agreement before mounting anything, even temporarily, and stick to plug-in and stick-on solutions if your lease is strict. Done this way, you get all the ambiance with none of the deposit risk, and the whole setup packs up and moves with you.
If you take just one idea from all of this, let it be that light is emotional as much as functional. The same room can feel sterile at noon under a cold bulb and genuinely welcoming at night under a couple of warm lamps. Renters often accept bad lighting as part of the deal, but it is one of the easiest things to fix, and the payoff in how your home feels every single evening is enormous for the small effort involved.
Conclusion: a warmer home, no electrician needed
You do not need to rewire a thing to escape that dreaded overhead glare. When you upgrade rental lighting with warm bulbs, layered plug-in fixtures, and a few stick-on accents, even the plainest apartment starts to feel intentional and cozy.
Your next step: tonight, swap the bulbs in your main room for warm ones and add a single floor lamp in the darkest corner. That one evening of change will show you exactly how much lighting can do, and the rest of the apartment follows from there.

Luiza Ferraz writes about making rental spaces feel like home. Based in Minneapolis, Minnesota, she shares practical, damage-free upgrades, smart organization hacks, and proven ways to protect your security deposit. Her goal is to help renters create beautiful homes without ever picking up a drill.