On my third move, I skipped the walk-through because I was tired and the keys were finally in my hand. Eleven months later a landlord tried to bill me for a scratched floor and a cracked blind that were both there on day one, and I had nothing but my word to argue with. That expensive lesson is why I now treat the move-in inspection as the most important hour of any tenancy.
A move-in inspection is simply a careful, documented walk-through of your new place before you settle in, recording every existing flaw. Done well, it is the single best insurance policy for your security deposit. This guide shows exactly how to do a move-in inspection that protects you, what to look for room by room, and how to keep records that actually hold up.
What a move-in inspection really is
A move-in inspection is your chance to establish the baseline condition of the rental in writing, with photos, before your own daily life adds any wear. It documents what was already scuffed, stained, cracked, or broken when you arrived.
That baseline matters because at move-out, disputes come down to one question: was this damage here before you, or did you cause it? A thorough move-in inspection answers that question with evidence instead of memory, and evidence is what wins deposit disagreements.

When and how to do it
Do your move-in inspection before you bring in a single box, ideally on the day you get the keys while the unit is empty and you can see every surface. An empty room hides nothing; a furnished one hides plenty.
Many landlords provide a move-in inspection checklist or condition report. If yours does, complete it honestly and thoroughly; if not, create your own. Either way, take dated photos and video, and share a copy with your landlord so there is a mutual, timestamped record rather than a document only you hold.
Tools you will want on hand
- Your phone for time-stamped photos and video of every room.
- A written or printed move-in inspection checklist to tick off as you go.
- A flashlight for dark corners, closets, and under sinks.
- A phone charger to test outlets and a note app for a running list.
The room-by-room inspection checklist
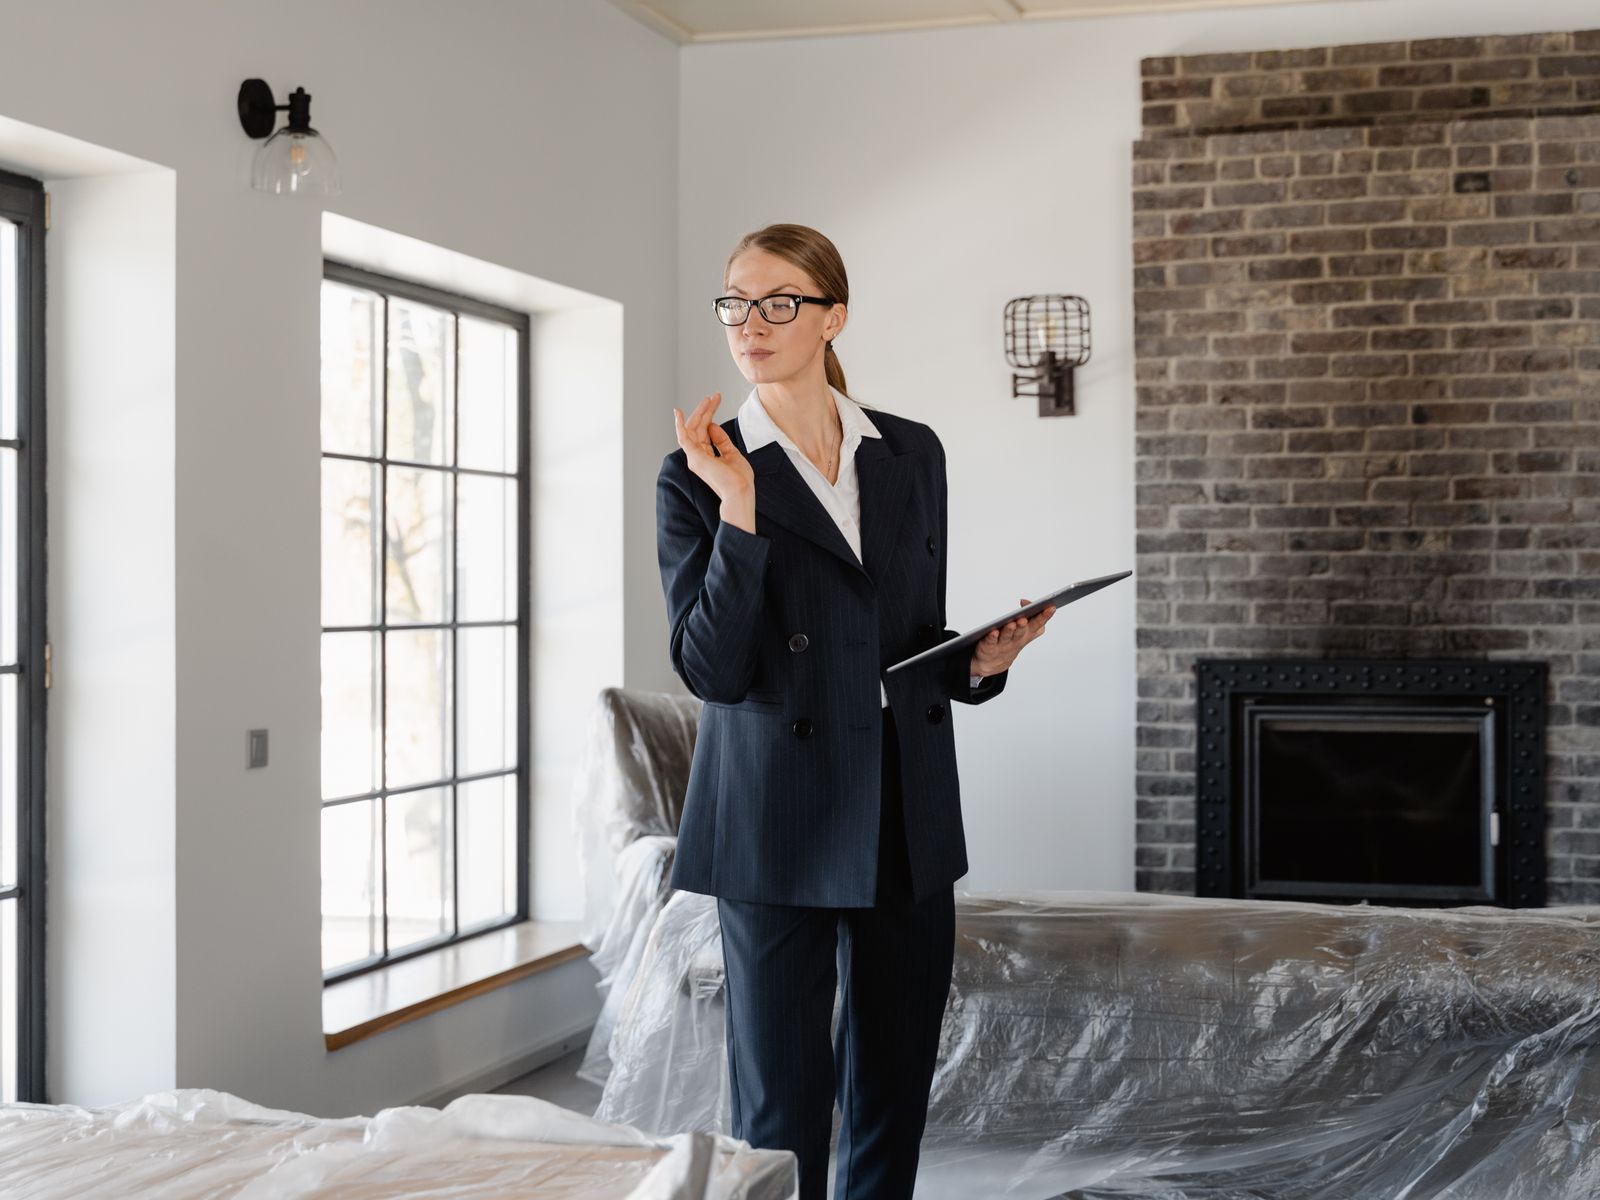
A good move-in inspection is systematic, moving through the whole unit so nothing is missed. Photograph anything that is already imperfect and note it in writing.
Walls, floors, and ceilings
Look for scuffs, nail holes, cracks, water stains, and worn or stained flooring in every room. Photograph existing marks up close, because these are the exact things landlords tend to charge for later. If you plan to decorate, damage-free methods like those in our guide to hanging pictures without drilling keep your own footprint minimal.
Kitchen and bathroom
Test every faucet, run the water hot and cold, check under sinks for leaks, and open and close all cabinets and drawers. In the kitchen, run the appliances briefly and note any chips, rust, or missing parts. In the bathroom, check for mold, cracked tile, and a working exhaust fan.
Doors, windows, and fixtures
Open and close every door and window, test the locks, and confirm blinds or existing window coverings work. Flip every light switch, test outlets with a charger, and note any fixture that does not function. Small non-working details are easy to overlook and easy to be blamed for.
Documenting it so it holds up
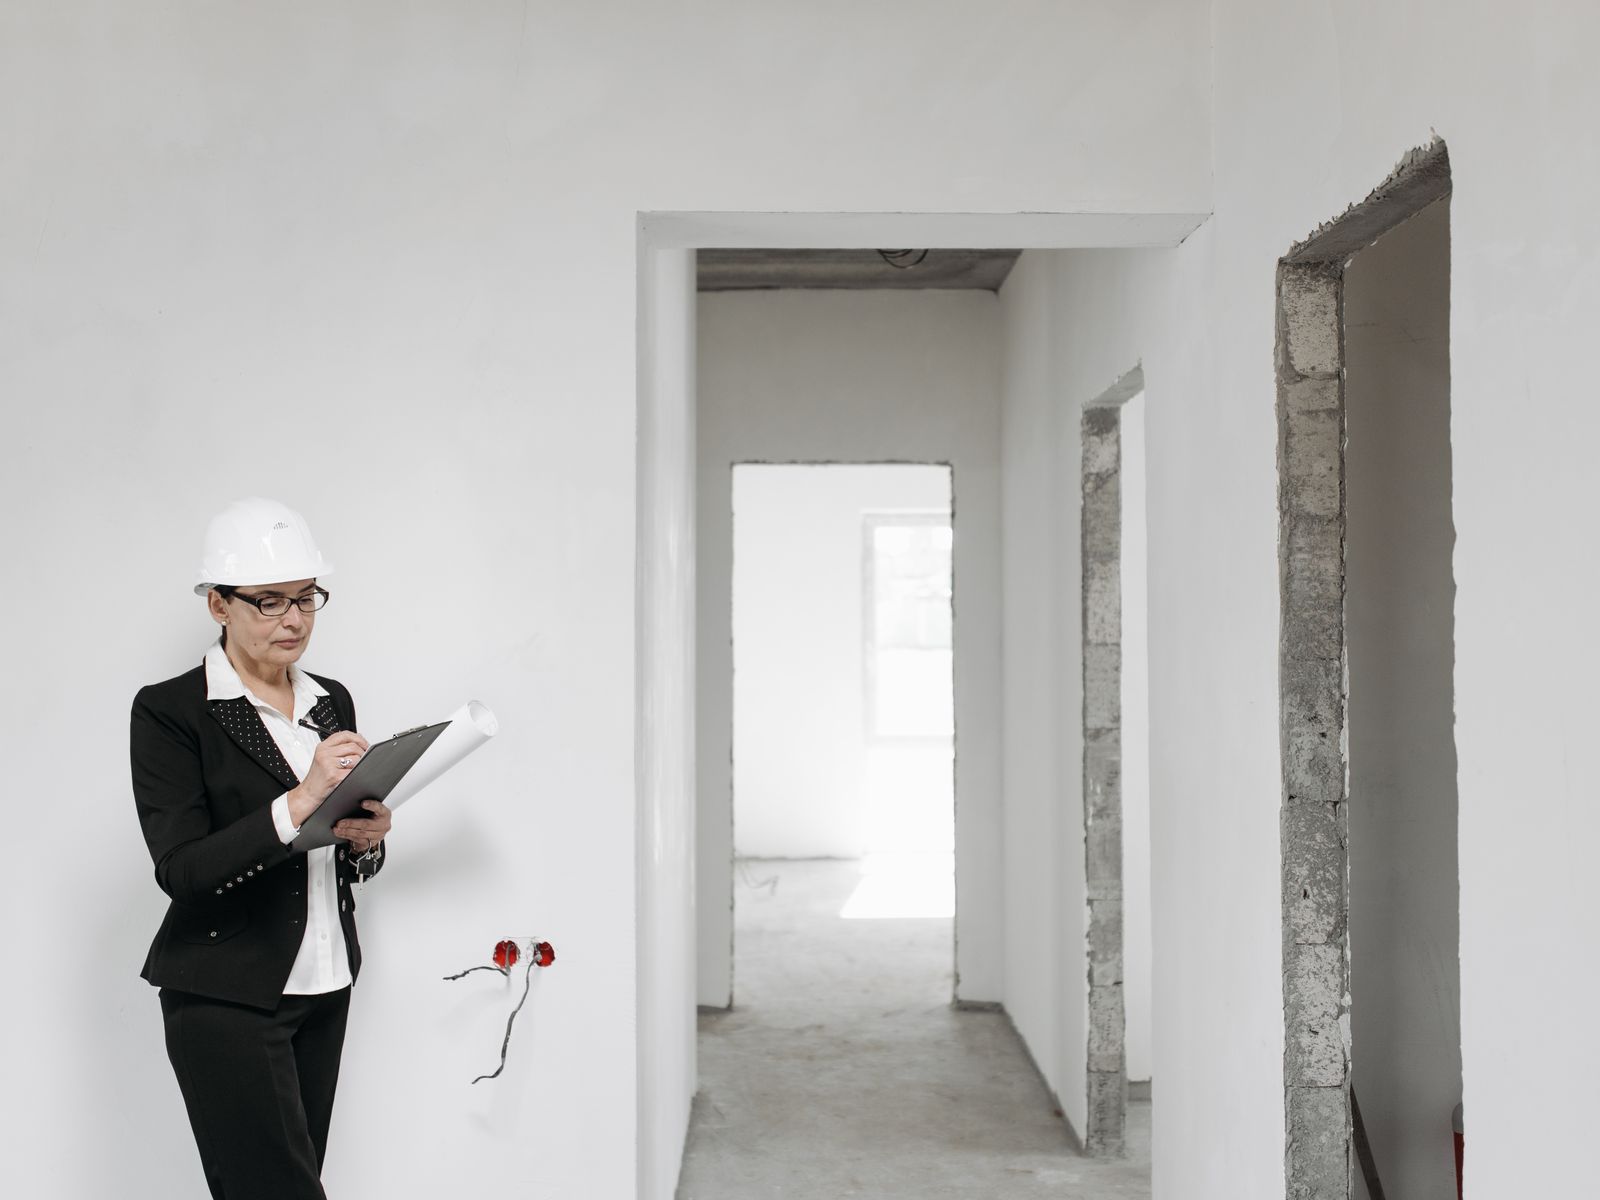
The power of a move-in inspection comes from documentation that is clearly dated and shared. Email your photos and completed checklist to your landlord within the first few days, and keep your own copy in a dedicated folder alongside your lease.
Exactly what a landlord may deduct, and any required inspection or deposit procedures, vary by state, city, and lease, so review your agreement and consult local tenant resources rather than assuming a universal standard. A neutral overview like HUD tenant rights is a helpful starting point for understanding your protections.
How the inspection saves your deposit later
Fast-forward to move-out: your landlord notices a mark and reaches for your deposit. Because you did a move-in inspection, you calmly pull up a dated photo showing it was there before you, and the charge disappears. That is the entire payoff in one sentence.
It also shapes how you live in the place. Knowing exactly what condition you inherited encourages you to protect it, report issues promptly, and time your move-out cleaning well. Building these tasks into a plan like our apartment moving checklist keeps everything on track from the first day to the last.
Common things renters miss
Even a careful move-in inspection can skip the sneaky spots, and those are often the ones that trigger charges later. People remember to photograph the living room walls but forget the inside of the oven, the back of closet doors, the corners of carpets, and the condition of window screens.
Also check the things you will rarely look at again: the water pressure, whether the toilet runs, the state of the grout, and any pre-existing pet or smoke odors. A quick note and a photo of each takes seconds now and can save an argument at the end of your lease.
Test everything that turns on or opens
Make it a rule during your walk-through to operate every single thing in the unit at least once. Every faucet, every burner, every light, every window latch, every cabinet hinge. If it moves, opens, or powers on, test it and note anything that sticks, leaks, or fails to work.
What to do if you find a serious problem
Sometimes an inspection turns up more than cosmetic wear, like a leak, a broken lock, or a non-working smoke detector. Report these to your landlord in writing immediately and ask for a timeline to fix them, keeping a copy of every message.
Safety issues in particular should be addressed before you move in if possible. Requirements for habitability and landlord repair obligations vary by state, city, and lease, so if a problem is significant, document it thoroughly and check your local tenant resources to understand your rights before you sign off on the condition report.
Turning your inspection into a move-out advantage
The smartest renters treat the move-in inspection as half of a matched set. When it is finally time to leave, they repeat the exact same walk-through with the unit empty again, photographing every room from the same angles as before.
That before-and-after pairing is almost impossible for a landlord to dispute, because it shows precisely what changed and what did not. Combined with a thorough move-out clean, it turns the final walk-through from a nerve-wracking judgment into a simple, evidence-backed formality, and it is the clearest path to getting your full deposit back.
If you share the place with roommates or a partner, do the walk-through together and make sure everyone has a copy of the record. Shared responsibility works both ways at move-out, and a document only one person holds is easy to lose track of when leases end and people scatter. A shared folder or a group message with the photos keeps everyone protected.
Finally, resist the urge to rush because you are excited to settle in. The keys will still be yours in an hour, and that hour of patient looking is genuinely one of the highest-value things you will do all year as a renter. Future you, standing in an empty apartment at move-out with a landlord and a clipboard, will be deeply grateful you took the time.
Conclusion: one hour that pays for itself
A move-in inspection is not paperwork for its own sake; it is an hour of careful looking that can save you hundreds of dollars and a stressful dispute months later. The renters who get their full deposit back almost always started with a thorough walk-through.
Your next step: before you unpack anything in your next place, block out one hour, grab your phone and a checklist, and photograph every room. Email the record to your landlord the same day, and file your copy where you will find it at move-out.

Luiza Ferraz writes about making rental spaces feel like home. Based in Minneapolis, Minnesota, she shares practical, damage-free upgrades, smart organization hacks, and proven ways to protect your security deposit. Her goal is to help renters create beautiful homes without ever picking up a drill.