You know the rental kitchen. Builder-beige cabinets, a laminate counter in a color no one has ever loved, and a landlord who made it very clear that “no permanent changes” was not a suggestion. It is easy to decide the space is simply not worth the effort.
But here is the freeing truth: the best rental kitchen upgrades are the ones you can undo in a single day, leaving nothing behind but a nicer memory. With a screwdriver, a few reversible products, and an afternoon, you can make a rented kitchen feel like yours, then erase every trace of it before the final walkthrough.
The One Rule for Every Rental Kitchen Upgrade
Before touching anything, adopt a single guiding principle: if you cannot reverse it in an afternoon, it is not a rental upgrade, it is a renovation. Renovations belong to homeowners. Everything below is designed to peel, unscrew, or lift off cleanly.
This mindset protects your deposit and your sanity. It also keeps you from over-investing in a space you do not own. The same logic drives other reversible projects, like the ones in our guide to peel-and-stick wallpaper for renters, where removability is the whole point.
A quick caution worth stating up front: even reversible products can occasionally leave residue or lift a bit of paint on cheaper cabinets, and what a landlord may deduct for varies by state, city, and your lease. Test any adhesive in a hidden spot first, and check your lease and local tenant resources before assuming a change is truly consequence-free.
It is worth being honest about why these small changes matter so much emotionally. The kitchen is where you start and end most days, and a space that feels neglected has a quiet way of making the whole apartment feel temporary. Reversible upgrades let you invest just enough to feel at home without pretending you own the place, which is exactly the balance renting asks of us.
If you rent with roommates or a partner, agree on the plan and the budget before you buy anything, and decide together who keeps the hardware and shelving when the lease ends. A quick conversation now avoids an awkward split later, and it makes the upgrades feel like a shared project rather than one person’s taste imposed on a shared kitchen.
Backsplash: Peel-and-Stick Tile
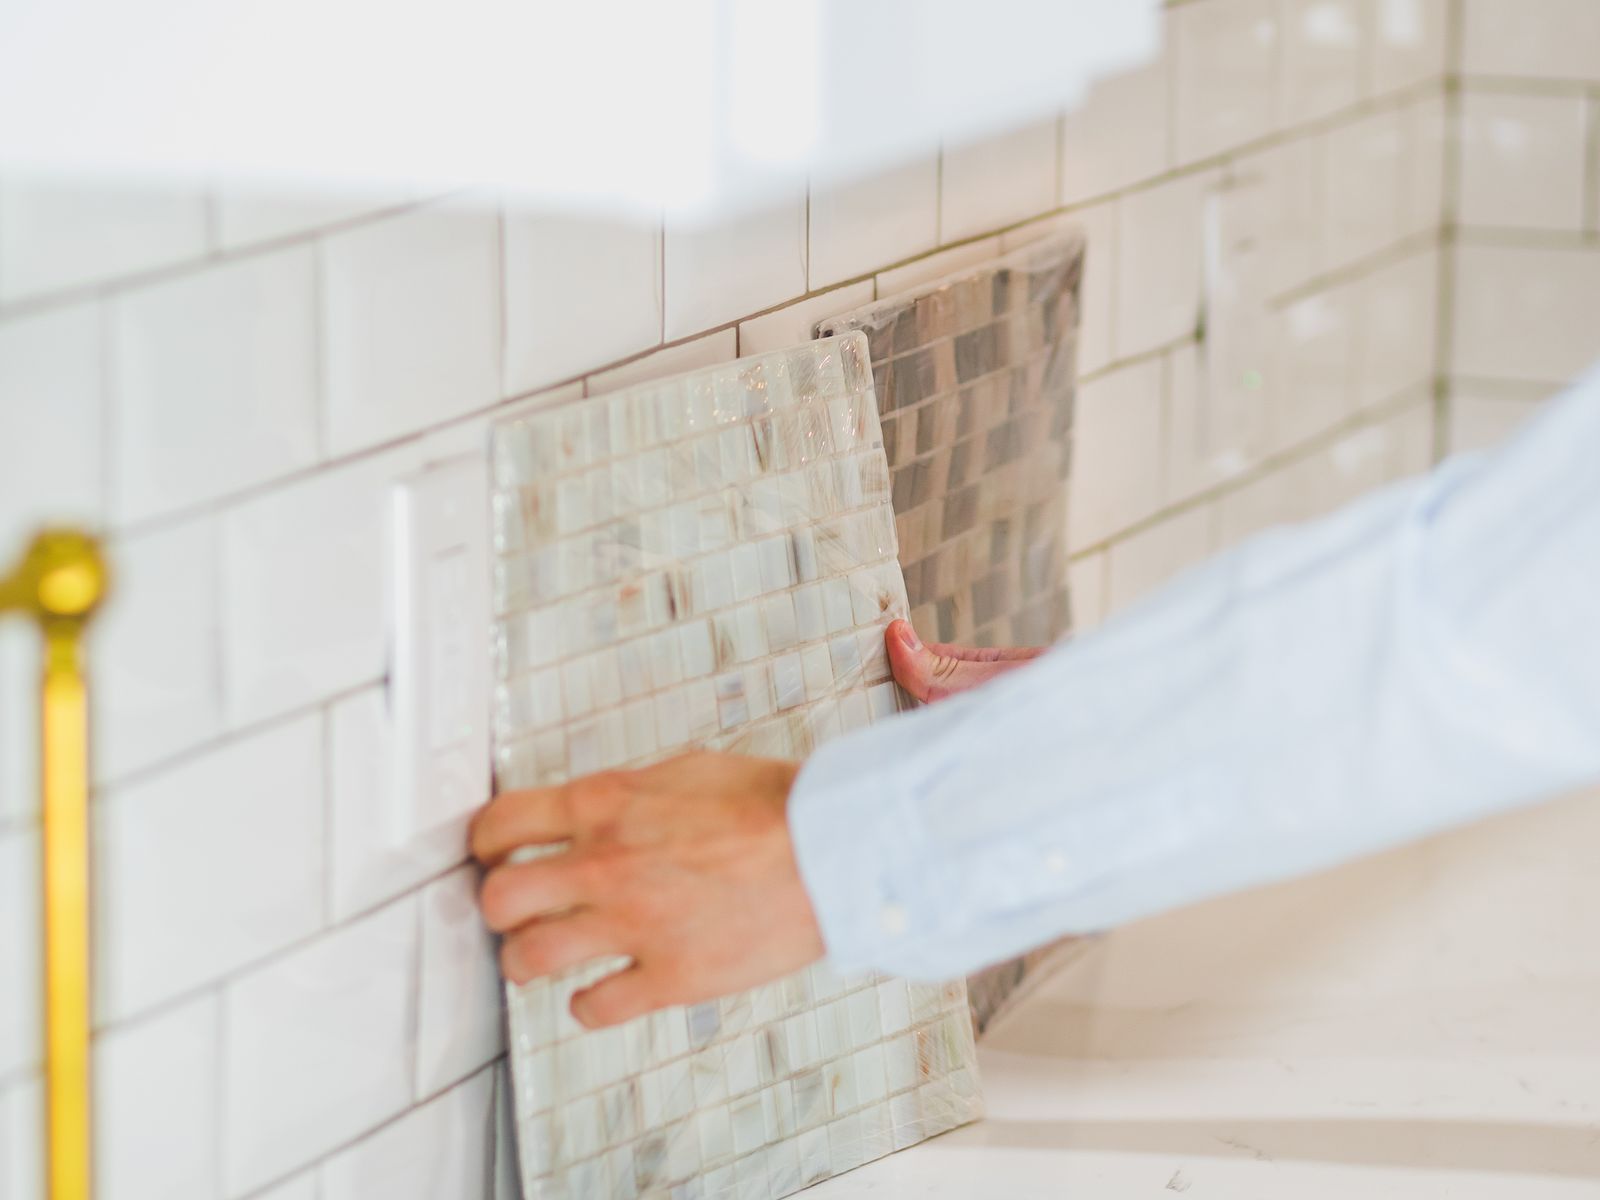
Nothing dates a kitchen like a bare or stained wall behind the counter. Peel-and-stick tile, whether gel “3D” tiles or vinyl tile decals, transforms that strip in an hour. Expect to pay roughly $8 to $15 per square foot, and buy a little extra for mistakes.
How to keep it reversible
Apply peel-and-stick tiles only to smooth, clean, fully cured paint or existing tile, never to fresh paint or textured wallpaper. When you move out, warm the edges gently with a hair dryer and peel slowly at a low angle to lift them without pulling paint. Keep a few spare tiles in case one lifts early.
One realistic caveat: peel-and-stick tile looks best on flat, dry surfaces away from direct heat. Avoid running it right up against a gas burner, and give it a day to fully adhere before you splash water near it. Done carefully, most people cannot tell it apart from real tile at a glance, and it comes off far more easily.
Cabinets: Swap the Hardware
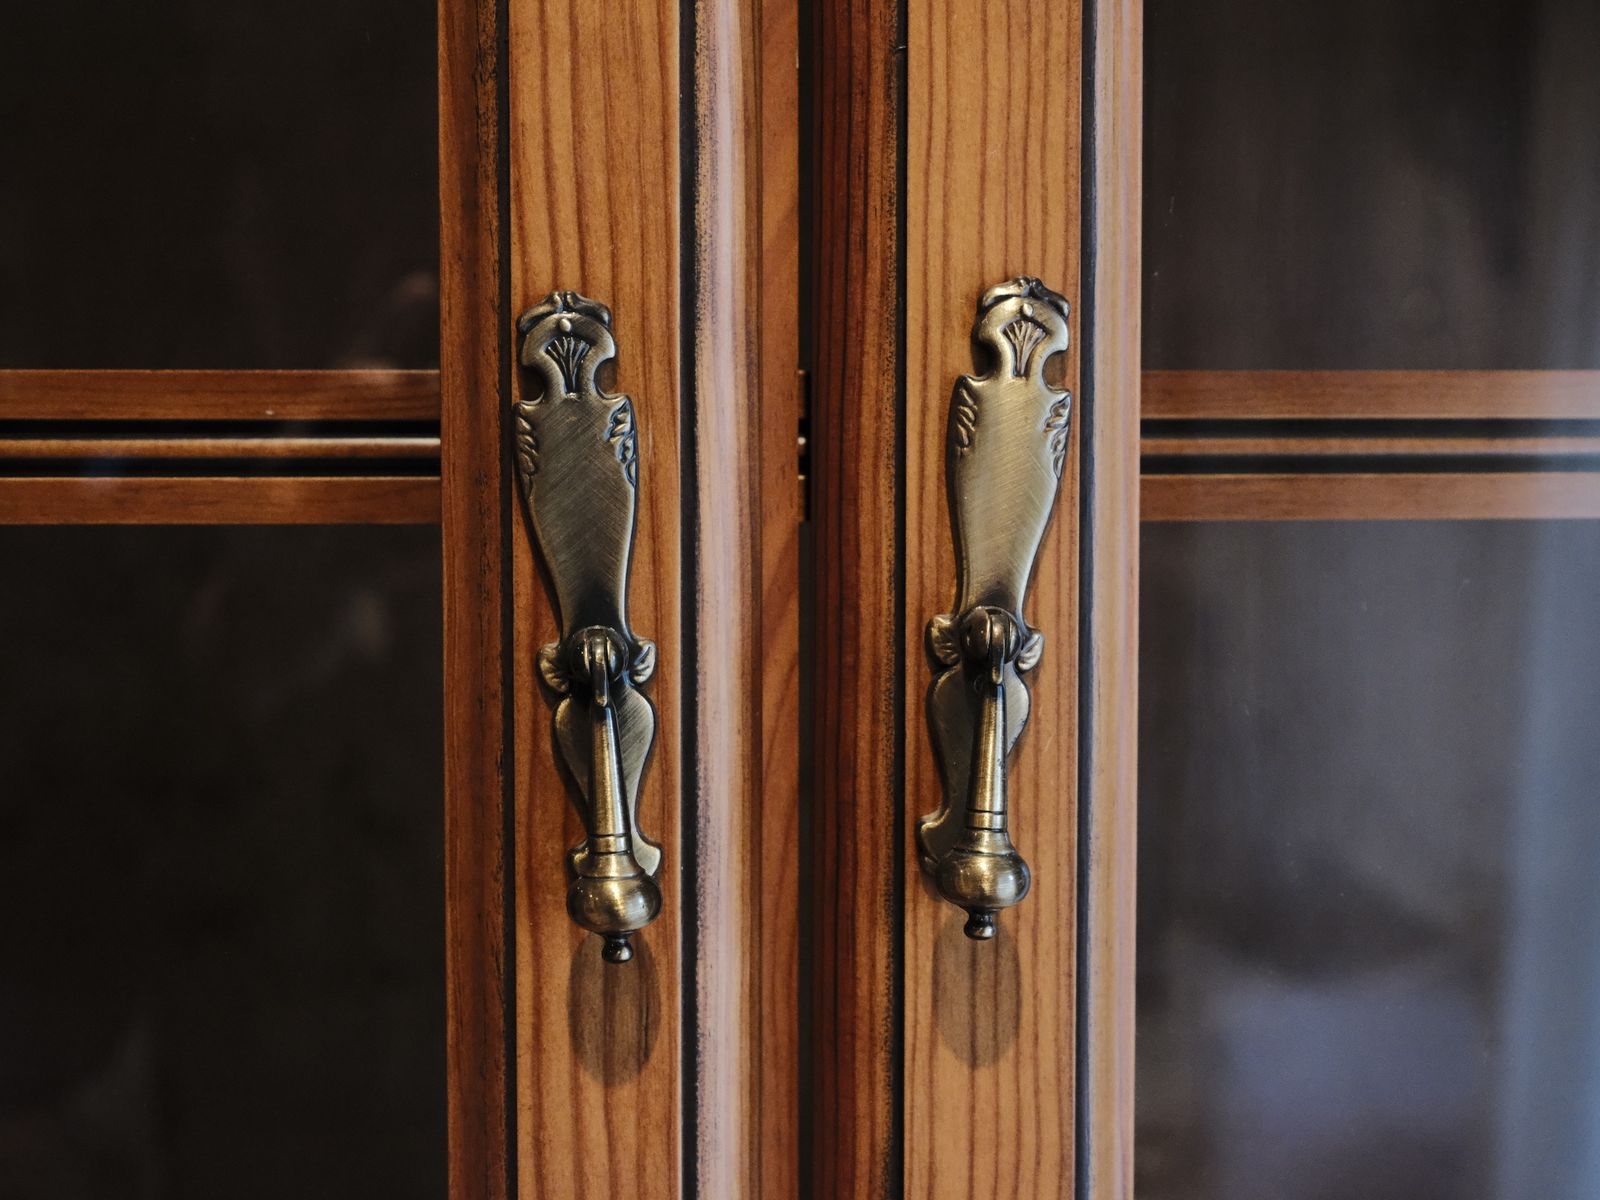
This is the highest-impact, lowest-effort upgrade in the whole kitchen. Replacing dated knobs and pulls with modern brass, matte black, or brushed nickel hardware costs about $2 to $6 per piece and takes only a screwdriver.
The trick that makes it renter-safe: put the original hardware in a labeled zip bag and store it somewhere safe. On move-out day, spend twenty minutes reinstalling the originals and take your nice hardware with you to the next place. If new pulls have a different hole spacing than the old ones, skip them rather than drilling new holes.
Pair fresh hardware with a lighting refresh and the room reads like a different kitchen entirely; our walkthrough on how to upgrade rental lighting without rewiring covers plug-in and battery options that need no electrician.
A quick measuring tip
Before you buy, measure the distance between the two screw holes on your existing pulls (called the “center-to-center” measurement) and count how many knobs versus pulls you need. Matching that spacing means the new hardware drops straight into the existing holes, keeping the project both fast and completely reversible.
Counters and Shelves: Removable Surfaces
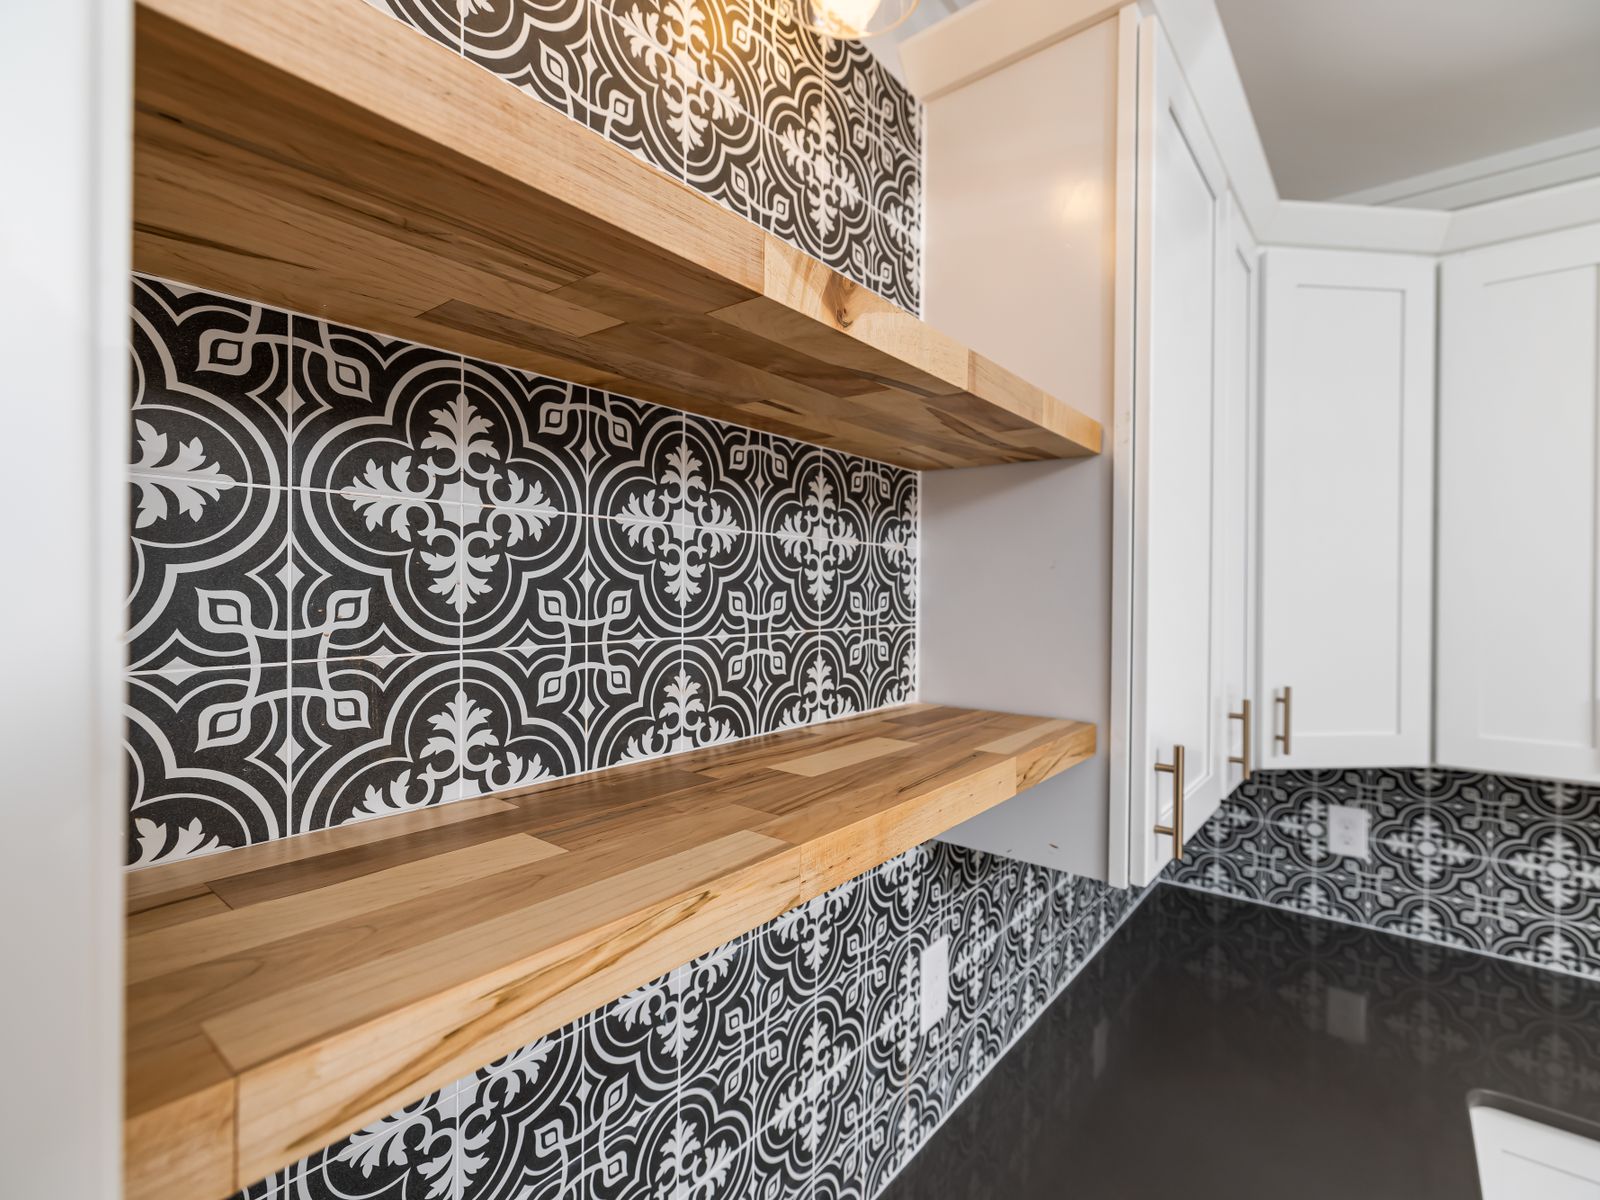
Ugly countertops are one of the most common rental complaints, and there are two reversible fixes. Marble-look or butcher-block contact paper (about $10 to $20 a roll) wraps a laminate counter convincingly, though it wears faster near the sink and stove, so treat it as a one- to two-year solution.
For a more premium feel, large peel-and-stick counter films or even a well-fitted cutting-board-style topper add warmth without commitment. And if your cabinets feel closed-in, adding freestanding shelf risers or a tension-rod-based system opens up storage without a single screw, which pairs perfectly with other no-screw kitchen organization ideas.
Whatever surface film you choose, prep is everything. Clean the counter with a degreasing cleaner, let it dry completely, and smooth the film from the center outward with a flat edge to push out air bubbles. Rushed application is the number one reason contact paper peels early, so slow down and it will reward you with a finish that looks intentional rather than temporary.
Rental Kitchen Upgrades You Can Finish in One Day
If you want a concrete plan, here is a realistic single-day sequence. Each step is reversible, and together they completely change the feel of the room.
- Morning: swap all cabinet knobs and pulls (about 45 minutes; bag the originals).
- Late morning: apply a peel-and-stick backsplash to the main run of wall.
- Midday: wrap the most visible counter section in contact paper.
- Afternoon: add a plug-in under-cabinet light strip and a removable hook rail for utensils.
- Evening: style two open shelves with your own dishes, a plant, and a small piece of art.
The best rental kitchen upgrades share this trait: total spend for all five can land under $150, and every item comes with you or comes off cleanly when you leave.
What to Skip (No Matter How Tempting)
Some “upgrades” cross the line from reversible to risky. Painting cabinets, drilling for new hardware holes, replacing faucets or fixtures, or gluing anything permanently can all trigger deposit deductions or violate your lease. Even if a video makes cabinet painting look easy, undoing it rarely is.
If you genuinely want a bigger change, ask your landlord in writing first; some will approve or even split the cost of improvements. For a baseline understanding of tenant and landlord responsibilities, HUD’s tenant rights resources are a solid starting point, and your local tenant office can clarify what counts as an alteration.
It also pays to document the kitchen’s original condition with a few photos before you start any of this. If a landlord later questions a mark or a bit of residue, dated photos showing what the surface looked like when you moved in are your best defense. This small habit costs nothing and can save you an argument, or a deduction, at move-out.
Keep a simple move-out checklist taped inside a cabinet door: reinstall original knobs, peel the backsplash, remove the counter film, take down the shelf risers. Writing it down while everything is fresh means future-you can undo the whole kitchen in an hour, without trying to remember what was original and what you added.
The Bottom Line
A rental kitchen does not have to feel like a compromise you tolerate until you buy a home. With reversible backsplash, fresh hardware, a wrapped counter, and thoughtful styling, you can love the space now and leave it spotless later. That is the whole promise of good rental kitchen upgrades: maximum charm, zero regret.
Your next step: pick the one thing that bothers you most about your kitchen, whether it is the hardware or the backsplash, and tackle only that this weekend. One finished upgrade will convince you the rest are worth it too.

Luiza Ferraz writes about making rental spaces feel like home. Based in Minneapolis, Minnesota, she shares practical, damage-free upgrades, smart organization hacks, and proven ways to protect your security deposit. Her goal is to help renters create beautiful homes without ever picking up a drill.