You are washing dishes and you catch yourself glaring at it again: the backsplash. Maybe it is a grid of dated mauve tiles, maybe it is a scuffed painted wall behind the stove, maybe it is builder-grade beige that has aged into something gray. You cannot rip out the rental kitchen backsplash, because it is not yours, but you also cannot unsee it.
Here is the reassuring part: you can completely transform a bad rental kitchen backsplash with a weekend, under a hundred dollars, and zero permanent changes. Every option below peels or lifts away when you move, so your deposit stays safe while your kitchen finally looks like yours.
Why the rental kitchen backsplash matters so much
The backsplash sits at eye level in the room where you spend a surprising amount of your day. It frames the counter, catches light, and sets the tone for the whole kitchen. Fix the rental kitchen backsplash and the entire space reads as updated, even if the cabinets and floors stay exactly as they are.
Before you cover anything, take a clear photo of the original surface. Whether a covering counts as an alteration you must remove depends on your lease and local rules, which vary by state and city, so read your lease and check local tenant resources first. Documenting the before state protects you either way, as our guide on what normal wear and tear usually means explains.
It is also worth thinking about resale of your effort, so to speak. A backsplash fix you can reuse in your next rental is money well spent, and several of these materials, especially rigid panels, come off in one piece and go straight back up on a new wall. Renting does not have to mean throwing away every improvement you make.
Option 1: Peel-and-stick tile
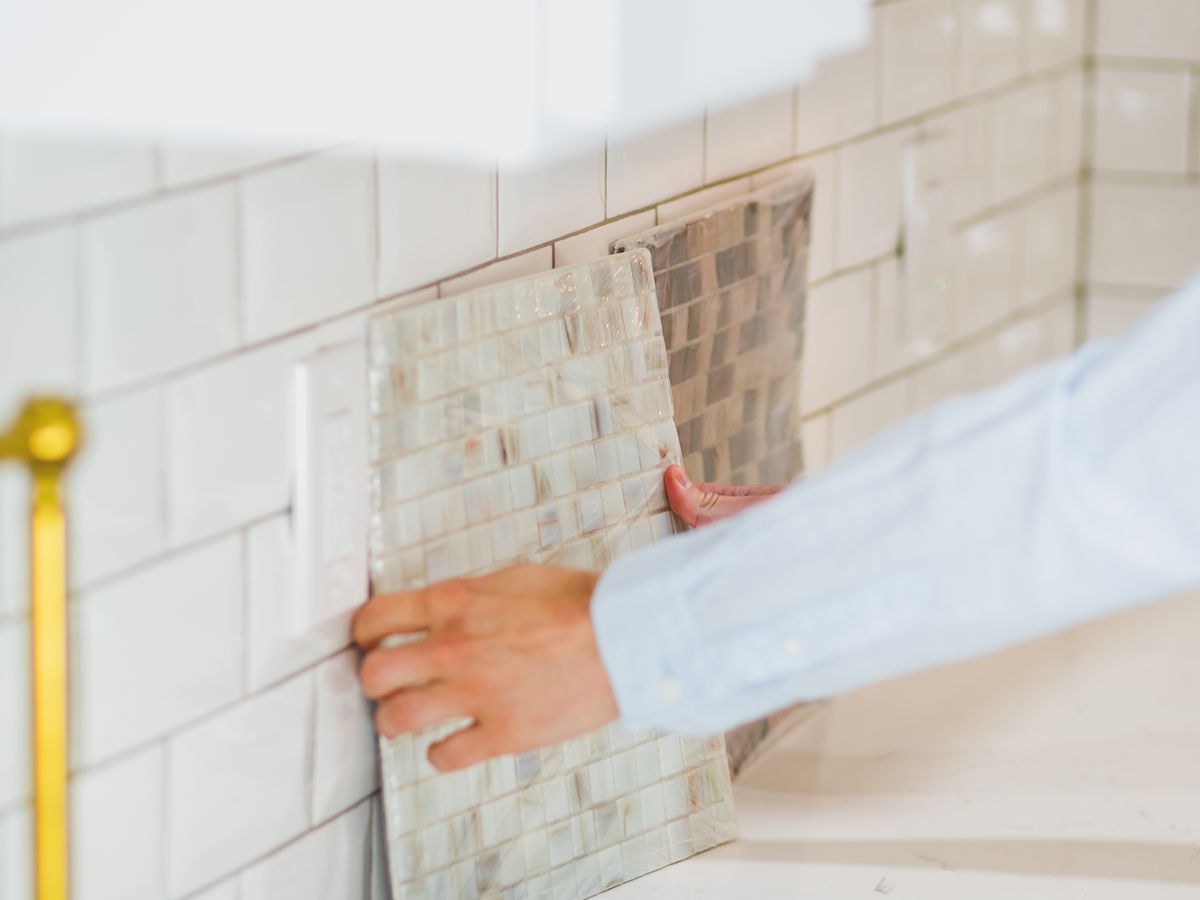
Peel-and-stick tiles are the fastest, most convincing fix. Modern versions mimic subway tile, marble, zellige and mosaic patterns closely enough to fool guests. They cost roughly $8 to $15 per square foot and go up with nothing but scissors and steady hands.
How to apply it well
Clean the wall with degreaser and let it dry fully; kitchen walls carry invisible cooking oils that wreck adhesion. Measure and dry-fit before peeling. Start from a bottom corner, press firmly, and smooth as you go to avoid bubbles. Cut around outlets with a sharp utility knife. Expect two to four hours for an average backsplash.
One caution: over a stove, heat and grease shorten the lifespan of adhesive tiles, and some manufacturers warn against use directly behind a gas burner. Check the product rating for heat, and keep tiles a few inches clear of open flame. For general guidance on reducing fire risk around the stove, the U.S. Fire Administration’s cooking fire safety tips are worth a quick read.
Color and pattern choice matters more than beginners expect. A busy mosaic can make a small galley kitchen feel cramped, while a simple white subway or a soft marble tends to brighten and enlarge the space. If you are unsure, order a single sample sheet, tape it up behind the counter, and live with it for a couple of days before committing to a full backsplash worth of material.
Option 2: Peel-and-stick wallpaper or vinyl
If your backsplash is a flat painted wall rather than tile, removable wallpaper or heavy vinyl is even cheaper, around $1 to $3 per square foot. A wipeable, water-resistant finish is essential here. This is the same material many renters use elsewhere; our realistic guide to peel-and-stick wallpaper covers surface prep and clean removal in depth.
- Best for: smooth, non-textured painted walls behind the counter.
- Avoid on: heavily textured walls or existing glossy tile, where it lifts.
- Pro tip: seal the top edge with a thin clear caulk line you can peel later for a finished look.
Water is the deciding factor for wallpaper behind a sink. Splashes are constant there, and paper-based products swell and lift once moisture creeps under an edge. Choose a true vinyl designed for kitchens or bathrooms, run your caulk seal along the counter line and around the sink, and your removable covering will shrug off daily splashing for the length of a lease.
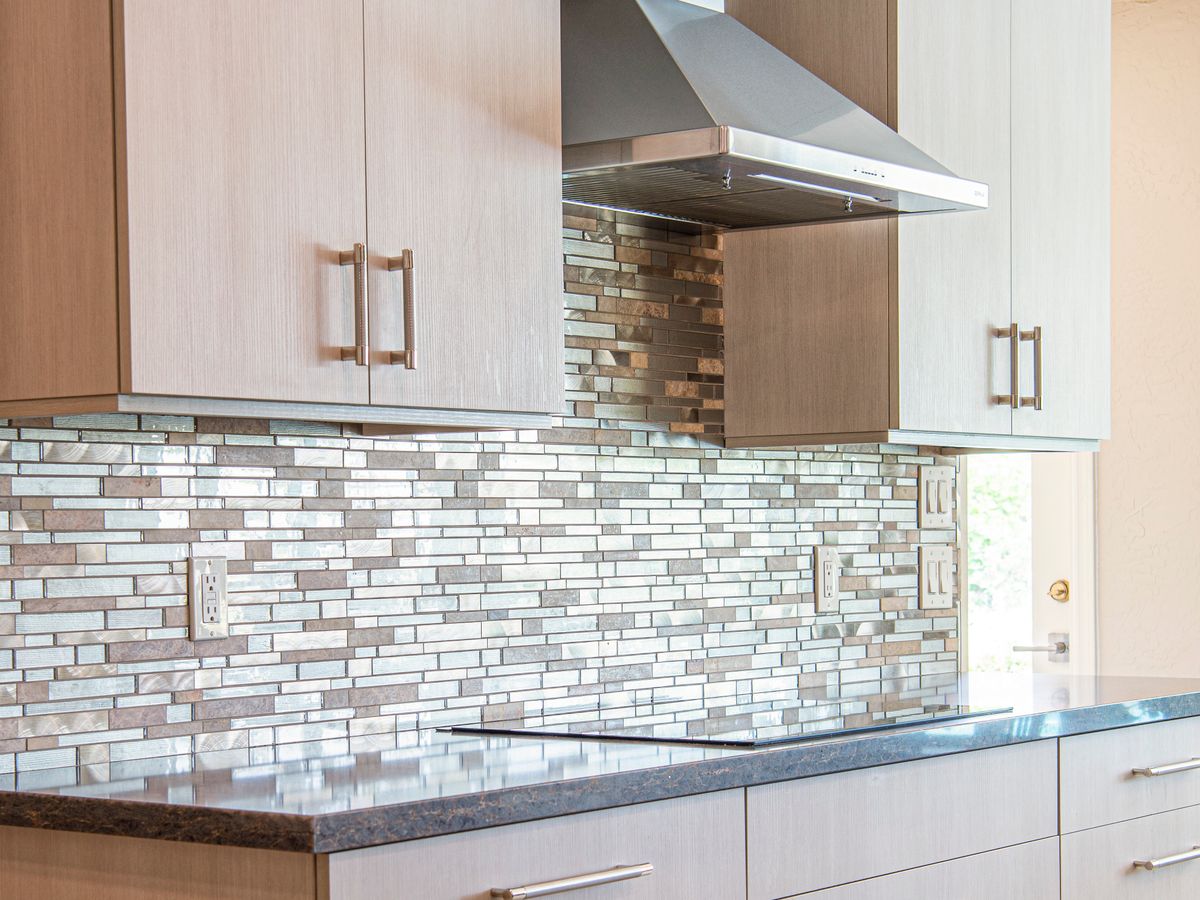
Budget honestly before you start. A small backsplash strip might cost twenty dollars in peel-and-stick tile, while a full wraparound in a large kitchen can climb toward a hundred once you add trim, extra sheets and a good pair of scissors. Even at the high end, a removable rental kitchen backsplash is a fraction of what any permanent renovation would cost, and none of it counts against your deposit.
Option 3: Cover existing tile without removing it
Ugly tile is the trickiest surface because of the grout lines, but you have options that never touch the original. A rigid backsplash panel, the kind sold as a thin PVC or acrylic sheet, mounts over the old tile with removable adhesive strips or a tension fit and hides everything behind it.
Panels run $20 to $40 each and cut with household scissors or a utility knife. Because they bridge the grout lines, they give a smooth, seamless look that peel-and-stick tile cannot achieve over uneven surfaces. At move-out, they lift off in one piece.
Grout renewal as a lighter touch
If the tile shape is fine but the grout is grim, a grout pen ($8) and a good scrub can make dated tile look intentional again without covering it at all. It is the cheapest rental kitchen backsplash refresh there is.
Whichever covering route you take over old tile, test your adhesive or tension fit on a small hidden section first. Glossy ceramic and the ridges of grout lines behave differently from a flat wall, and a ten-minute test tells you whether a panel will sit flush or whether you need extra strips at the edges. Five minutes of testing saves an afternoon of frustration and a wall of half-stuck material.
Do not overlook lighting while you are at it. A dim, yellow under-cabinet bulb makes even a beautiful new backsplash look muddy, while a strip of battery or plug-in LED lighting makes the same surface glow. Since lighting is another fully reversible upgrade, pairing it with your backsplash project doubles the visual payoff for a few extra dollars and ten minutes of work.
Matching the fix to your kitchen
Choosing between these comes down to what you are covering and how much you want to spend. Painted wall with no tile points to wallpaper or peel-and-stick tile. Existing tile you hate points to rigid panels. Tile that is merely tired points to a grout pen and cleaning.
Whatever you choose, buy about ten percent more material than you measure. Mistakes happen on the first outlet cutout, and matching a second batch later is often impossible.
Keep a small stash of leftover material and the original packaging for the entire lease. If a corner lifts near the stove halfway through the year, a matching offcut and a fresh strip of adhesive fixes it in minutes instead of forcing you to redo the whole backsplash. Storing the instructions also means you will know the correct, paint-safe way to remove everything when moving day finally arrives.
Removing it cleanly when you move
The whole strategy depends on a clean exit. For peel-and-stick tile and wallpaper, warm a corner with a hair dryer and peel slowly at a low angle; heat softens the adhesive so it releases without pulling paint. Wipe any residue with a dab of adhesive remover, then a little dish soap and water.
A refreshed rental kitchen backsplash is one of the highest-impact, lowest-risk upgrades a renter can make, and it comes right back down when the lease ends. Start with the surface you have, pick the matching option above, and give yourself one satisfying weekend. For more ideas in the same spirit, see our roundup of renter-friendly kitchen upgrades you can undo in a day.

Luiza Ferraz writes about making rental spaces feel like home. Based in Minneapolis, Minnesota, she shares practical, damage-free upgrades, smart organization hacks, and proven ways to protect your security deposit. Her goal is to help renters create beautiful homes without ever picking up a drill.