You’ve probably run your hand over them a hundred times without really seeing them: the little builder-grade knobs on your kitchen and bathroom cabinets, all identical, all slightly loose, all that same tired brushed-nothing finish. They’re the visual equivalent of beige carpet, and they quietly make the whole rental feel generic.
Here’s the upgrade almost no renter thinks of: swap them. Changing cabinet hardware is one of the cheapest, fastest, and most reversible ways to make a rental kitchen or bathroom feel custom, and it genuinely takes about twenty minutes with a single screwdriver and no experience whatsoever. This guide walks through choosing, measuring, and installing new cabinet hardware, then swapping the originals back before you move out.
Why cabinet hardware is the ultimate small upgrade
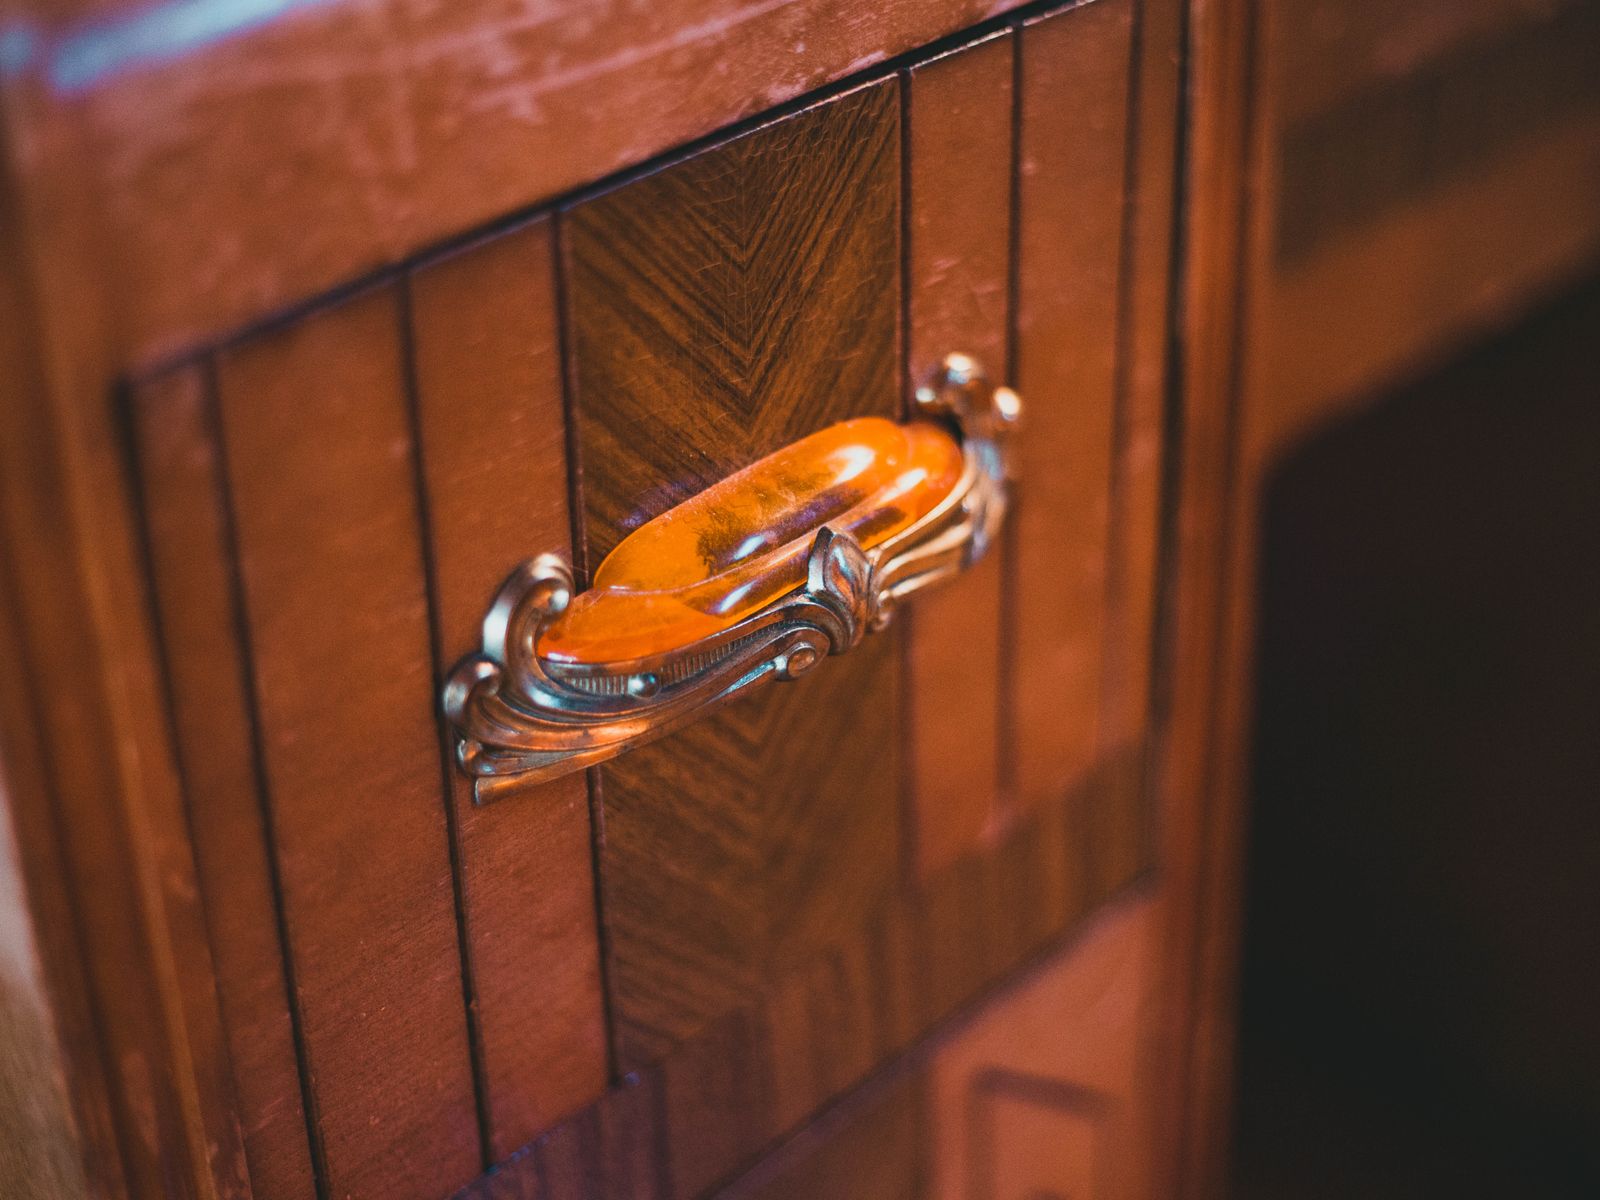
Cabinet hardware is jewelry for a room. A handful of knobs and pulls sit at eye and hand level, so upgrading them draws the eye and signals quality even when the cabinets themselves are basic. The brain reads those small metal details as a cue for how well-appointed the whole space is, which is why a builder-grade kitchen with beautiful pulls suddenly looks a tier above its actual budget.
It’s also almost free of risk. Because you’re using the holes that already exist, you’re not drilling or altering anything permanent. Keep the original knobs in a labeled bag, screw them back in at move-out, and there’s nothing for a landlord to object to.
Consider the return on effort. For roughly the price of a couple of takeout meals and less time than it takes to watch a movie, you touch every cabinet in the room and change how it feels the moment you walk in. Very few rental projects offer that ratio of impact to effort, which is why designers reach for cabinet hardware first when staging a kitchen on a budget.
Measure before you buy anything
Taking ten minutes to measure now saves an hour of returns later. The one mistake that turns a twenty-minute job into a frustrating afternoon is buying hardware that doesn’t fit the existing holes. Knobs use a single hole, so they’re foolproof. Pulls and handles use two, and the distance between them, called the center-to-center measurement, has to match.
Measure that center-to-center distance on a current pull before you shop, and count exactly how many knobs and pulls you need. If you want to switch from knobs to pulls, you’ll be drilling a second hole, which is not renter-friendly, so it’s usually smartest to replace like with like.
Common pull sizes are 3 inches, 96 millimeters, and 128 millimeters, but never assume; a few millimeters off means the screws won’t line up. If your drawers use different sizes than your doors, note each measurement separately. Adjustable pulls with slotted backplates exist for exactly this situation and can save a return trip if your cabinets are a mismatched mix.
Count and list everything
Walk the kitchen and bathroom and tally every door and drawer. It’s common to underestimate, then run out mid-project. Buy one or two spares, because a stripped screw or a dropped knob down the drain shouldn’t stop you. Write the count and each center-to-center measurement in your phone before you shop, so you’re never guessing in the aisle.
Choosing hardware that looks expensive
Good cabinet hardware doesn’t have to cost much; knobs often run $2 to $6 each and pulls $3 to $8. The trick is coordination, not price. Pick one finish and stick to it throughout the space, and let it either match or deliberately contrast your faucet and light fixtures rather than clashing with them by accident.
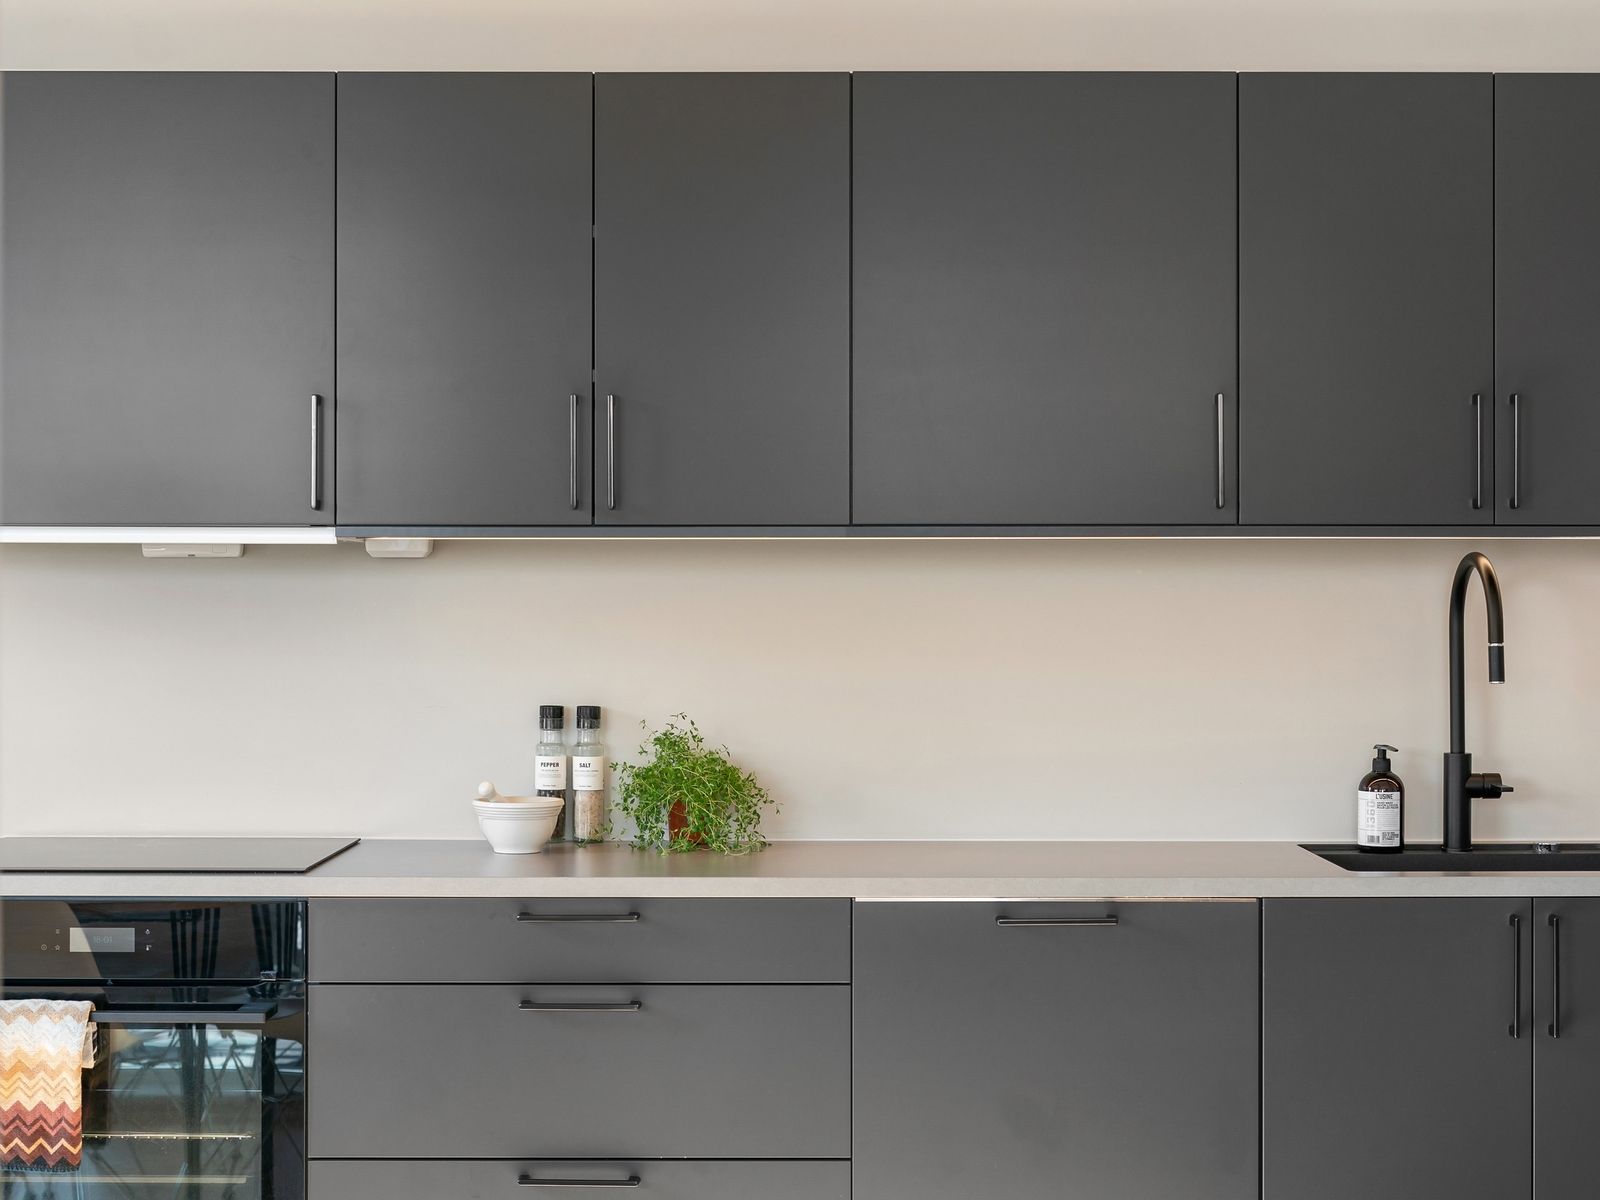
- Matte black: modern and forgiving, hides fingerprints, works with almost any cabinet color.
- Brushed brass or gold: warm and a little luxe, great against white or navy cabinets.
- Brushed nickel or chrome: classic and neutral, the safest all-rounder.
- Mixed knobs and pulls: knobs on doors, pulls on drawers is a designer-standard combination.
Think about the feel of the piece in your hand, not just the look. A knob you grab dozens of times a day should be comfortable and solid, so a slightly heavier metal piece often feels more expensive than a hollow, lightweight one at the same price. If your kitchen needs more than a hardware refresh, pair this with the other reversible ideas in our guide to renter-friendly kitchen upgrades you can undo in a day. The same one-finish rule that elevates cabinets also transforms a bathroom, as covered in making a rental bathroom look expensive.
The 20-minute installation
This is the satisfying part. With your new hardware and one screwdriver, the whole swap goes fast if you work methodically. Set up a small tray or bowl to catch screws, put on a podcast, and treat it like the quick, low-stakes win it is rather than a chore.

- Unscrew one old knob or pull, letting the screw drop into your hand from behind the door.
- Drop the old piece and its screw into a labeled bag so you can reinstall later.
- Line up the new piece, start the screw by hand, then tighten with the screwdriver until snug.
- Repeat around the room, and re-tighten any that feel loose after the first pass.
Don’t overtighten, which can crack a knob or strip the hole. If a new screw is slightly too short or too long, hardware stores sell packs of assorted machine screws for a couple of dollars. A screw that’s too long is common when moving from a thin old knob to a chunkier new one, and swapping in a longer machine screw solves it instantly.
A quick word on drawers versus doors
If you’re using the popular knobs-on-doors, pulls-on-drawers look, do all the doors first, then all the drawers, so you’re only handling one type of piece and one screw length at a time. Batching like this keeps the rhythm going and makes a whole kitchen of cabinet hardware feel effortless rather than repetitive.
Protecting your deposit
The whole appeal of this project is that it’s invisible in reverse. Store the original hardware somewhere you’ll remember, ideally taped inside a cabinet or in a labeled zip bag with the rest of your move-out kit, so a future you can restore the kitchen in minutes. Snap a photo of the original setup too, in case you forget which knob went where.
Because you’re reusing existing holes and altering nothing structural, this is one of the lowest-risk upgrades a renter can make, but rules still vary, so read your lease and check local tenant resources such as the USA.gov renting guide before making changes. Never enlarge or drill new holes, and keep everything you removed. For a keep-it-tidy bonus, better hardware pairs well with the interior fixes in our guide to small rental kitchen organization without a single screw.
Small details that lift the result
While the doors are in your hands, give the cabinet fronts a quick wipe and tighten any loose hinges; it takes seconds and makes the new cabinet hardware pop against a clean surface. If a few of the original screw holes are visibly worn, a dab of matching wood filler is usually considered a minor, acceptable touch-up, but confirm with your lease first. These finishing details are the difference between a swap that looks rushed and one that looks professionally done.
Your next step
Measure one pull today, count your doors and drawers, and order a matching set in a single finish you love. Give yourself twenty minutes this weekend and a screwdriver, and you’ll watch a plain rental kitchen turn custom before your coffee gets cold. New cabinet hardware is the rare upgrade that’s cheap, fast, renter-safe, and genuinely transformative, and it all comes back off the day you leave with your deposit fully intact.

Luiza Ferraz writes about making rental spaces feel like home. Based in Minneapolis, Minnesota, she shares practical, damage-free upgrades, smart organization hacks, and proven ways to protect your security deposit. Her goal is to help renters create beautiful homes without ever picking up a drill.