It is the Saturday before your final walkthrough, and you are suddenly seeing your apartment the way your landlord will. There is a gouge in the laminate from the couch leg, a scorch ring on the counter where a hot pan sat too long, and a doorknob that punched a small crater into the bedroom wall two winters ago. None of it felt like a big deal at the time, and all of it is exactly the kind of thing you can fix minor rental damage on before anyone else notices.
Here is the good news: most of these are things you can fix minor rental damage yourself in an afternoon, for far less than a landlord would charge against your deposit. This guide walks through the three trouble zones renters lose money on most often, floors, counters and doors, and exactly how to make each one disappear.
Why small repairs protect your deposit
Landlords itemize. A single scratched floorboard or a cracked switch plate can turn into a line item with a markup, and those add up fast. When you fix minor rental damage before the walkthrough, you control the cost instead of paying whatever the landlord’s contractor invoices.
The line between a repair you owe and ordinary aging is not always obvious. Rules for what counts as damage versus normal wear and tear vary by state, city and your specific lease, so read your lease and check your local tenant resources before assuming who pays for what. When in doubt, it is cheaper to fix it than to argue about it later. If you want the fuller picture, our guide on what normal wear and tear usually means breaks down where that line tends to fall.
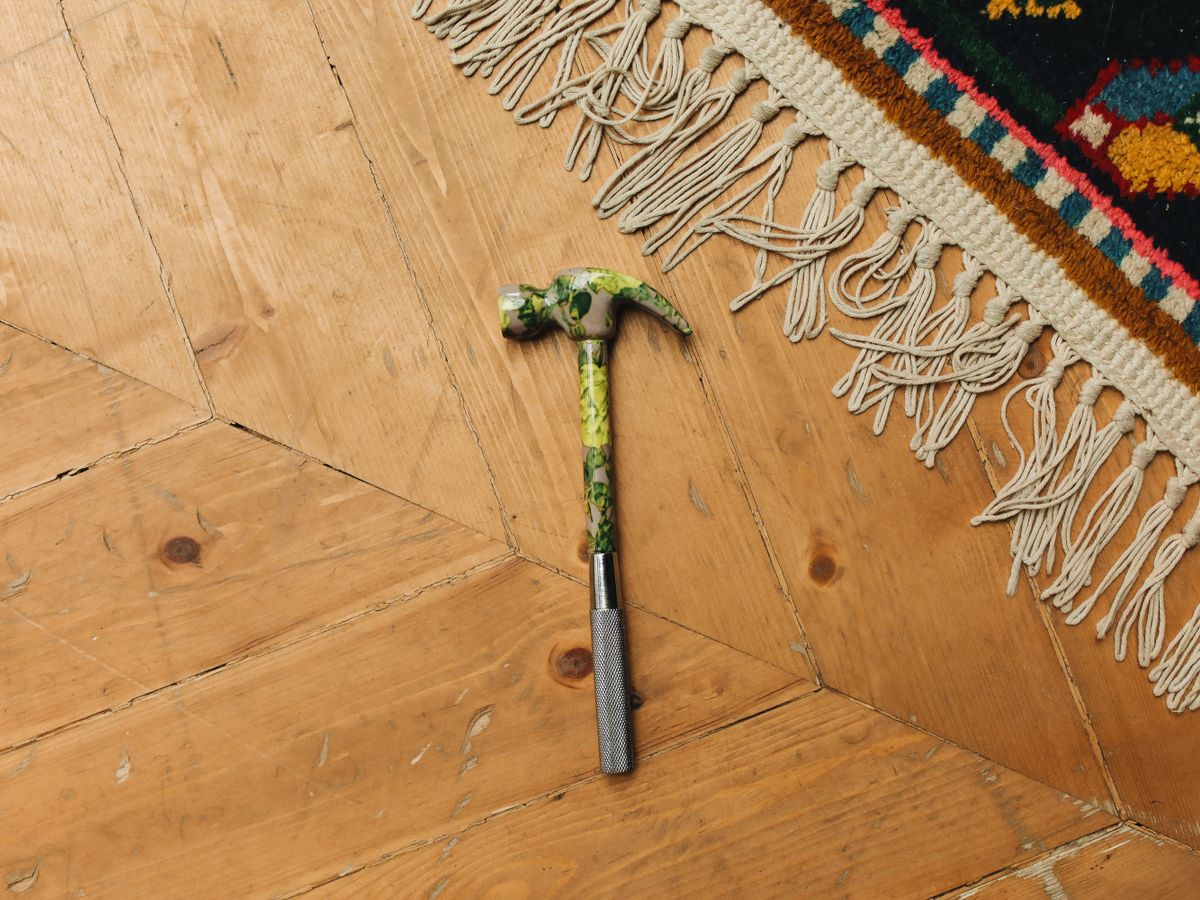
How to fix minor rental damage on floors
Floors take the most abuse, and they are also the most visible surface during a walkthrough. The fix depends on what you are working with.
Scratches in hardwood and laminate
For light surface scratches, a wax-based repair stick or a color-matched wood marker ($6 to $12) rubbed into the scratch and buffed with a soft cloth will make it vanish. Test the color in a closet corner first. Deeper gouges in laminate need a hard-wax filler kit ($15 to $25); warm the wax, press it into the groove, and level it flush with a plastic scraper. Plan about 20 minutes per spot.
Dents and marks in vinyl or tile
Scuff marks on vinyl often lift with a tennis ball or a melamine sponge and a little elbow grease. A cracked tile is a bigger job, but a single loose or chipped tile can sometimes be regrouted or edge-filled with color-matched caulk for under $20 rather than replaced. Keep everything reversible and avoid permanent adhesives your landlord did not approve.
One rule that saves floors going forward: put felt pads under every furniture leg the day you move in. It is a two-dollar habit that prevents most of the damage in this section.
A word on expectations: color matching is an art, not a science. On a busy floor with lots of grain, a repair you obsess over up close is invisible from standing height, which is the only view your landlord gets during a walkthrough. Do the work, then step back and judge it from six feet away in normal light before you decide whether it needs another pass.
Counters, cabinets and other surfaces
Kitchen and bathroom surfaces collect burns, stains and chips. Match your approach to the material.
- Laminate counters: small chips and burns fill with a color-matched laminate repair paste ($12 to $18), smoothed flush and wiped clean.
- Stone or solid-surface: light etching often polishes out with a countertop polish; deep damage is a pro job, so document it and talk to your landlord.
- Stained grout: a grout pen ($8) restores a clean white line in minutes.
- Cabinet scuffs: a touch-up marker in the right wood tone hides edge wear for a few dollars.
Timing matters here too. Repair pastes and grout pens need to cure, sometimes overnight, before they look right and resist water. Do your counter and grout work at least a full day before the walkthrough so nothing is tacky or half-set when the landlord runs a finger across it. Ventilate the room while fillers dry, and wipe away any excess immediately with the corner of a damp cloth rather than letting it harden on the surface.
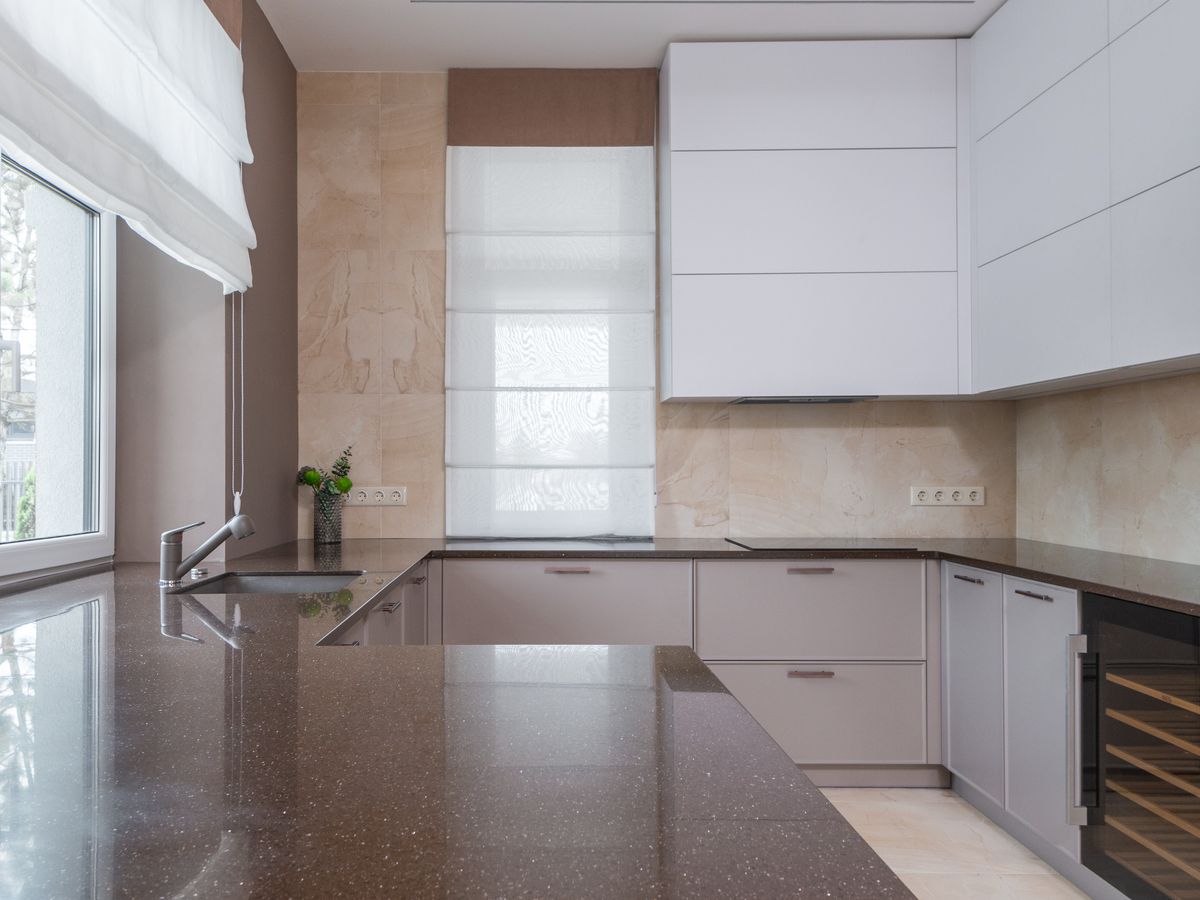
Before you start, snap a photo of every repair area. If you documented the unit at move-in the way our guide on documenting your rental’s condition at move-in recommends, you may find a burn or chip was already there and is not yours to fix at all.
Doors, walls and hardware
Doors get dinged, knobs punch holes, and hinges loosen. These are among the easiest wins.
For a doorknob hole in drywall, a self-adhesive repair patch and a small tub of lightweight spackle ($10 total) will close it. Apply the patch, spread two thin coats of spackle letting each dry, sand smooth, and touch up with matching paint. To stop it happening again, add an inexpensive door stop. Small nail holes and picture-hook marks are the same idea; our walkthrough on filling nail holes and small wall damage covers the technique step by step.
A door that no longer closes cleanly is usually loose hinge screws. Tighten them, or if the holes are stripped, glue a few wooden toothpicks into the hole, trim flush, and redrive the screw for a solid bite. If your original wall marks came from hanging things, switching to no-drill shelving and mounts next time keeps you out of this section entirely.
Repaint touch-ups deserve a note of their own. If you can, use paint left behind by the landlord or ask for the exact color and sheen, because a slightly different white in a glossier finish can stand out more than the mark you were covering. Feather the edges of any touch-up with a nearly dry brush so the patch blends instead of forming a visible island on the wall or door.
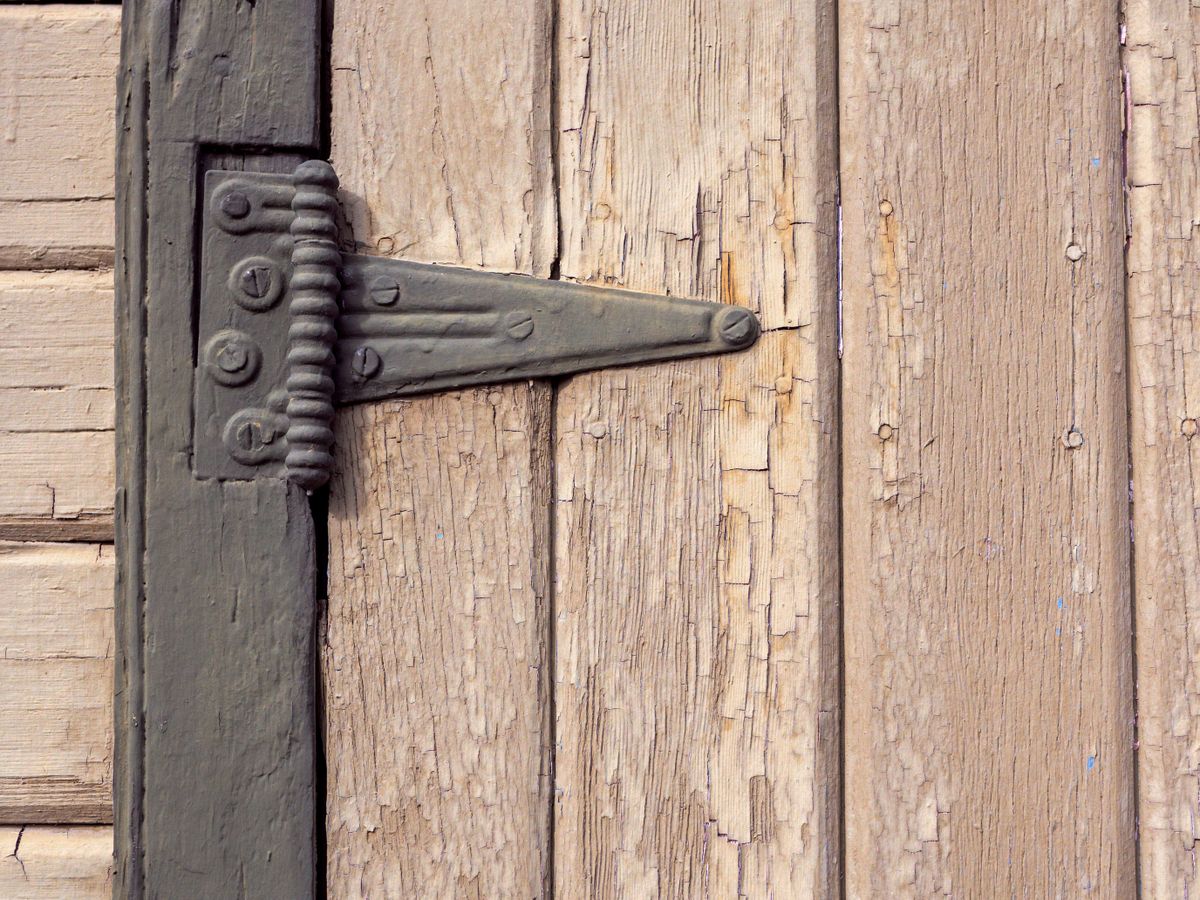
Hinges and strike plates are worth ten extra minutes. A door that drags or a latch that no longer catches reads as neglect, even though the fix is often just a screwdriver. Realigning a strike plate, tightening handle set screws and adding a drop of lubricant to a squeaky hinge cost nothing and make an entire unit feel cared for, which quietly works in your favor when the landlord is deciding how generous to be about the deposit.
When to call the landlord instead
Not everything is a DIY project. Structural cracks, plumbing leaks, electrical problems and anything behind the walls belong to your landlord, and attempting them yourself can make you liable for more. The U.S. Department of Housing and Urban Development’s tenant rights resources can help you understand which repairs are the landlord’s responsibility in your situation.
If a repair is borderline, a quick email to your landlord describing the issue creates a paper trail and sometimes gets it handled at no cost to you. Never assume; lease terms and local landlord-tenant law differ, so confirm before you either fix or forward it.
Keep a simple decision rule in mind while you work: fix what you can make reversible and invisible, document what you cannot, and hand anything structural or hidden to the landlord in writing. That framing keeps you from over-repairing damage that was never yours and from under-repairing the small stuff that quietly drains deposits. It also means you are never doing risky work on systems you are not qualified to touch.
Your pre-walkthrough repair kit
Assemble a small kit a week before move-out: a wood repair marker, hard-wax filler, laminate paste, spackle and a drywall patch, a grout pen, touch-up paint in your wall color, felt pads and a melamine sponge. The whole kit runs about $40 to $60 and covers nearly everything in this guide, usually saving several times that in deposit deductions.
Set aside one afternoon, work room by room, and photograph each finished repair. When you learn to fix minor rental damage on your own schedule, the final walkthrough stops being something to dread and becomes a formality, and your deposit stays where it belongs, in your pocket.

Luiza Ferraz writes about making rental spaces feel like home. Based in Minneapolis, Minnesota, she shares practical, damage-free upgrades, smart organization hacks, and proven ways to protect your security deposit. Her goal is to help renters create beautiful homes without ever picking up a drill.