You found the perfect spot for a little shelf, right there above the desk, and then reality lands: the lease says no holes, you do not own a drill, and the last thing you want is to explain a row of anchor holes at move-out. So the shelf idea gets shelved, so to speak.
Here is the fix: you can genuinely install shelves without drilling, and not just flimsy ones. With the right adhesive mounts, tension systems, and a little restraint about weight, renters can add real storage and display space that comes down cleanly on moving day. Let us walk through how.
There is a reason no-drill shelving has exploded in popularity beyond just rentals. Even homeowners increasingly want to rearrange a room without patching holes every time their taste changes. For renters, that flexibility is the whole point: you can try a shelf above the sofa, decide it works better by the window, and move it without leaving evidence of the experiment. Treat your walls as temporary canvases rather than permanent commitments, and the pressure to get everything perfect on the first try disappears.
Can You Really Install Shelves Without Drilling?
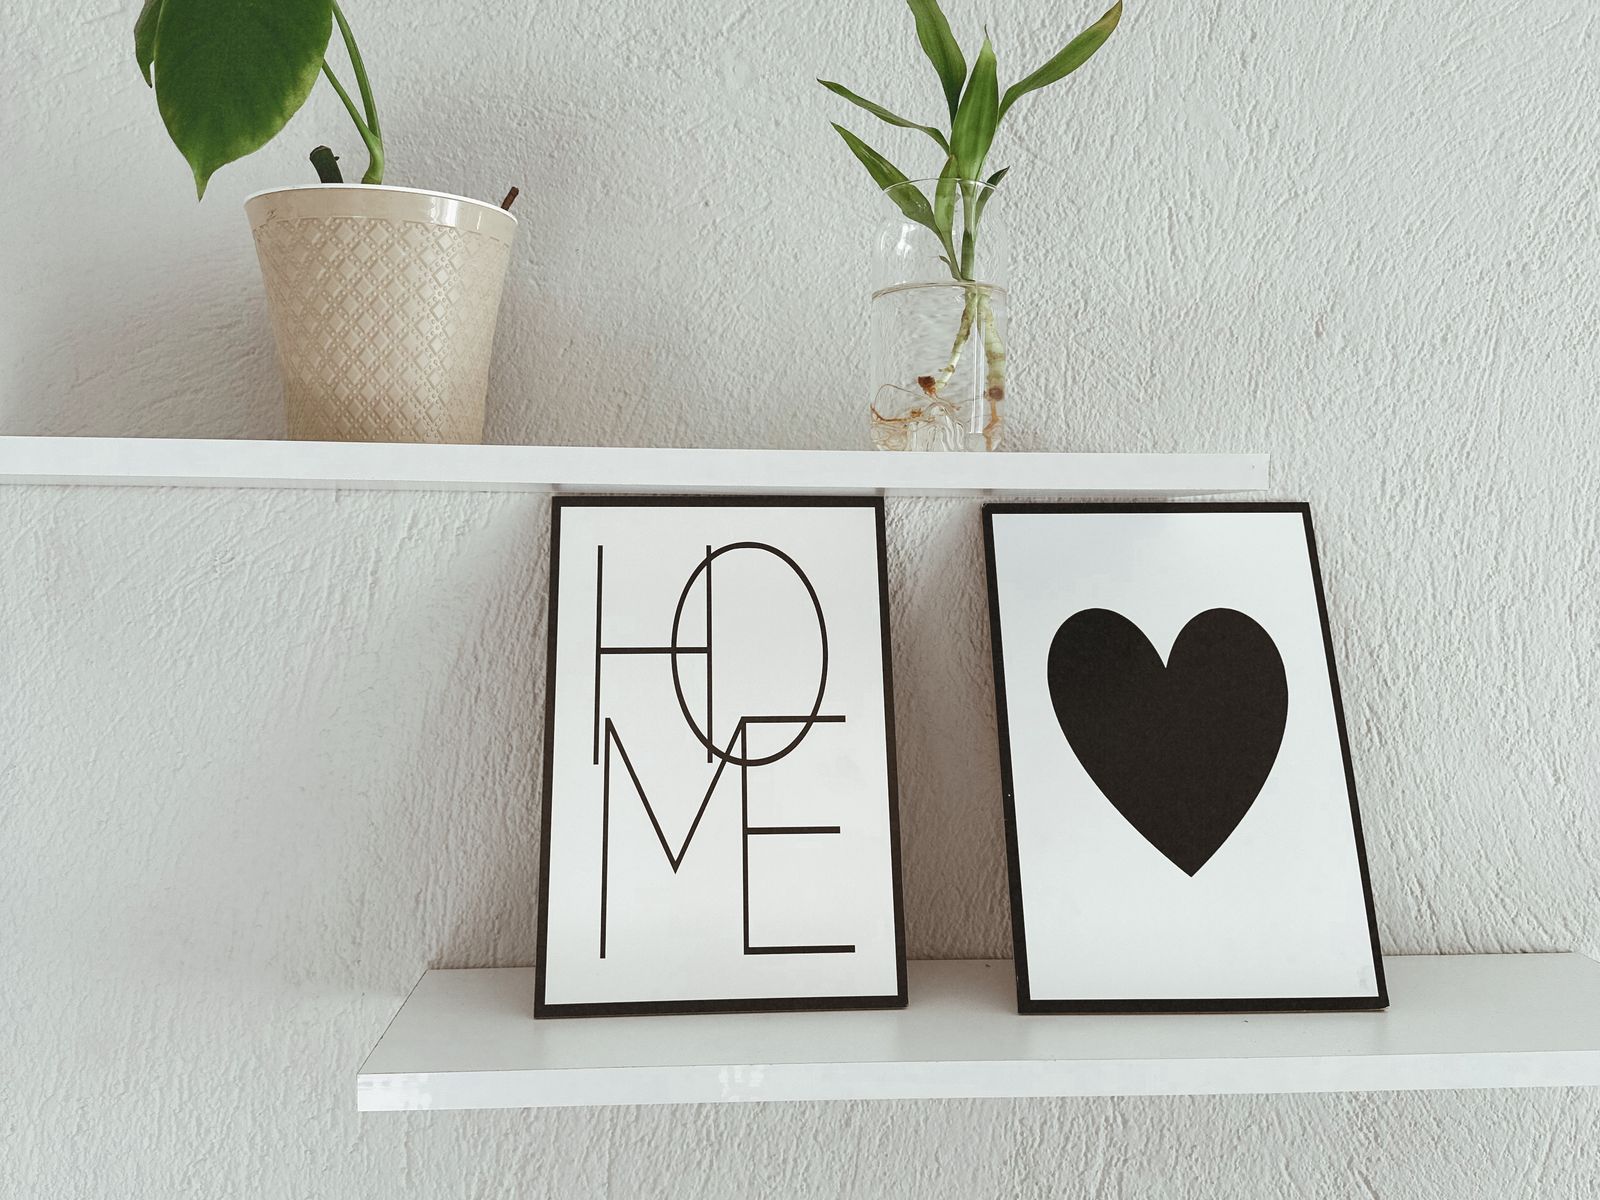
Yes, with one honest caveat: weight. No-drill methods are fantastic for light to moderate loads, think books you can lift with two fingers, plants, framed photos, and bathroom bottles. They are not meant for a shelf of cast-iron pans or a row of hardcovers.
Once you match the shelf and its contents to the mounting method’s rating, you can install shelves without drilling that look and feel permanent. The same reversible mindset behind learning to hang curtains without drilling applies here: choose the method for the load, and respect the limits.
A quick caution before you stick anything to a wall: adhesives can occasionally pull paint on removal, and what a landlord may charge for varies by state, city, and lease. Test in a hidden spot, follow the removal instructions exactly, and check your lease and local tenant resources, such as HUD’s tenant rights resources, if you are unsure.
It also helps to know your wall type before you commit to a method. Smooth, painted drywall is the friendliest surface for adhesive strips. Glossy paint, textured “orange peel” walls, wallpaper, brick, and tile all reduce how well adhesive grips, so on those surfaces you will lean toward tension, over-the-door, or lean-to solutions instead. A two-minute check of what you are working with saves a fallen shelf later.
Method 1: Adhesive-Mounted Shelves
The most straightforward way to install shelves without drilling is with heavy-duty mounting strips or adhesive shelf brackets. Many hardware brands now sell small shelves designed specifically to hang on damage-free strips.
How to do it right
Clean the wall with rubbing alcohol and let it dry fully; oils and dust are the enemy of adhesion. Press the strips firmly for the time the package specifies, then wait the full recommended hours (often an hour or more) before adding any weight. Rushing this step is the number one reason shelves fall.
Level it before it sets
Adhesive is unforgiving once it grabs, so get the shelf straight the first time. Use a small bubble level or your phone’s level app, mark light pencil guides (they wipe off), and press only when you are sure it is even. A crooked no-drill shelf is much harder to reposition than a screwed-in one, because peeling and re-sticking weakens the adhesive.
Method 2: Tension and Ledge Systems
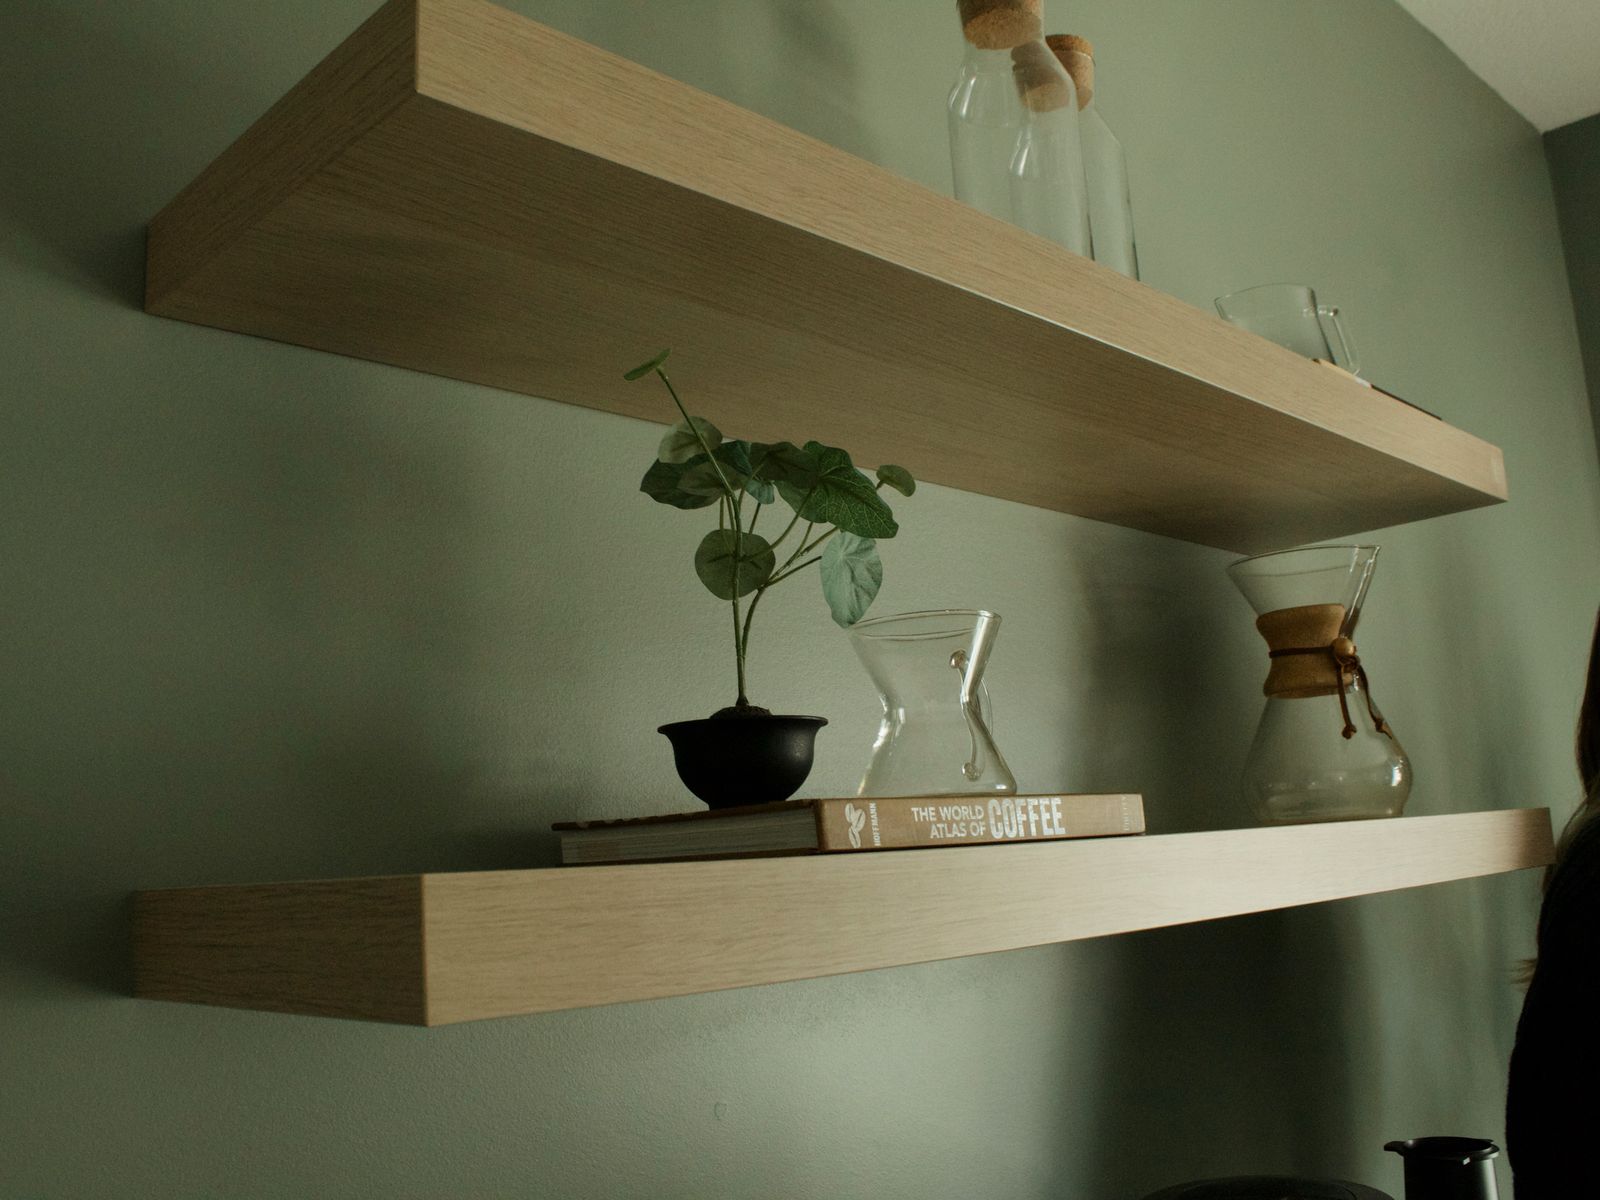
If you have a nook, an alcove, or the space between two cabinets, a tension-rod shelf or a spring-loaded shelving unit wedges into place with zero adhesive at all. These are ideal in showers, closets, and pantries.
Slim “picture ledges” are another favorite: some versions mount on adhesive strips and hold a surprising row of lightweight books or frames, leaning rather than stacking. For deeper storage without touching the walls at all, a freestanding option often wins, which is why our guide to organizing a rental closet leans on shelf risers and standalone units.
One habit worth building: keep the packaging and weight rating for every mount you buy, ideally photographed in your phone. When you want to add something to a shelf later, you will know instantly whether you are still within the safe limit. It also makes removal painless, since the instructions for pulling adhesive strips cleanly are usually printed right on the pack, and following them is what keeps paint on the wall where it belongs.
Method 3: Over-the-Door and Lean-To Shelving
Not every shelf has to touch the wall. Over-the-door racks hook onto the top of a door and add tiers of storage in a bathroom or pantry instantly. Lean-to ladder shelves rest against the wall and hold books, plants, and baskets while distributing their weight to the floor.
These are the safest options of all for deposit-conscious renters, because they leave literally no mark. If your walls are plaster, textured, or simply refuse to hold adhesive, this is your best path.
Over-the-door and lean-to options are also the most portable, which matters if you move often. You unhook or lift them, carry them to the next apartment, and set them up again in minutes with nothing to remove from a wall. For renters who relocate every year or two, that portability quietly saves both money and move-out stress.
If a shelf does start to sag or pull away from the wall, do not wait and hope. Take everything off it immediately and re-mount with fresh, higher-rated strips or switch to a floor-supported option. A slow-failing adhesive shelf can take a chunk of paint or drywall with it when it finally lets go, turning a no-damage project into exactly the kind of repair you were trying to avoid. Catching the warning signs early keeps the whole thing genuinely deposit-safe.
Matching Shelf, Load, and Method
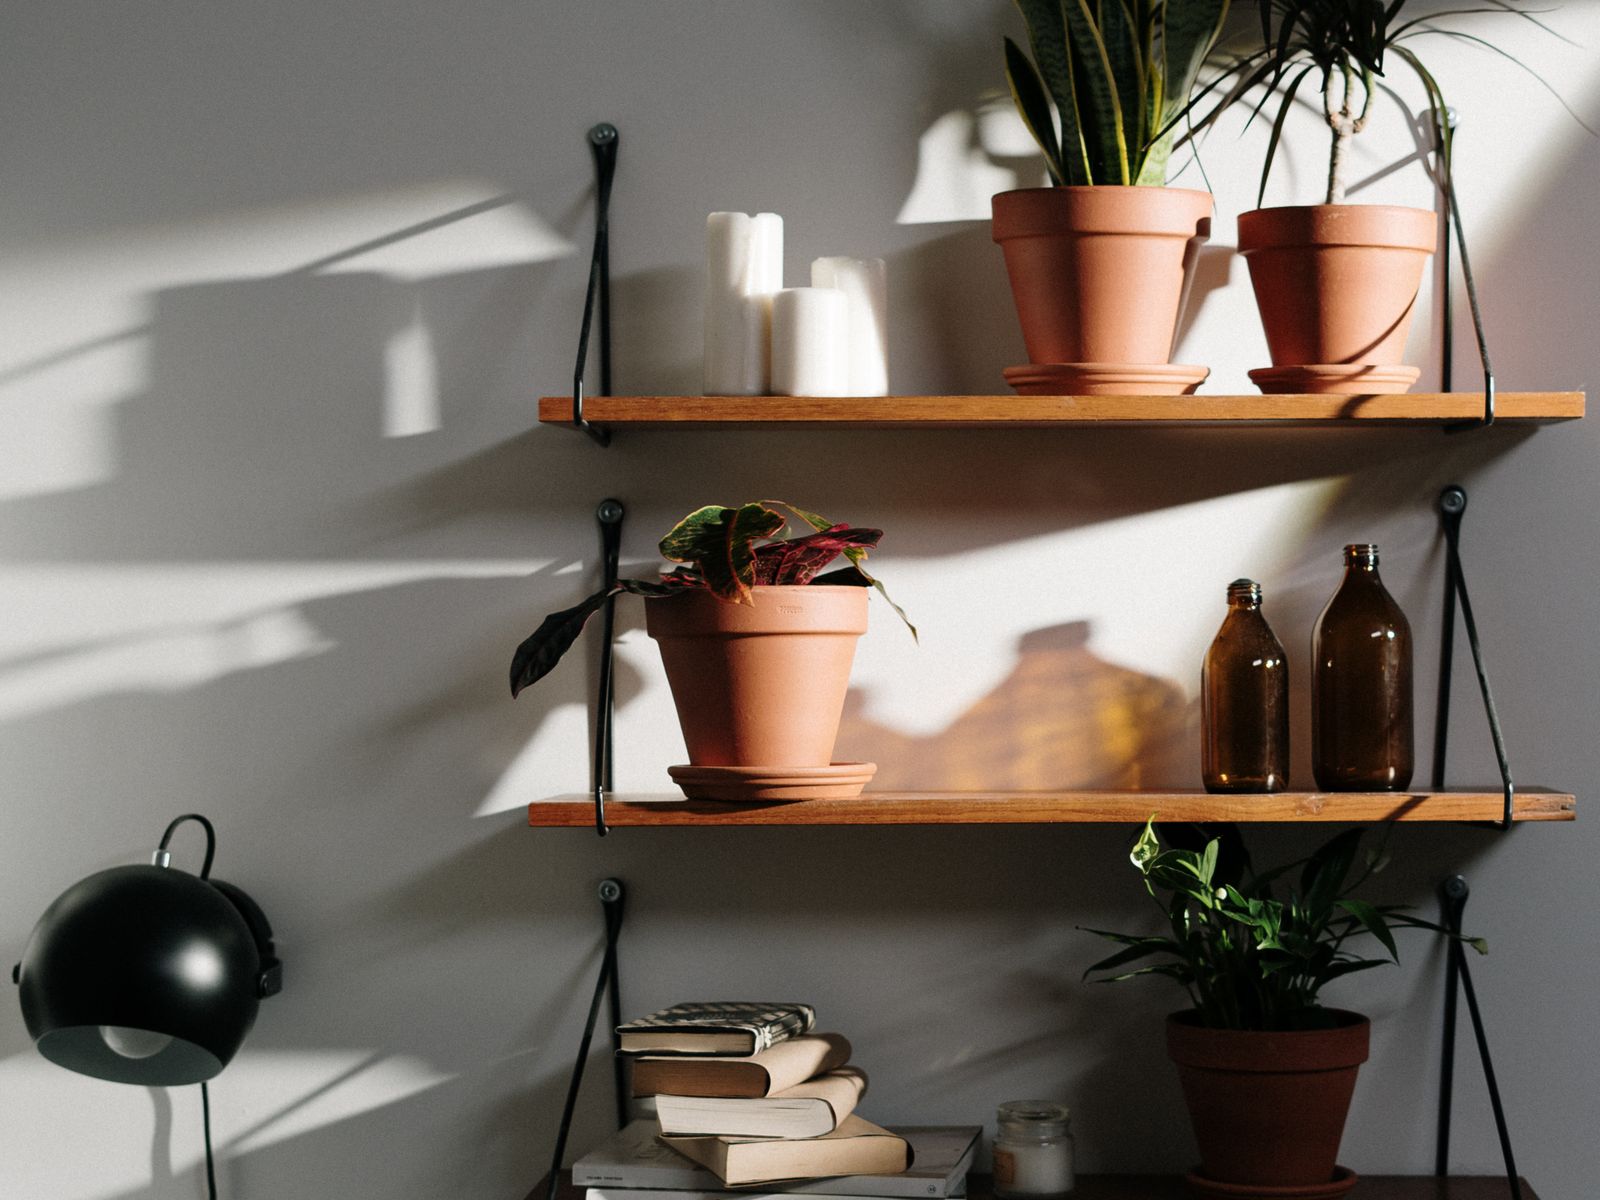
The secret to no-drill shelving that lasts is honest math. Before you mount anything, weigh (or estimate) what will live on the shelf and compare it to the mount’s rating, then leave a comfortable margin.
- Under 2 lbs (a few frames, one small plant): light adhesive strips or hooks are fine.
- 2–8 lbs (a short row of paperbacks, toiletries): heavy-duty mounting strips rated above your load.
- 8–15 lbs (a small styled ledge): a tension system in an alcove, or a lean-to shelf that uses the floor.
- Over 15 lbs (real book storage, kitchenware): use freestanding furniture instead of any wall mount.
When in doubt, size down what you store rather than up what you mount. A half-full shelf that stays up beats a loaded one that crashes at midnight, and reversible display fits right alongside a renter-friendly upgrade you can undo in a day.
Cost-wise, no-drill shelving is refreshingly affordable. A pack of heavy-duty mounting strips runs about $8 to $15, a simple adhesive or ledge shelf $15 to $40, a tension shelf unit $20 to $50, and a lean-to ladder shelf $40 to $90. Even outfitting several spots rarely tops what a single professional install would cost, and you keep every piece.
Finally, resist the temptation to crowd every wall just because you can. In a small rental, one or two well-placed, lightly styled shelves read as calm and intentional, while a dozen crammed with clutter make the whole space feel smaller. Choose the spots that genuinely need storage or a bit of personality, and let the rest of the wall breathe.
The Bottom Line
You do not need a drill, a landlord’s permission for holes, or a maintenance request to add shelving to your rental. Between adhesive mounts, tension and ledge systems, and lean-to designs, you can install shelves without drilling for almost any spot, as long as you keep the load light and the method matched.
Your next step: pick one shelf-worthy spot, weigh what you want to put there, and choose the mounting method one tier stronger than you think you need. Then give the adhesive its full cure time before you load it, and enjoy storage that vanishes without a trace when you move.

Luiza Ferraz writes about making rental spaces feel like home. Based in Minneapolis, Minnesota, she shares practical, damage-free upgrades, smart organization hacks, and proven ways to protect your security deposit. Her goal is to help renters create beautiful homes without ever picking up a drill.