It always happens the week before you hand back the keys: you take down the last framed photo, step back, and suddenly see them. A little constellation of nail holes across the wall, plus that one gouge where the shelf bracket slipped. Your stomach drops a little, because you know your landlord will see them too.
The good news is that filling these marks is one of the easiest, cheapest deposit-savers there is. If you can spread peanut butter on toast, you can fill nail holes and patch small wall damage well enough to pass a normal move-out inspection. Here is exactly how to do it, what to buy, and how to know when a repair is beyond a quick DIY.
Why Filling Nail Holes Protects Your Deposit
Landlords rarely charge you for the hole itself. What they charge for is labor: the time it takes them (or a contractor) to fill, sand, and repaint a wall you left dotted with holes. A single patch job on an invoice can run far more than the tube of spackle it would have taken you to fix it yourself.
When you learn to fill nail holes before you leave, you take that line item off the table entirely. This is also why a careful move-in inspection with photos matters so much: it proves which marks were already there when you arrived versus which ones are yours to fix.
One caution worth repeating throughout this guide: what counts as “normal wear and tear” versus tenant damage varies by state, city, and the exact wording of your lease. A few small nail holes are often considered ordinary use, but do not assume. Read your lease and check your local tenant resources before you decide something is the landlord’s problem.
What You Need (and What It Costs)
You do not need a contractor’s toolbox. Most small-hole repairs come down to a handful of inexpensive supplies you can grab at any hardware store, usually for under twenty dollars total.
- Lightweight spackle (about $5–$8): the go-to filler for nail and screw holes. Dries fast and sands easily.
- A flexible putty knife (about $3–$6): a 1.5 to 2 inch blade is plenty for small work.
- Fine-grit sandpaper, 150–220 grit (about $3): for smoothing the dried patch flush with the wall.
- A damp sponge and a small cup of water: free, and essential for a clean finish.
- Touch-up paint ($0 if the landlord left some; otherwise a color match): to hide the patch.
If your landlord left a labeled can of the wall paint in a closet or basement, use it. A matched touch-up is the difference between an invisible repair and an obvious white dot on a cream wall.
Step-by-Step: How to Fill Nail Holes
1. Clean and prep the hole
Run your finger over the hole first. If the drywall around it is raised or “puckered” from the nail pulling out, gently tap it flat with the back of your putty knife or a spoon. Wipe away any dust so the spackle grips clean.
2. Apply the spackle
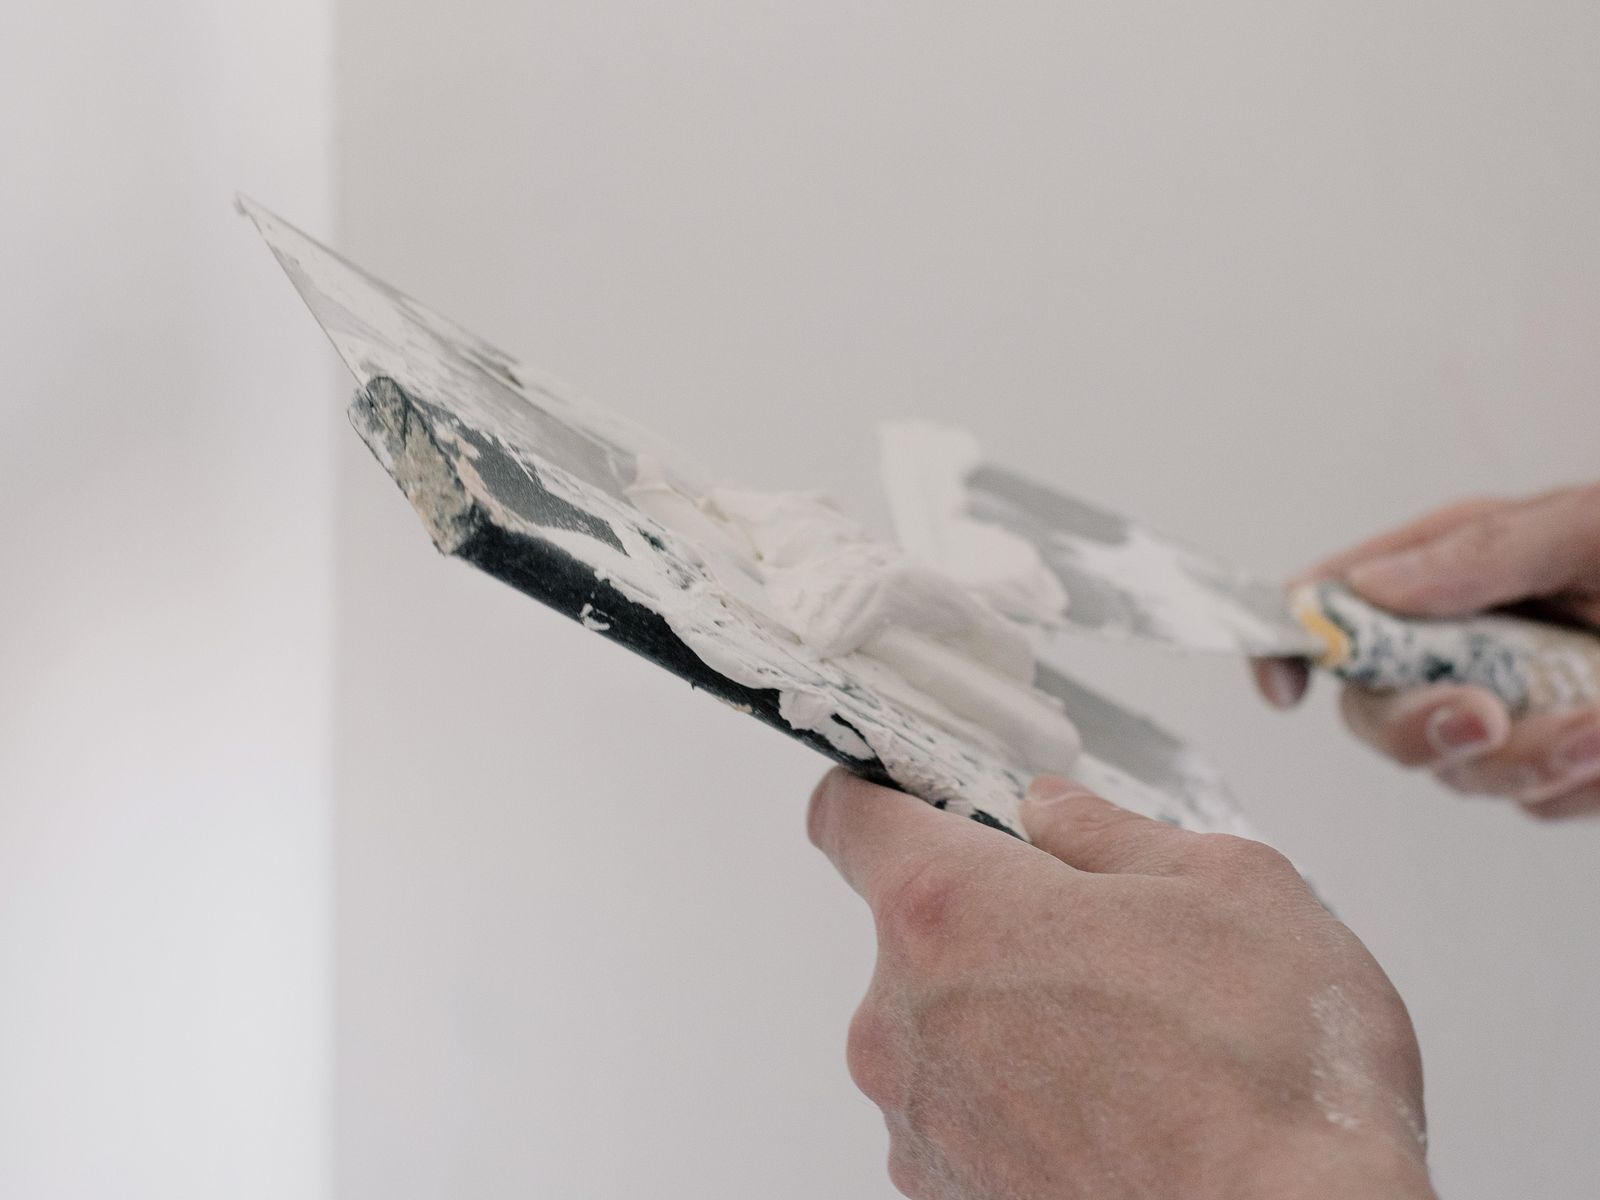
Scoop a small amount of spackle onto the tip of the putty knife. Press it into the hole and drag the blade across at a slight angle, filling the hole and scraping off the excess in one smooth motion. You want the patch flush, not mounded. For a deep hole, it is better to do two thin layers than one thick glob.
3. Let it dry, then sand
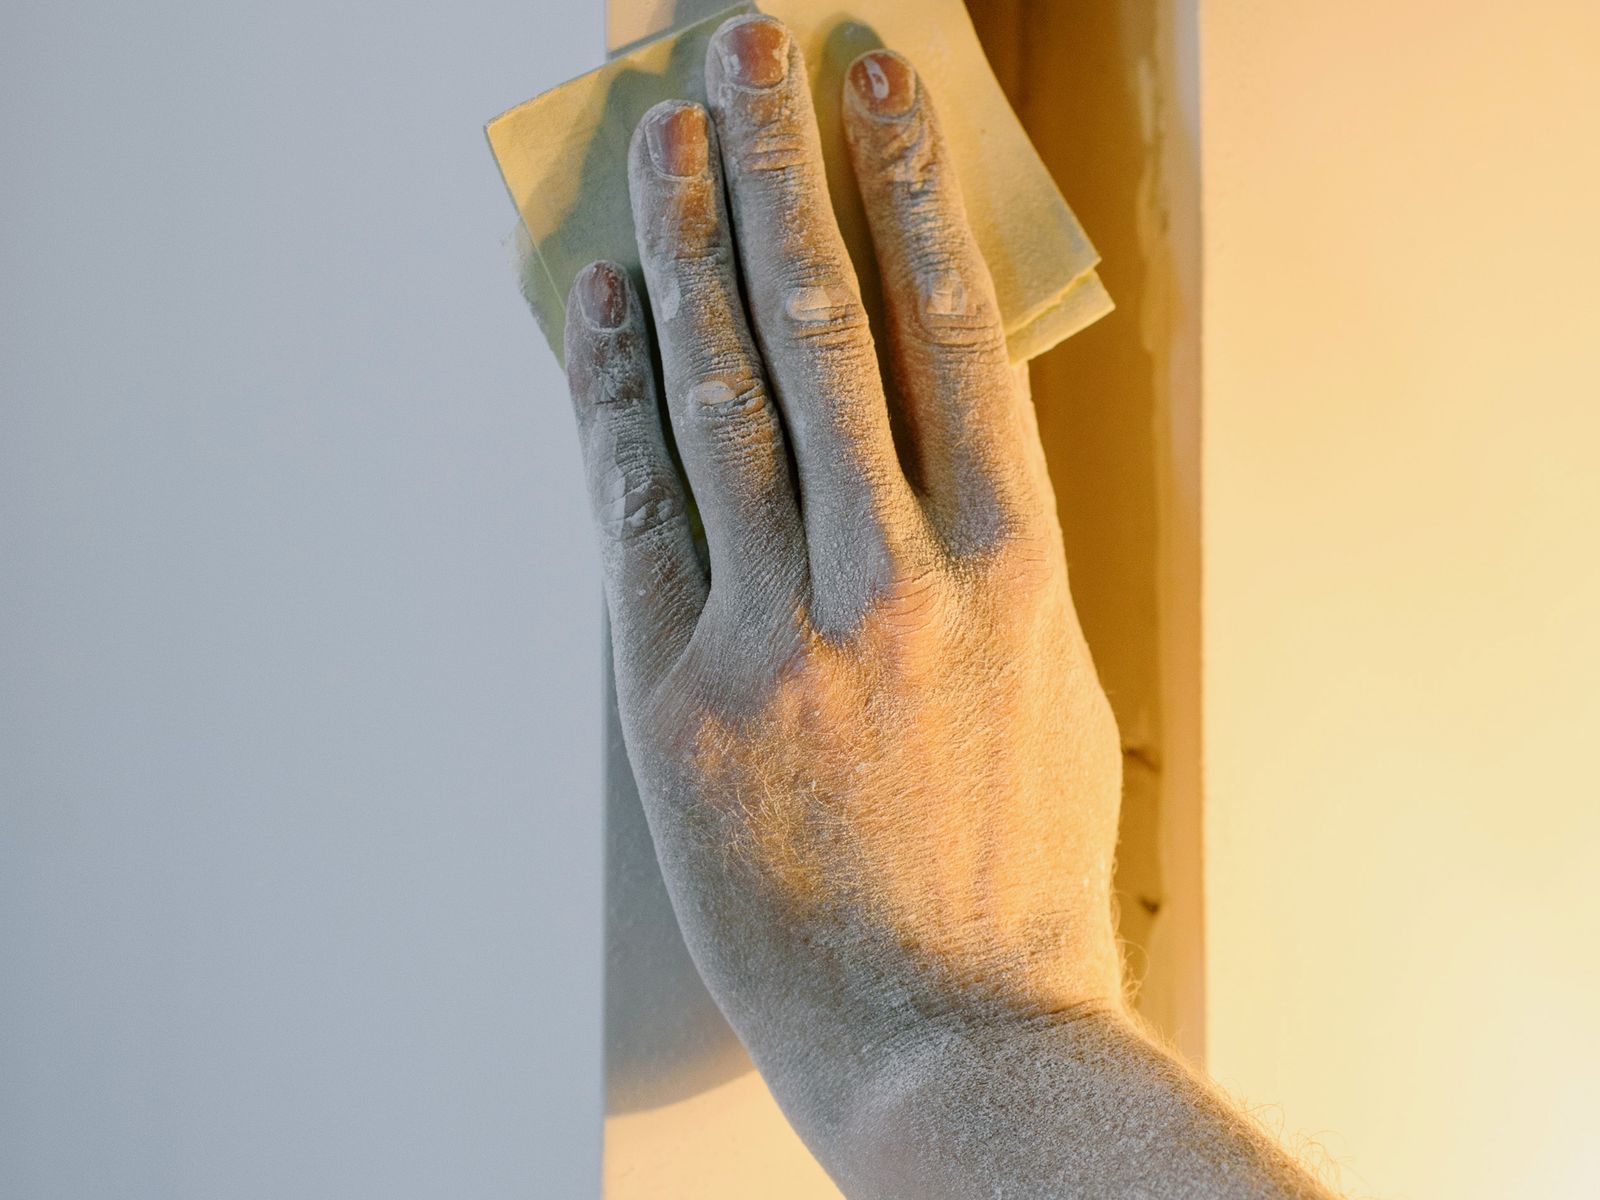
Give the spackle the time on the label to cure, usually 30 minutes to a couple of hours depending on depth. Lightweight fillers often shrink slightly as they dry, so add a second thin pass if you see a small dimple. Once fully dry, sand lightly with fine-grit paper until the patch is perfectly smooth to the touch.
Wipe the spot with a barely-damp sponge to remove sanding dust. A dusty patch will not take paint evenly.
4. A quick word on spackle color
Some lightweight spackles go on pink or blue and dry white, which is handy: the color change tells you at a glance when the patch is ready to sand. If yours dries the same shade it went on, just follow the time on the label rather than guessing. Either way, resist the urge to sand while the center is still soft, because you will only smear it and have to start over.
Matching Paint and Touching Up
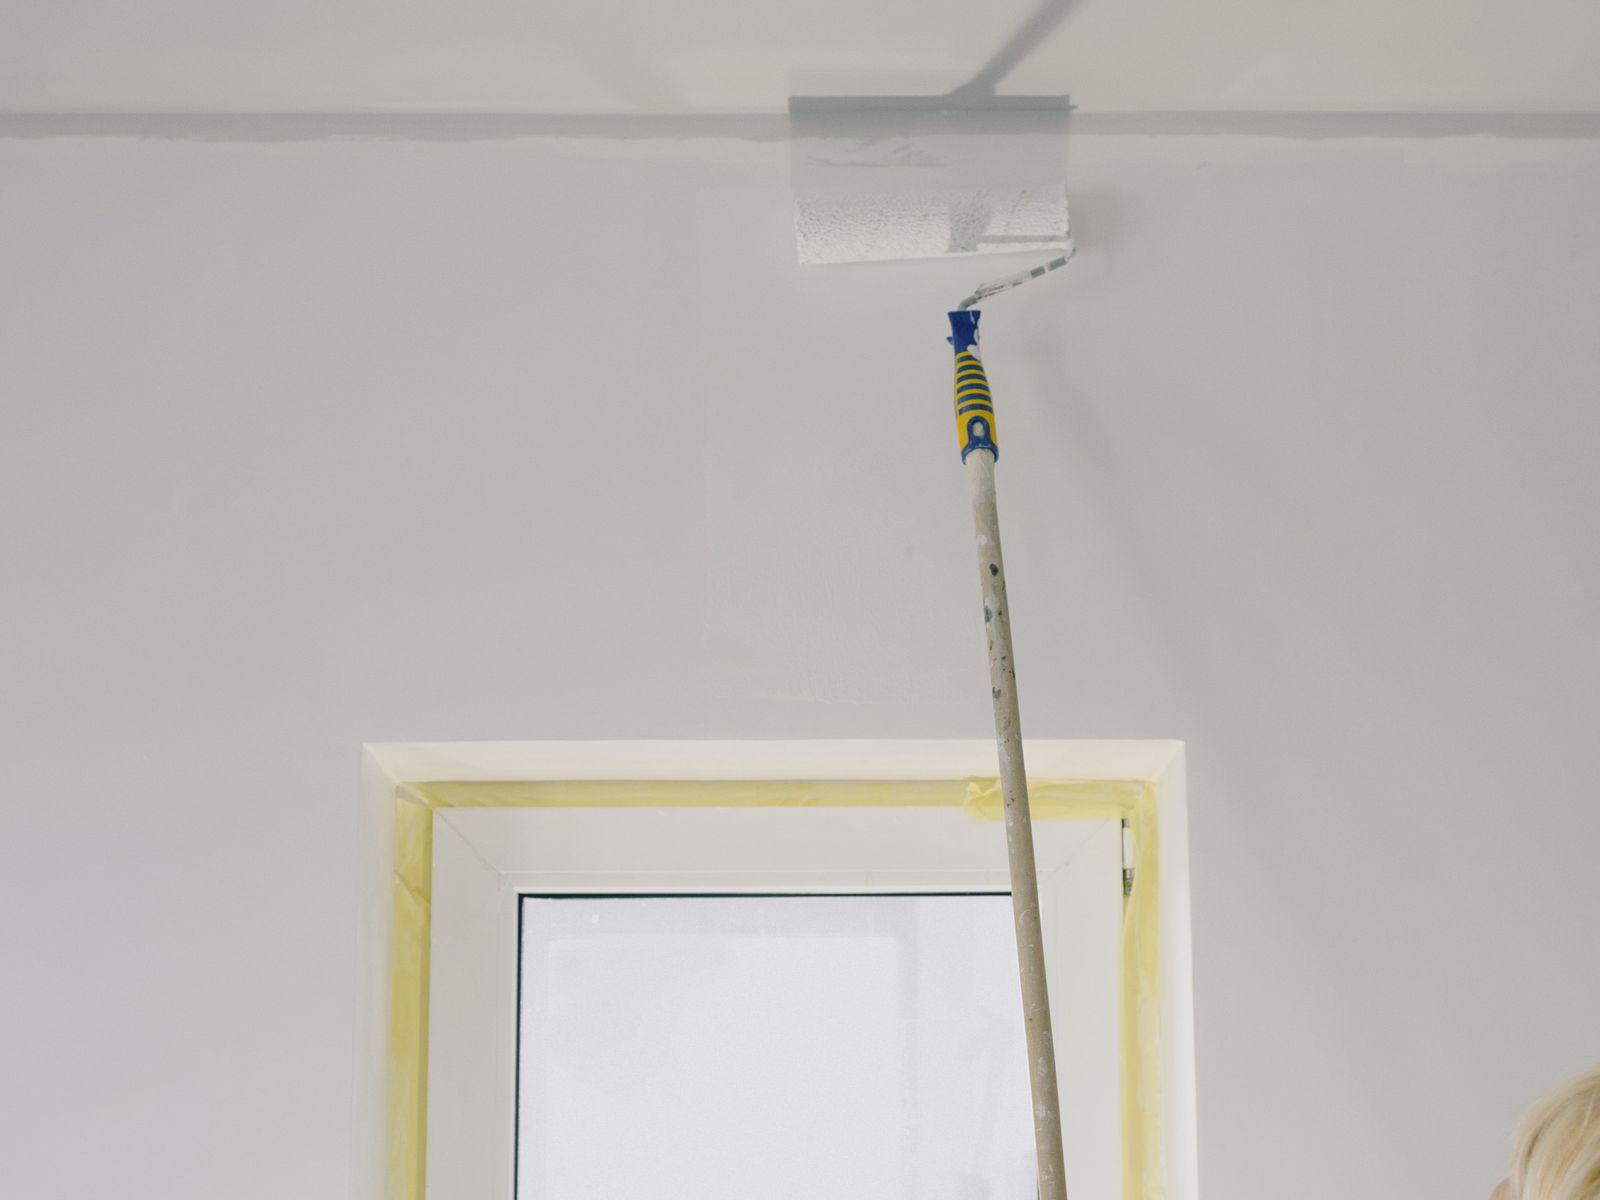
This step is where most DIY repairs succeed or fail. Even a perfect patch shows if the paint does not match. Dab a small amount of touch-up paint over the patch with a small brush or a mini foam roller, feathering the edges outward so there is no hard line.
If you do not have the original paint, take a small chip to a paint store for a color scan, or check whether your lease or move-in paperwork lists the wall color. Let the first coat dry and add a second only if needed. Painting a full wall corner-to-corner sometimes looks cleaner than a single patch, but check your lease first, since some leases restrict repainting.
It also helps to keep your expectations realistic about finish. A touched-up patch can be nearly invisible, but on a wall with a slight sheen (satin or semi-gloss) the repaired spot can catch light differently than the surrounding paint. Matching the sheen matters as much as matching the color, so note whether your walls are flat, eggshell, or something glossier before you buy touch-up paint.
When It Is Bigger Than a Nail Hole
Some damage is beyond a quick spackle fix. Anchor holes, doorknob-sized dents, or holes where you can see the dark cavity behind the drywall need a self-adhesive mesh patch or a drywall repair kit (about $8–$12) before filling. These take more skill and drying time, so budget an afternoon rather than ten minutes.
If you are dealing with water stains, cracked plaster, or a hole larger than a soda can, it is usually smarter to document it and talk to your landlord rather than attempt a repair that could look worse. Understanding how deposit deductions work will help you decide what is worth fixing yourself; our full guide on getting your security deposit back walks through which repairs pay off. And if the damage happened because of something the landlord failed to maintain, that may not be your responsibility at all, which again comes down to your lease and local law.
For a general baseline on tenant and landlord responsibilities, the U.S. Department of Housing and Urban Development offers state-by-state tenant rights resources, and many state consumer-protection offices publish plain-language guides on security deposits.
A Renter’s Timeline for Wall Repairs
Do not save this for the frantic final hour before your walkthrough. Spackle and paint need drying time, and rushing shows. A relaxed approach looks like this: patch and sand a few days before move-out, touch up paint the next day, and keep the walkthrough day free for cleaning and a final look.
Walk the walls with good lighting the way an inspector would. Angle a flashlight along the surface to catch any dimples or shiny patches you missed, and fix them while you still have time.
If you rent often, consider building a tiny “move-out kit” you keep between apartments: a putty knife, a fresh tube of spackle, a folded sheet of sandpaper, and a small artist’s brush. It lives in a zip bag, costs almost nothing to maintain, and means you are never scrambling to buy supplies the night before a walkthrough.
The Bottom Line
Filling nail holes is genuinely one of the highest-return hours you will spend as a renter. A twenty-dollar kit and an afternoon can protect hundreds of deposit dollars, and the hang your art the damage-free way and the skill transfers to every place you will ever rent. Just remember that “small and reversible” is the whole philosophy here, and that anything involving lease terms or what your landlord can legally deduct should be checked against your specific lease and local tenant resources.
Your next practical step: this week, before you take anything else off the walls, do a slow lap of each room with a flashlight and make a quick list of every mark. Then buy one small tube of spackle and knock out the easy holes first. Momentum does the rest.

Luiza Ferraz writes about making rental spaces feel like home. Based in Minneapolis, Minnesota, she shares practical, damage-free upgrades, smart organization hacks, and proven ways to protect your security deposit. Her goal is to help renters create beautiful homes without ever picking up a drill.