You sign the lease, unpack the last box, and then you spot it: a toddler making a beeline for the outlet behind the couch, or a new puppy eyeing the blind cords like a chew toy. In a rental, your first instinct to grab a drill runs straight into the fine print of your lease.
The good news is that you can pet-proof or childproof a rental without screws, without holes, and without risking a single dollar of your deposit. Everything below is adhesive, tension-based, or freestanding, so it comes off cleanly the day you move out.
Why no-drill safety matters in a rental
Most standard baby gates and cabinet locks are designed to be screwed into walls and cabinet frames. In a rental, those holes are exactly the kind of alteration a landlord can deduct from your deposit.
When you pet-proof or childproof a rental the reversible way, you get the same protection while keeping every surface intact. The trade-off is choosing the right product for each spot, which is what the rest of this guide walks through.
One note before you start: some leases have specific clauses about alterations or even about pets. Reread your lease and check your local tenant resources so you know what is allowed before you commit to anything semi-permanent.
No-drill baby gates that actually stay put
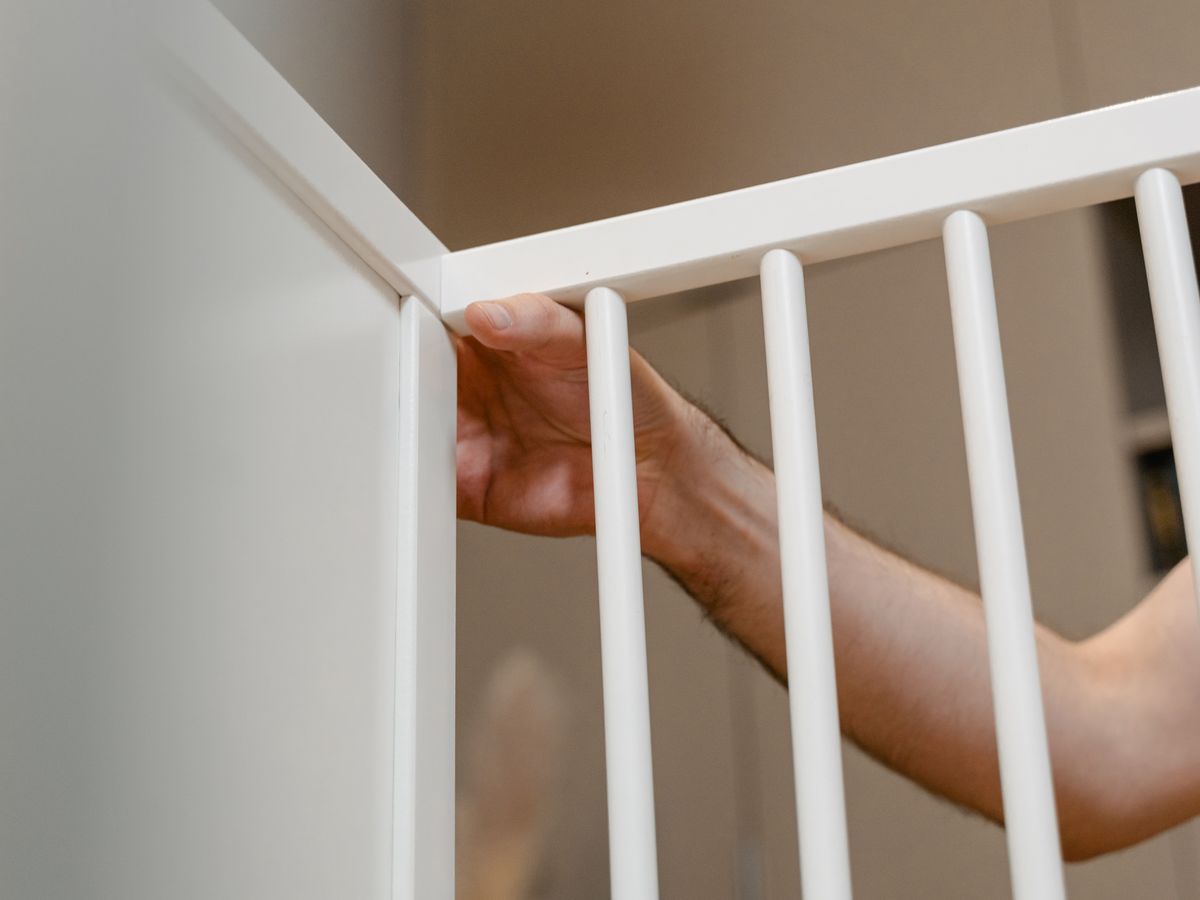
Pressure-mounted gates are the renter’s best friend. They use tension between two walls or door frames instead of screws, and quality models hold firm for a crawling baby or a medium dog.
Where pressure gates work and where they don’t
Use pressure gates in doorways and at the bottom of stairs, but never at the top of a staircase. Safety experts are clear that top-of-stairs gates should be hardware-mounted, so if you have a loft or internal stairs, talk to your landlord about a removable bracket instead.
Expect to pay $30 to $70 for a sturdy pressure gate. Measure the opening twice, since most gates only expand a few inches beyond their base width.
Cabinet, drawer and outlet solutions without a single hole
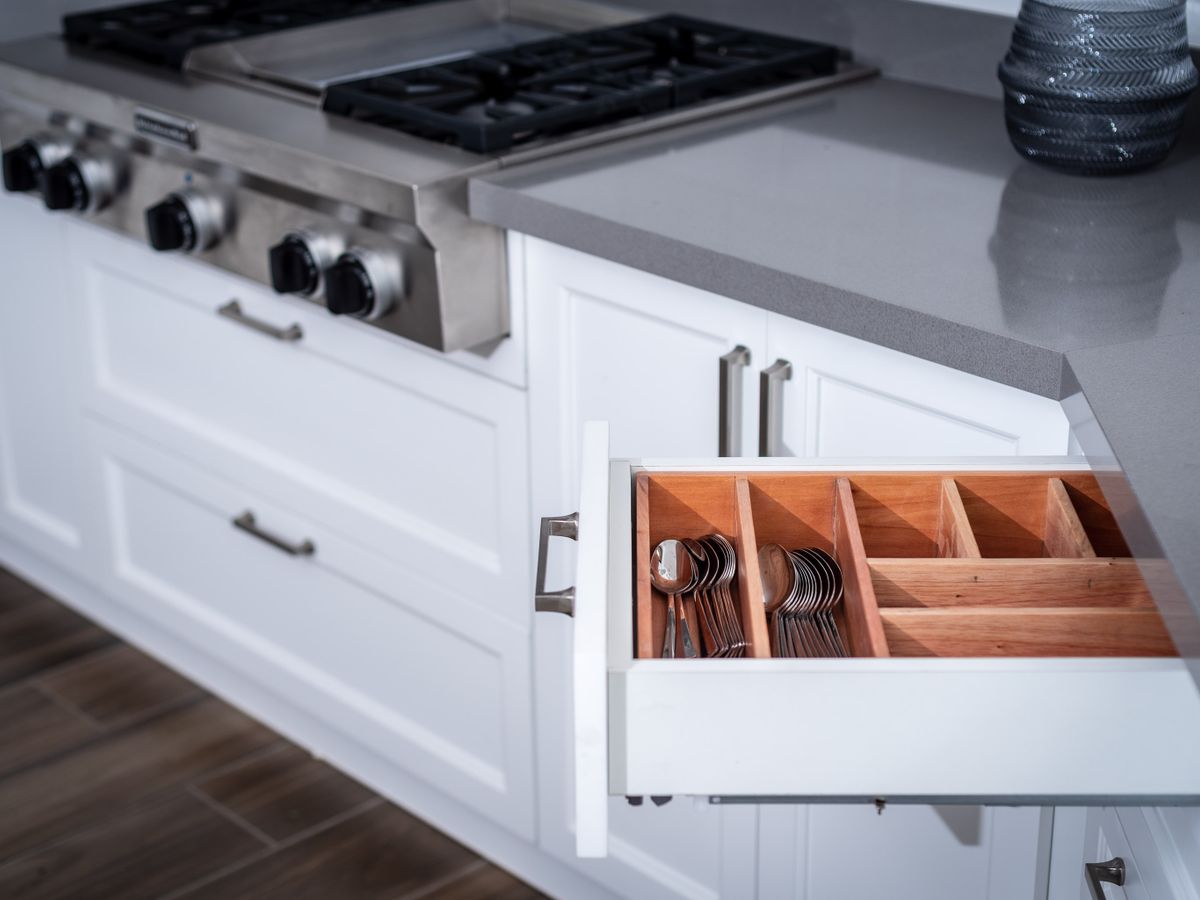
Adhesive magnetic locks mount inside cabinet doors with strong tape and open with a magnetic key you keep out of reach. They cost about $20 for a multi-pack and leave nothing visible when installed.
- Adhesive cabinet latches (about $10 for a pack) for lower kitchen and bathroom cabinets
- Sliding U-locks that clip over paired handles with no adhesive at all
- Plug-in outlet covers ($5 to $8) or sliding outlet plates for exposed sockets
- Cord wind-ups and adhesive cord cleats to keep blind cords out of reach
- Corner and edge bumpers with removable adhesive for sharp furniture
When you pet-proof or childproof a rental kitchen, focus first on cabinets holding cleaning supplies and anything under the sink. Those are the highest-risk zones for both curious kids and determined dogs.
Pet-specific fixes for floors, doors and cords

Pets bring their own challenges: scratched doors, chewed cords, and slippery floors that hurt older joints. A freestanding pet gate or an exercise pen creates a safe zone without touching a wall.
Protect door corners with clear adhesive shields, and route tempting cables through adhesive channels that peel off cleanly later. Washable, non-slip area rugs with a grippy underlay protect both your pet and the landlord’s flooring at once.
For scratch-prone entry doors, a removable door protector film or a hanging fabric shield takes the damage instead of the paint. It is a small upfront cost that can save a repainting charge later.
Room-by-room quick plan
Walk each room as if you were the smallest or four-legged member of the household. In the living room, anchor tip-prone furniture with adhesive anti-tip straps and cover outlets behind the sofa.
In the kitchen, lock the lower cabinets and add a pressure gate to the doorway if you need to keep little ones out during cooking. In the bathroom, use a toilet lock and a cabinet latch, since standing water and cleaning products are the biggest hazards there.
If you are still settling in, it helps to combine safety work with a smart setup routine. Our guide to what to set up in the first 48 hours of a new rental pairs well with a safety pass so nothing gets forgotten.
Removing everything cleanly at move-out
The whole point of a no-drill approach is a clean exit. Warm adhesive strips gently with a hair dryer before peeling, then wipe residue with a little rubbing alcohol so no marks remain.
The same reversible mindset applies to decor and storage. If you liked how well adhesive held here, our breakdown of command strips versus adhesive hooks and our guide to hanging curtains without drilling use the same damage-free logic elsewhere in the home.
Keep a small photo record of each spot before and after removal. If a deposit dispute ever comes up, that evidence shows you left the walls and cabinets exactly as you found them, though remember that what counts as damage versus wear varies by state and lease.
Where to double-check safety standards
Product safety guidance changes, especially for gates and cord safety. The U.S. Consumer Product Safety Commission publishes current recommendations worth checking before you buy.
For pet-specific hazards, a quick look at the ASPCA poison control resources helps you prioritize which cabinets and cords to secure first. Both are free and neutral references.
What each fix really costs and how long it takes
Budgeting helps you avoid over-buying. A complete first pass for a one-bedroom rental usually lands between $80 and
Talking to your landlord about safety changes
A quick, friendly message to your landlord can open doors that adhesive cannot. Many owners are happy to approve a properly mounted stair gate for a family with young children, especially if you offer to patch and repaint when you leave.
Put any agreement in writing, even a short email, so both sides remember what was allowed. That paper trail protects your deposit far better than a verbal yes, and it keeps the relationship easy for the rest of your tenancy.
If the answer is no to hardware, the no-drill options in this guide still cover the vast majority of hazards. You rarely need to choose between real safety and a full deposit return.
Your next step
50, depending on how many cabinets and outlets you need to cover.Time-wise, plan on a focused afternoon. A pressure gate takes about ten minutes to fit, adhesive cabinet latches run two to three minutes each, and outlet covers are nearly instant once you have them in hand.
Buy a little extra adhesive tape and a few spare latches. Renters often discover a second cabinet or a stray cord after the first round, and having backups saves a second trip to the store.
Common mistakes that undo your hard work
The biggest mistake is skipping the surface prep. Adhesive mounts fail on greasy or dusty surfaces, so wipe every spot with rubbing alcohol and let it dry fully before you press anything into place.
Don’t rush the cure time
Most strong adhesives need a full 24 hours to reach maximum hold. Mount your cabinet locks and corner guards a day before you actually need them to rely on, rather than testing them with a curious toddler an hour later.
Another common slip is treating the job as one-and-done. Kids grow, pets learn new tricks, and hazards shift, so walk the rooms again every few months to catch anything new before it becomes a problem.
Your next step
Pick the single highest-risk spot today, whether that is the under-sink cabinet or the top of the stairs, and solve just that one with a no-drill fix. Momentum from one small win makes the rest of the house feel manageable.
With a handful of adhesive latches, a pressure gate, and some cord management, you can pet-proof or childproof a rental in a single afternoon and undo all of it in minutes when it is time to move on.

Luiza Ferraz writes about making rental spaces feel like home. Based in Minneapolis, Minnesota, she shares practical, damage-free upgrades, smart organization hacks, and proven ways to protect your security deposit. Her goal is to help renters create beautiful homes without ever picking up a drill.