The night before a move-out inspection, most renters are on their knees with a flashlight, staring into an oven that has quietly collected a year of roasted-vegetable drips and one memorable pizza-cheese incident. That baked-on grime is exactly the kind of thing a landlord notices in ten seconds flat.
The good news: you do not need harsh fumes or a professional service to pass. Learning to deep-clean a rental oven and fridge is a weekend-friendly skill that protects your security deposit, and almost everything you need is already under your sink or costs under $15.
Why the oven and fridge decide your inspection
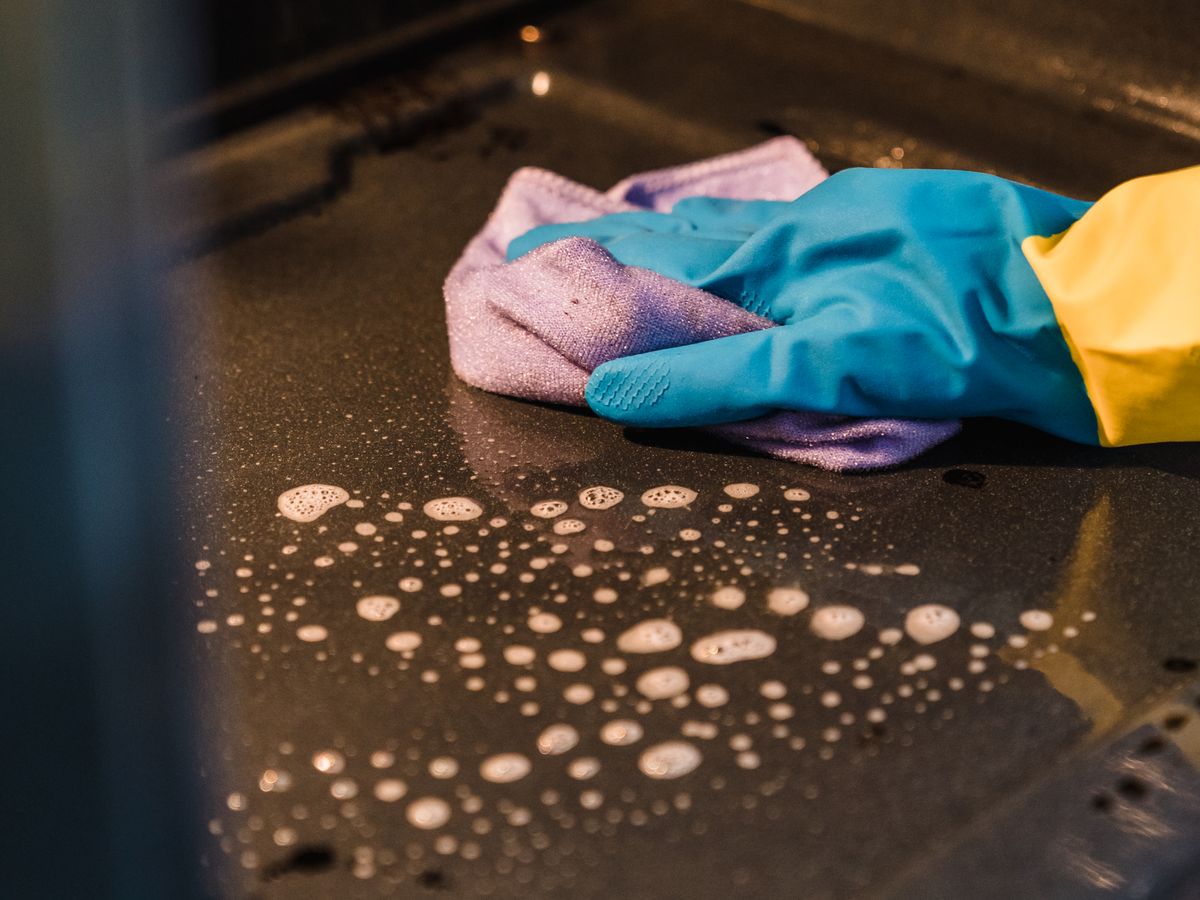
Appliances are the first place a landlord looks because they are shared, expensive, and easy to judge. A spotless oven signals that the whole unit was treated with care, which sets the tone for the rest of the walkthrough.
When you deep-clean a rental oven and fridge properly, you are also protecting yourself against cleaning fees. Many leases allow a landlord to bill for professional appliance cleaning if the kitchen is left greasy, and those charges add up fast.
Keep in mind that what counts as “clean enough” versus billable damage varies by state, city, and your specific lease. Before you assume anything, reread your lease and check your local tenant resources so you know the standard you are actually being held to.
Gather your supplies first (budget: under $15)
Set yourself up before you start scrubbing so you are not running to the store mid-project. Everything here is renter-safe and reversible, meaning nothing you use will scratch enamel or stain a fridge liner.
- Baking soda (about $1) and white vinegar (about $3) for the oven paste
- Dish soap and two microfiber cloths ($5 for a pack)
- A non-scratch scrub sponge and an old toothbrush for corners
- A plastic scraper or an old gift card for hardened spots
- Rubber gloves and a small spray bottle
Skip oven sprays with lye if your unit has a self-clean coating, since they can permanently dull it. When in doubt, the baking-soda method below is safe on nearly every surface and costs a fraction of the price.
How to deep-clean the oven step by step
1. Make and apply the paste
Mix about half a cup of baking soda with a few tablespoons of water until it forms a spreadable paste. Remove the racks, then coat the interior surfaces, avoiding the heating elements and the fan vent.
Let the paste sit for at least 8 to 12 hours, so start it the night before. This is the part that does the heavy lifting while you sleep, loosening grease you would otherwise scrub for an hour.
2. Wipe, spray, and scrub
In the morning, wipe out as much dried paste as you can with a damp cloth. Spray any stubborn residue with white vinegar; it will fizz as it reacts, which helps lift the last of the grime.
Use the plastic scraper for baked-on spots and the toothbrush around the door seal. Soak the racks in a bathtub lined with a towel and hot soapy water for an hour, then scrub and dry them before sliding them back in.
Finish by cleaning the glass door inside and out. This whole oven process takes about 45 minutes of active work spread across two sessions, and it is the single biggest visual win of the day.
How to deep-clean the fridge without odors
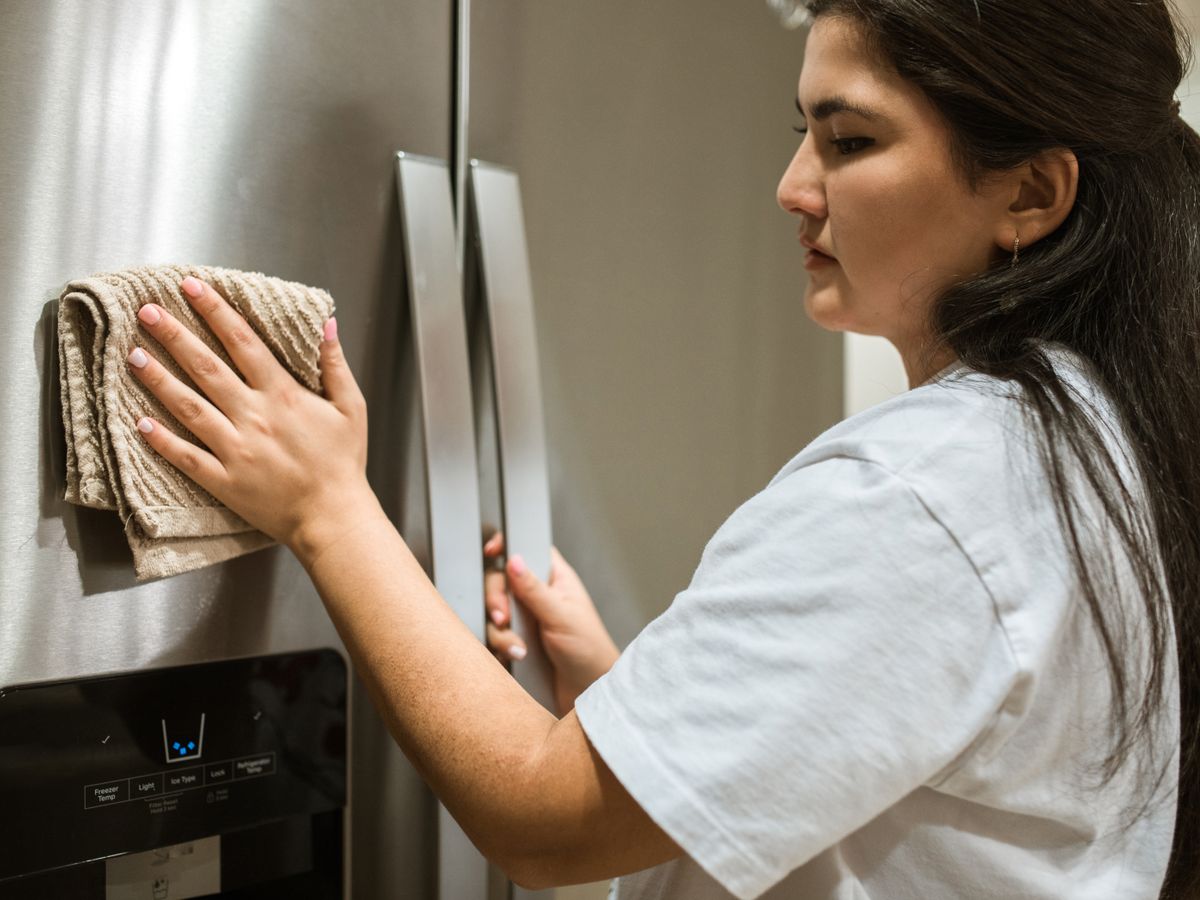
Empty the fridge completely and toss anything expired. Pull out the shelves and drawers and wash them in the sink with warm soapy water, letting glass shelves reach room temperature first so they do not crack.
Wipe the interior with a solution of two tablespoons of baking soda dissolved in a quart of warm water. It cleans and deodorizes at once without leaving a chemical smell near your food.
Do not forget the rubber door gasket, where crumbs and mold hide, and the drip tray underneath. Leaving an open box of baking soda inside for the final days keeps it smelling neutral right up to handover.
Don’t skip the details landlords check
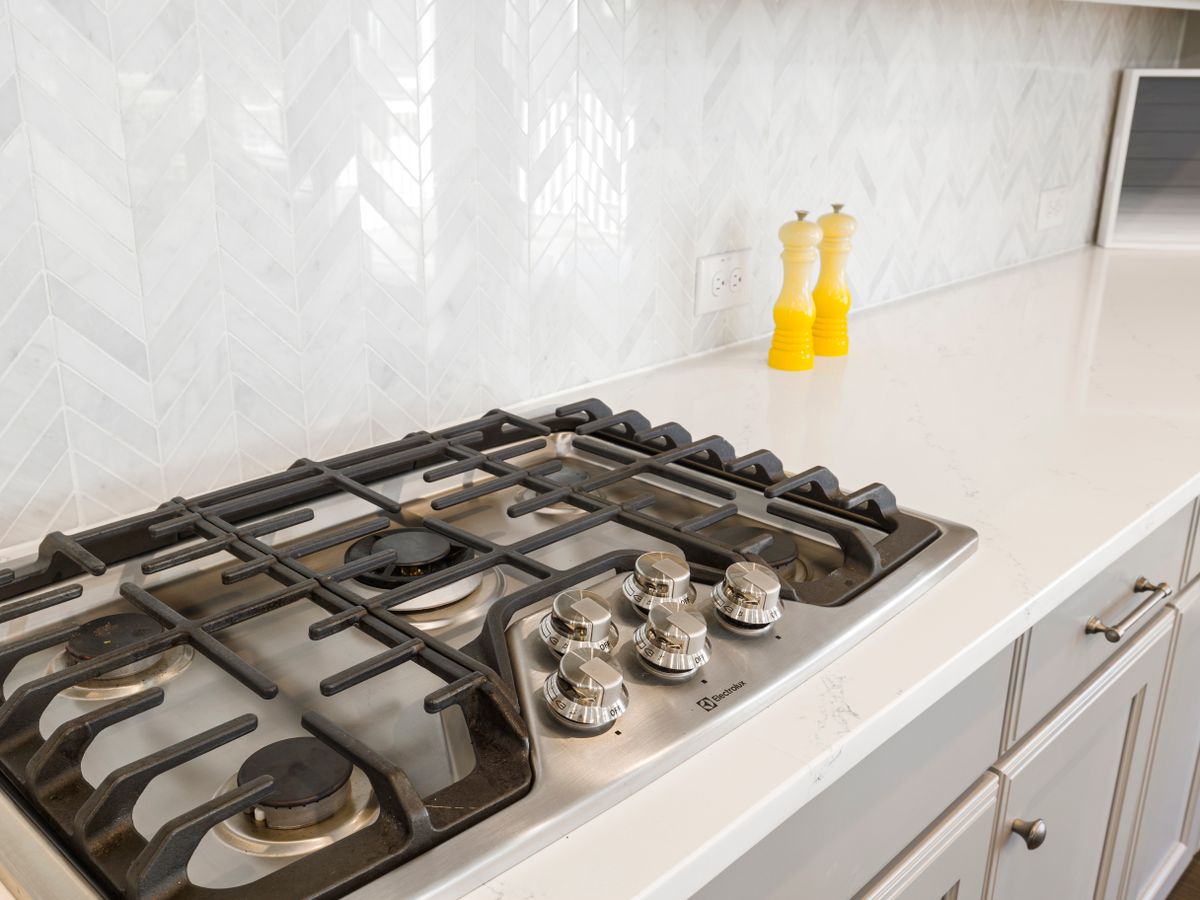
The stovetop, the range hood filter, and the space behind and beneath the fridge are the spots most renters forget. Pull the fridge out carefully and vacuum the coils, which also helps the appliance run efficiently for the next tenant.
Cleaning appliances is really one piece of a bigger move-out picture. Pairing this with a walkthrough of removing scuffs and marks from rental walls and reviewing the move-out cleaning checklist landlords actually check keeps you from missing anything expensive.
If your move is still weeks out, it also helps to stay generally organized so cleaning day is not chaos. A simple weekly reset routine for a small rental means fewer surprises when the inspection is finally on the calendar.
Know your rights before handover
A clean oven and fridge protect you, but so does knowing the ground rules. Landlords generally cannot charge you for ordinary aging of an appliance, only for damage or genuine filth, though the exact line is defined by your lease and local law.
For a neutral overview of tenant protections and deposit rules in your area, the HUD tenant rights resource is a solid starting point. Always confirm against your city’s specific ordinances, since they can be stricter than state law.
Take date-stamped photos of the finished appliances right before you hand over the keys. That evidence is your best defense if a deduction ever shows up on your final statement.
Common mistakes that cost renters their deposit
The most expensive mistake is waiting until the morning of the inspection. Baked-on grease needs hours of soak time, and a rushed job leaves streaks that read as “dirty” even after real effort went in.
Another common error is using abrasive scouring pads or steel wool on enamel and glass. Those scratches are permanent, and a landlord can reasonably argue they are damage rather than normal wear, so stick to non-scratch sponges every time.
Finally, renters forget the small parts: the broiler pan, the crisper drawers, and the ice tray. These are easy to clean but very visible, and leaving them grimy undercuts an otherwise flawless kitchen when you deep-clean a rental for handover.
How long the whole job really takes
Plan for roughly two to three hours of active work, split so the paste and soaking can do their part overnight. The oven is about 45 minutes of hands-on time, the fridge another 45, and the surrounding details fill the rest.
If you tackle it a few days early rather than the night before, you also give yourself margin to redo anything that did not come clean the first time. That buffer is what turns a stressful chore into a calm, deposit-protecting routine.
Keep it clean until the walkthrough
Once the oven and fridge are spotless, protect that work in the final days. Cook simpler meals, wipe spills the moment they happen, and keep a microfiber cloth handy so nothing has a chance to bake back on before the walkthrough.
A quick five-minute touch-up the morning of the inspection keeps everything gleaming without another full deep-clean. That small habit is often the difference between a landlord signing off instantly and pausing to look closer at every corner.
It also helps to document the appliance condition when you first move in, not just at move-out. If the oven was already worn or the fridge had a cracked shelf on day one, a dated photo from the start proves it was not your doing and keeps that cost off your final bill.
Your next step
Start the oven paste tonight and tackle the fridge tomorrow morning, and you will have the two hardest appliances handled in a single day. Block out two short sessions on your calendar this week so it never becomes a last-minute panic.
A little baking soda, an evening of patience, and some date-stamped photos are usually all it takes to walk into an inspection confident that your deposit is coming back where it belongs.

Luiza Ferraz writes about making rental spaces feel like home. Based in Minneapolis, Minnesota, she shares practical, damage-free upgrades, smart organization hacks, and proven ways to protect your security deposit. Her goal is to help renters create beautiful homes without ever picking up a drill.