On your last morning in the apartment, standing in an empty echoing room with a sponge in one hand, it is tempting to give the place a quick once-over and call it done. Then you remember the deposit, and the way your landlord ran a white finger along the top of the door frame at move-in.
Landlords do not check everything equally. They check the same handful of spots every time, and those are exactly where deposits quietly disappear. This move-out cleaning checklist walks through the places that actually get inspected, in the order that makes the job fast, so you leave clean where it counts.
How a Move-Out Cleaning Checklist Saves Your Deposit
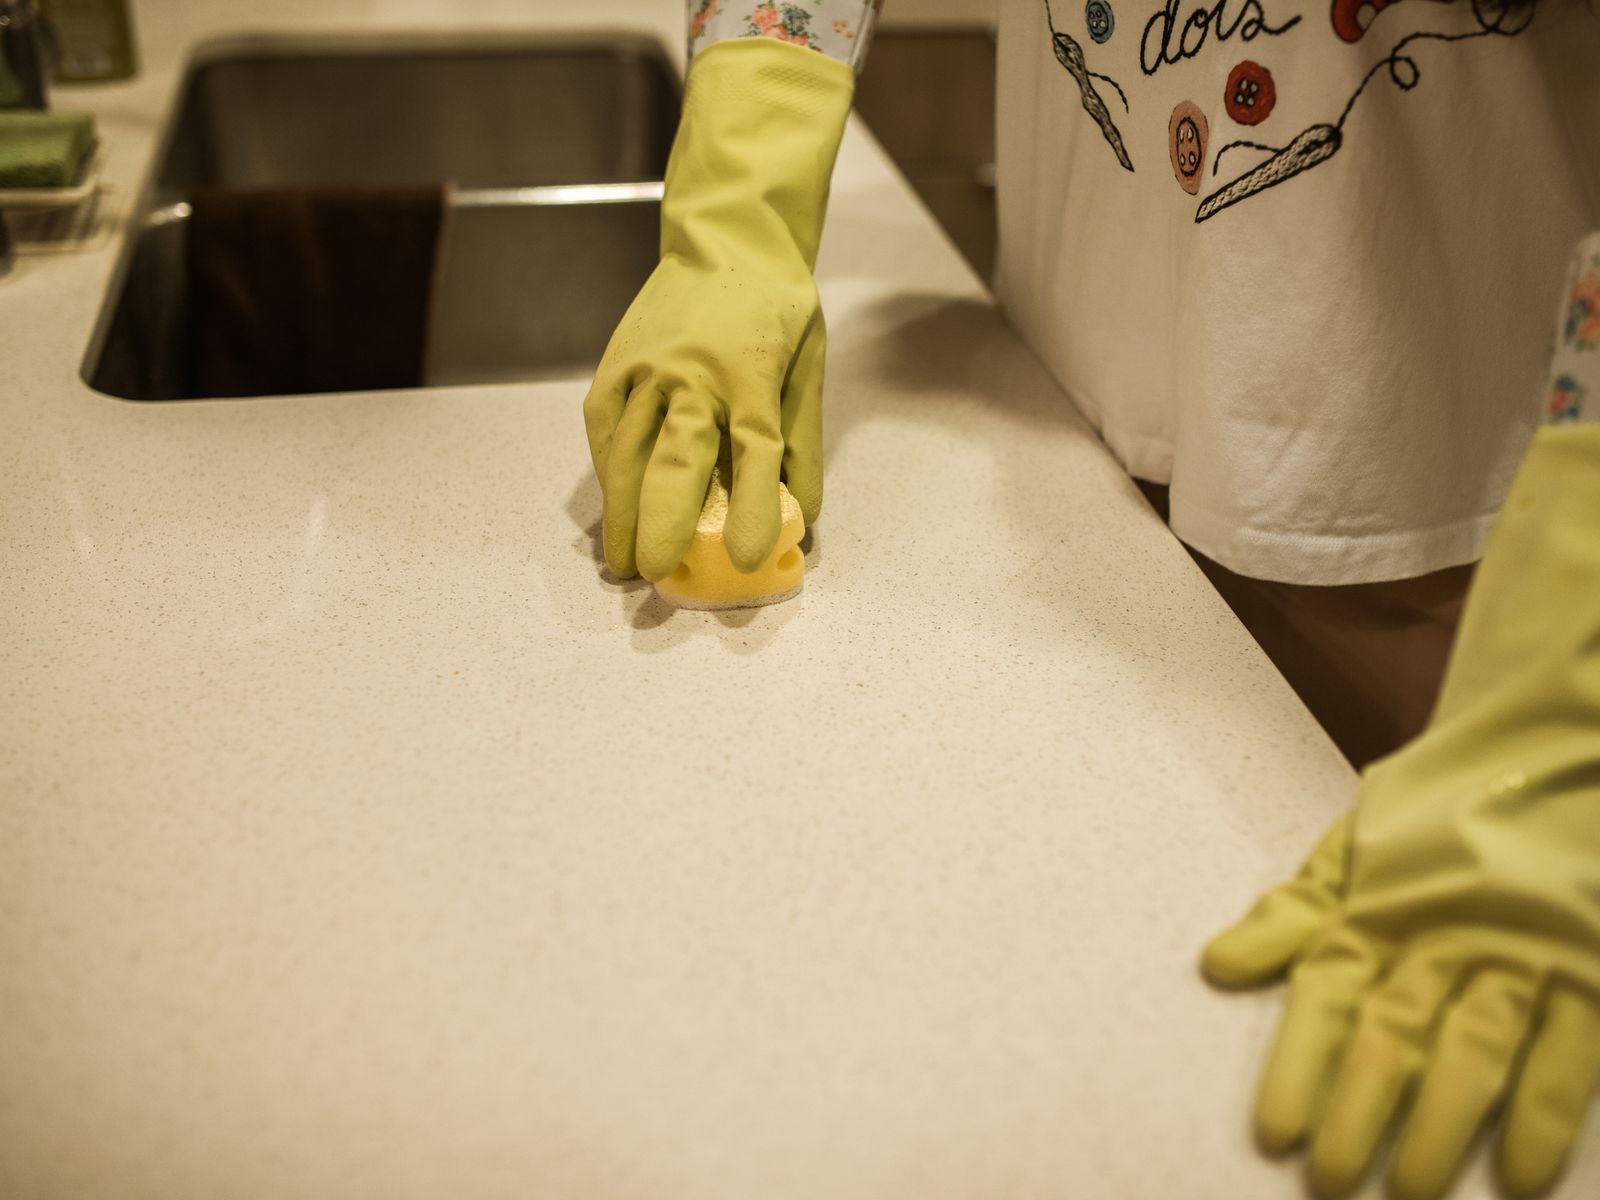
Cleaning charges are one of the most common deposit deductions, and they are almost entirely preventable. A professional cleaning invoice a landlord passes on to you can cost well over a hundred dollars, sometimes far more, for work you could have done in an afternoon.
A good move-out cleaning checklist is really a map of where that money hides. Pair it with any repairs you owe, like when you fill nail holes and small wall damage, and you remove nearly every excuse for a deduction. Just remember that what a landlord can legally deduct varies by state, city, and your lease, so read your lease and check your local tenant resources; general guidance like HUD’s tenant rights resources is a helpful starting point.
Timing matters as much as effort. The best move-out clean happens after the apartment is completely empty, because furniture hides exactly the spots inspectors check. If you can, schedule your deep clean for the day after the movers leave and before you hand back the keys, so nothing gets re-dirtied and you are not cleaning around boxes.
The Kitchen: Where Landlords Look First
The kitchen is the single most scrutinized room, because grease and food residue are obvious and off-putting. Give it the most time.
Appliances inside and out
Clean inside the oven, under the stovetop drip pans, inside the microwave, and behind and beneath the fridge if you can move it. Pull out the fridge drawers and wipe them. Degrease the range hood and filter. These interiors are exactly where an inspector opens a door expecting to catch you.
Counters, cabinets, and sink
Wipe cabinet fronts and interiors, scrub the sink and faucet to a shine, and clear any limescale. Do not forget the backsplash and the strip of wall behind the trash can, which collects splatter you stop noticing while you live there.
Gather your supplies before you start so you are not stopping mid-task. A basic kit covers almost everything: an all-purpose spray, a degreaser for the kitchen, a bathroom cleaner, glass cleaner, a scrub sponge, microfiber cloths, a toilet brush, and a mop. Add a magic-eraser-style sponge for scuffs and an old toothbrush for grout and tight corners. The whole kit runs well under thirty dollars and handles the entire checklist.
The Bathroom: Small Room, Big Impact
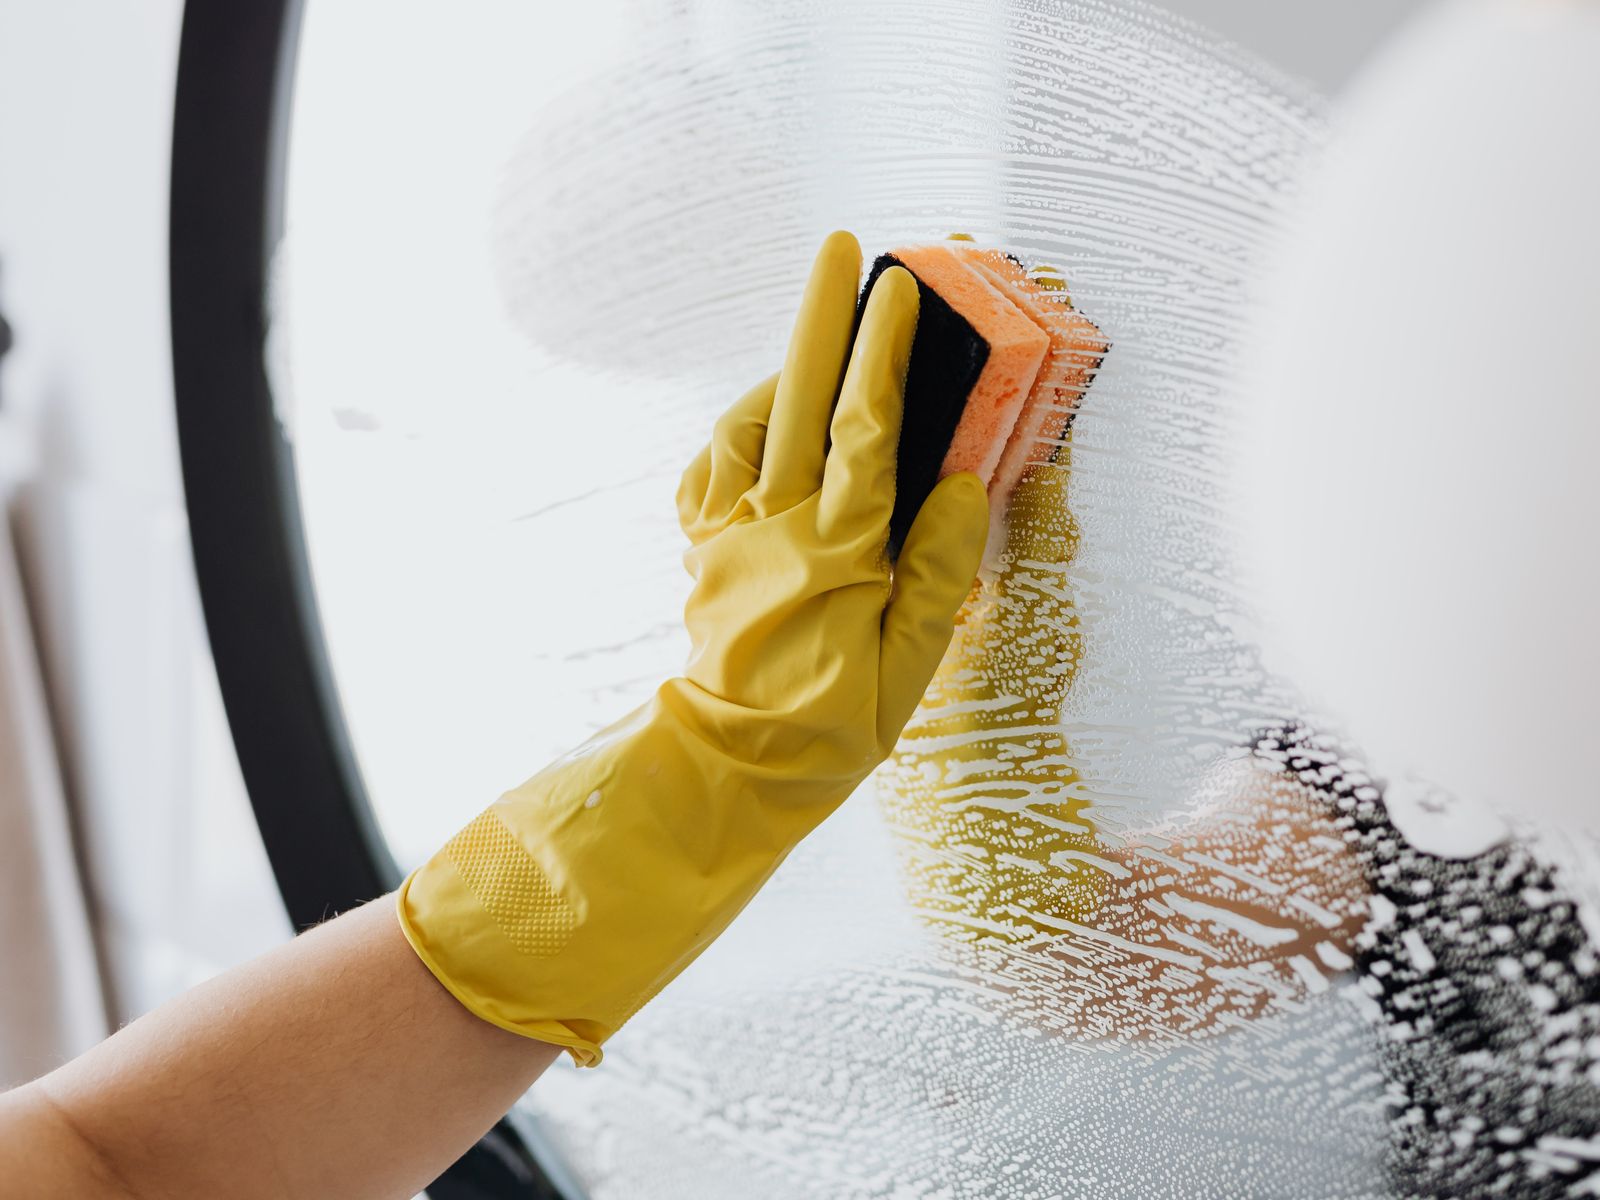
Bathrooms are quick to clean but heavily judged. Focus on the surfaces that show water spots, soap scum, and mildew, since those read instantly as “not cleaned.”
Scrub the toilet inside and out, including the base and the bolts. Descale the showerhead and glass, clean grout lines, polish the mirror and any chrome, and wipe down the exhaust fan cover. Check the caulk around the tub for pink or black mildew and treat it. A sparkling bathroom does a lot to convince a landlord the whole place was cared for.
It helps to think like the person doing the inspection. Landlords and property managers see dozens of units, so their eyes go straight to the usual trouble spots: greasy stovetops, grimy grout, dusty vents, and marked-up walls. Anything that signals neglect in those areas makes them look harder everywhere else, while a genuinely clean kitchen and bathroom tend to earn the rest of the apartment the benefit of the doubt.
Floors, Walls, and the Spots Everyone Forgets
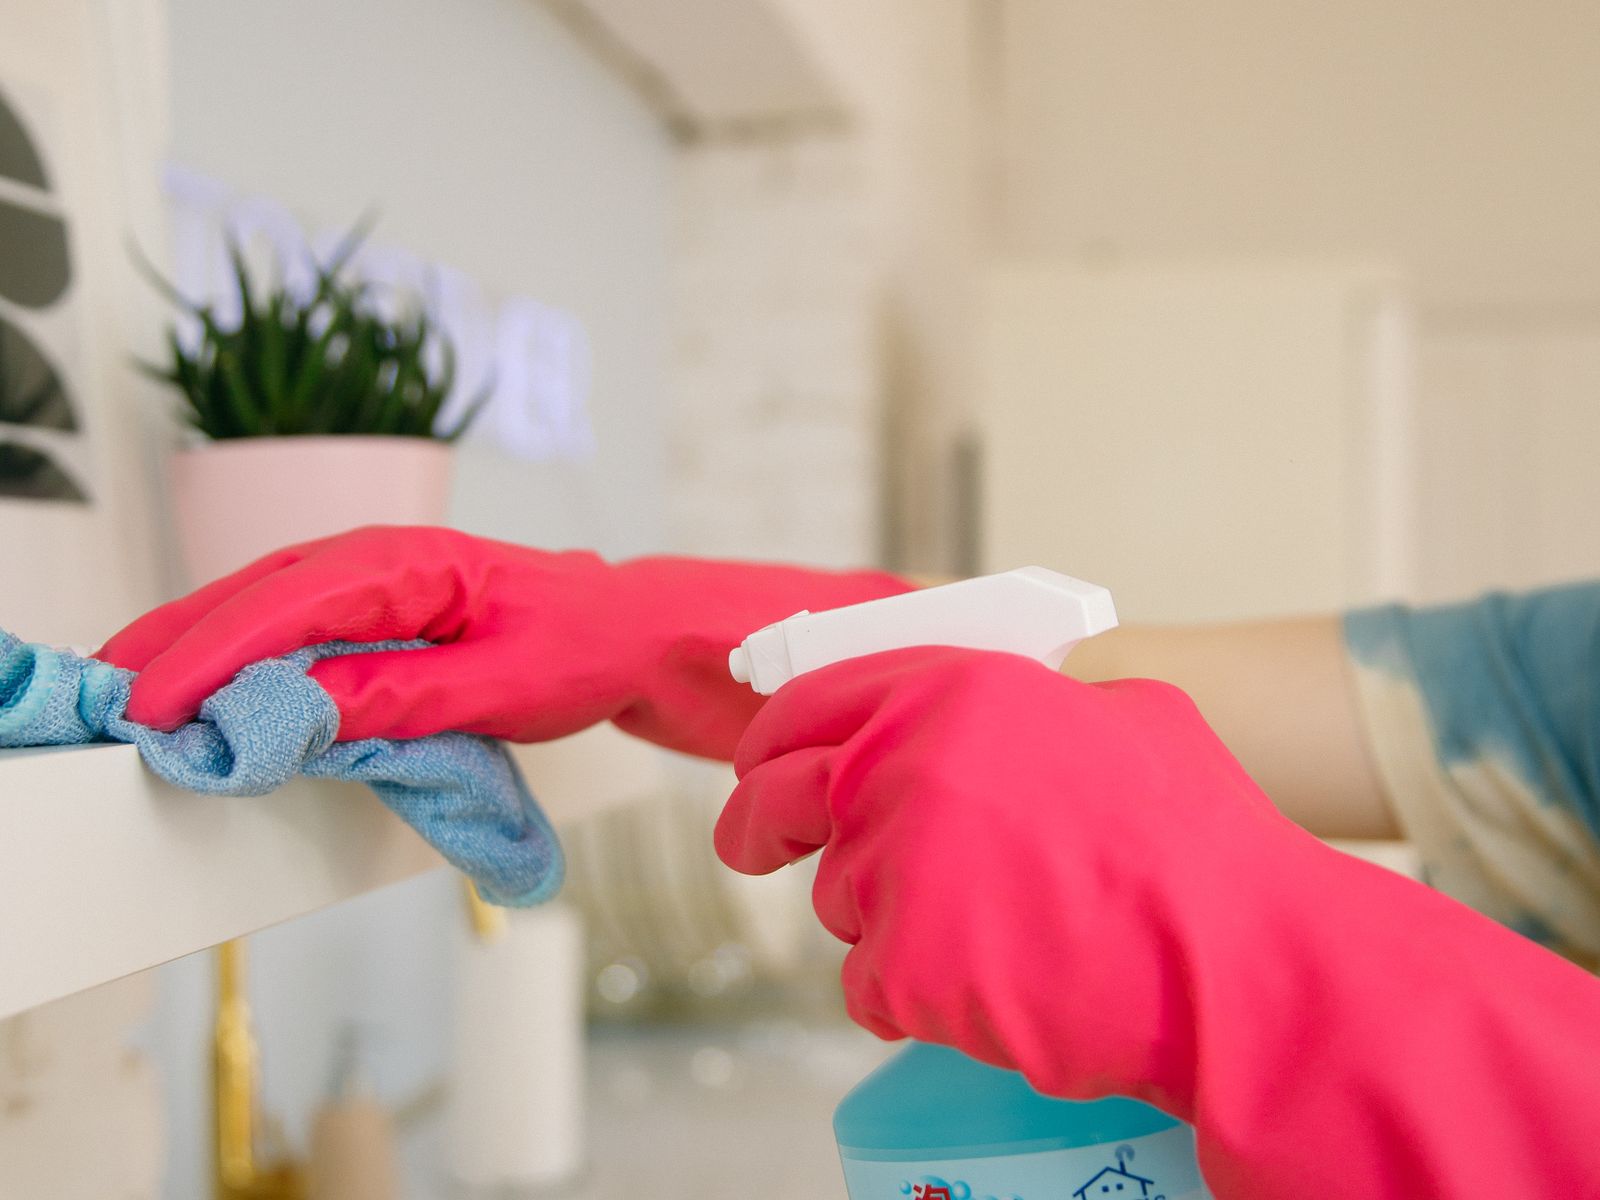
Save floors for last so you are not re-dirtying clean ones. Vacuum carpets thoroughly and spot-treat stains; sweep and mop hard floors, paying attention to edges and corners where grime builds up.
Then hit the details inspectors love to find: baseboards, light switch plates, door frames and tops of doors, window sills and tracks, blinds, ceiling fan blades, and vent covers. If you kept up with a good apartment moving checklist, some of this may already be underway, but the fine dust always needs a final pass.
A word on carpets
Carpets deserve special attention because they are a frequent source of disputes. Vacuum slowly in overlapping passes, then spot-treat stains with a carpet cleaner rather than scrubbing, which can spread them. If the carpet was professionally cleaned when you moved in, some leases expect the same at move-out, so check yours; requiring professional carpet cleaning is one of those terms that varies widely by lease and by local law.
The Move-Out Cleaning Checklist, Room by Room
Here is the fast reference version. Work top to bottom in each room so gravity does some of the work for you.
- Kitchen: oven, stovetop, microwave, fridge (inside and behind), cabinets, counters, sink, backsplash, floor.
- Bathroom: toilet, shower/tub, glass, grout, mirror, chrome, exhaust fan, floor.
- Living areas and bedrooms: baseboards, switch plates, door frames, windows and tracks, blinds, closet shelves, floors.
- Whole apartment: light fixtures, ceiling fans, vents, cobwebs in corners, and any marks on walls.
- Final pass: empty and wipe all trash areas, and take out the last of the garbage. Before you lock up, a quick look at our move-in inspection guide reminds you what condition proof to capture.
Print it, check off as you go, and you will not realize at the door that you skipped the oven.
Be realistic about what counts as cleaning versus normal wear and tear. You are responsible for dirt, grime, and mess you created, but faded paint, minor carpet matting in walkways, and small nail holes from ordinary use are often considered normal wear, depending on your location and lease. A move-out clean addresses the mess; it does not obligate you to make an aging apartment look brand new.
Document Everything Before You Lock Up
The last step is not cleaning at all: it is proof. Once each room is spotless and empty, photograph it in good light, the same way you would during a move-in inspection. Dated photos of a clean apartment are your strongest evidence if a landlord later claims otherwise.
Keep those photos with your lease and any communication about the deposit. If a dispute arises, you will be glad you have a clear record, because in a disagreement it often comes down to who can show the condition on move-out day.
If time is tight and you have to prioritize, spend it where the money is: the oven, the fridge, the bathroom, and the floors. Those four alone account for the majority of cleaning-related deductions. A perfectly dusted closet shelf will not save your deposit if the oven is caked with grease, so triage honestly and put your energy into the high-stakes spots first.
One more practical tip: if you are cleaning after a long moving day, break the job into two sessions rather than one exhausting marathon. Do the kitchen and bathroom deep-clean while you still have energy, then handle floors and final details in a fresh second pass. Tired, rushed cleaning is how the oven or the shower grout ends up half-done, and those are precisely the spots that cost you.
The Bottom Line
You do not need to clean the apartment to a museum standard; you need to clean the specific places landlords actually check, and then prove you did. Focus your energy on the kitchen and bathroom, sweep up the forgotten details, and photograph the results.
Your next step: print this move-out cleaning checklist, gather your supplies the night before, and start with the oven while your energy is high. Everything after that will feel easy by comparison.

Luiza Ferraz writes about making rental spaces feel like home. Based in Minneapolis, Minnesota, she shares practical, damage-free upgrades, smart organization hacks, and proven ways to protect your security deposit. Her goal is to help renters create beautiful homes without ever picking up a drill.