Open the cabinet under most rental bathroom sinks and you’ll meet the same chaos: a graveyard of half-empty shampoo bottles, a tangle of hair tools, and a lonely plunger standing guard over it all, with the curved drainpipe eating up the one bit of usable space. It’s the most wasted square footage in the whole apartment.
The good news is that the space under the sink is also the easiest storage in your home to fix, and you can do the whole thing with removable, renter-safe products in an afternoon. This guide walks through how to organize under the sink in a rental bathroom, working around that awkward pipe, without a single screw or drill hole. Everything is inexpensive, and everything comes with you to the next place.
Why the space under the sink is so hard to use
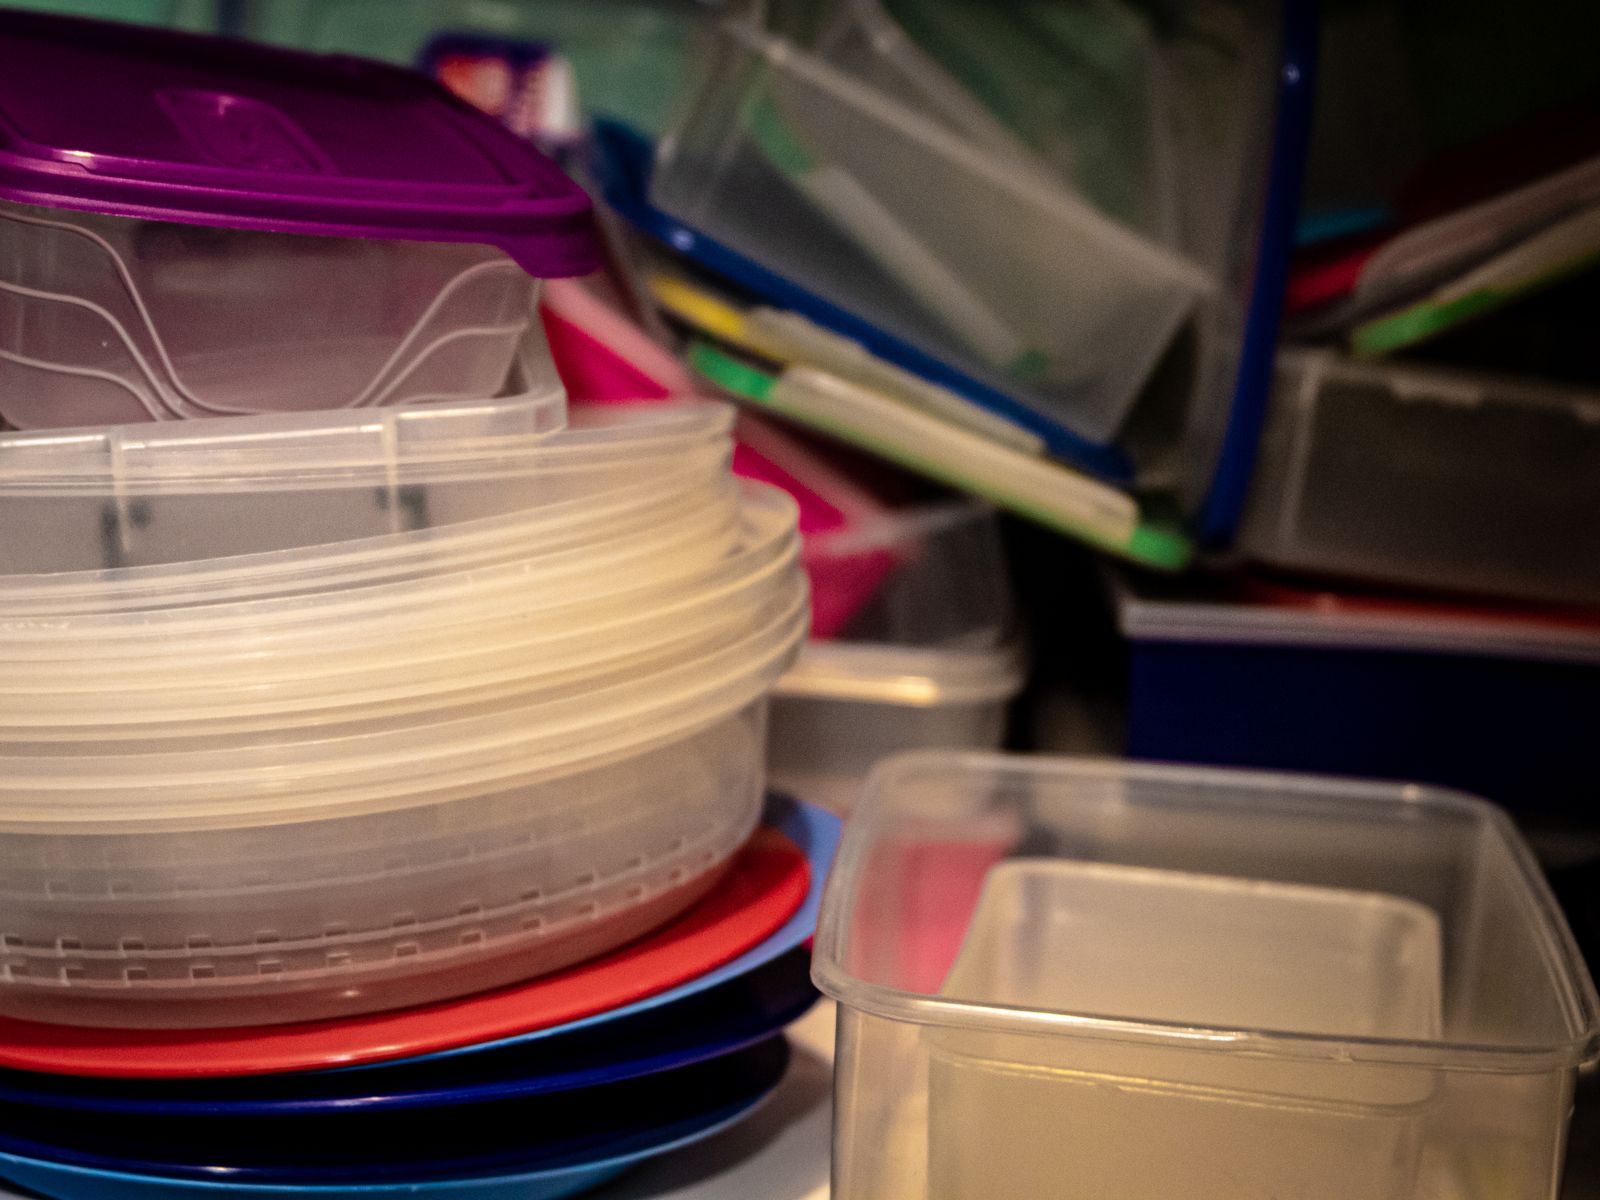
The under-sink cabinet fights you for three reasons: the P-trap pipe cuts through the middle, the space is deep and dark so things vanish at the back, and there’s rarely a shelf to stack on. Everything just piles on the floor of the cabinet, so bottles tip over, leaks go unnoticed, and you buy duplicates of things you already own but can’t see.
Once you name those three problems, the solution is obvious. You need to build up around the pipe, bring the back forward, and add light. Every product below does one of those jobs, and none of them attach to the cabinet permanently.
It helps to think vertically rather than in a single floor layer. Most under-sink cabinets are far taller than the stuff stacked in them, which means half the cubic space is empty air above your bottles. Reclaiming that air is where the real capacity gains come from, and it costs almost nothing.
Step one: empty, clean, and measure
Pull everything out and be ruthless. Toss expired products, empty bottles, and the mystery samples you’ll never use. Wipe down the cabinet floor, and if the surface is stained or peeling, lay down a removable liner to protect it and make the space feel clean. Starting from a completely empty cabinet is the single most important step; you can’t plan a layout around clutter you haven’t sorted yet.
Then measure three things: the width and depth of the cabinet, the height of the opening, and, crucially, where the pipe sits. Those numbers stop you from buying an organizer that won’t fit around the plumbing, which is the classic first mistake.
Jot the measurements on your phone before you shop, and note whether the pipe runs down the center or off to one side. An off-center pipe often leaves one full-height column of usable space you can dedicate to tall items, while a center pipe usually calls for a shelf that straddles it. Knowing this in advance saves a frustrating return trip.
Group what is left by how often you use it
Sort the survivors into daily items, weekly items, and backups. Daily things go where they’re easy to grab; backups and refills go to the back or up high. This one habit keeps the space under the sink usable long after the initial tidy-up.
Be honest about volume, too. If you’re storing six backup bottles of the same product, that’s a sign to buy less, not to buy a bigger organizer. Editing what you keep is free and permanent, whereas a container only relocates the clutter. A rental bathroom rewards a light touch.
The best renter-safe organizers to use
Here are the products that do the most work under the sink, all freestanding and removable so your deposit stays safe. You almost certainly won’t need all of them; pick the two or three that match your cabinet’s shape and your stuff:
- Two-tier expandable shelf: the hero product; its legs straddle the pipe and instantly double your vertical space, roughly $15 to $25.
- Pull-out drawers or bins: clear stackable drawers bring the dark back of the cabinet to your fingertips.
- Tension rod: mounted across the top, it turns into a hanging bar for spray bottles by their triggers.
- Lazy Susan: a small turntable keeps jars and bottles spinnable and visible.
- Over-the-door caddy: a slim rack on the inside of the cabinet door holds flat items and tools.
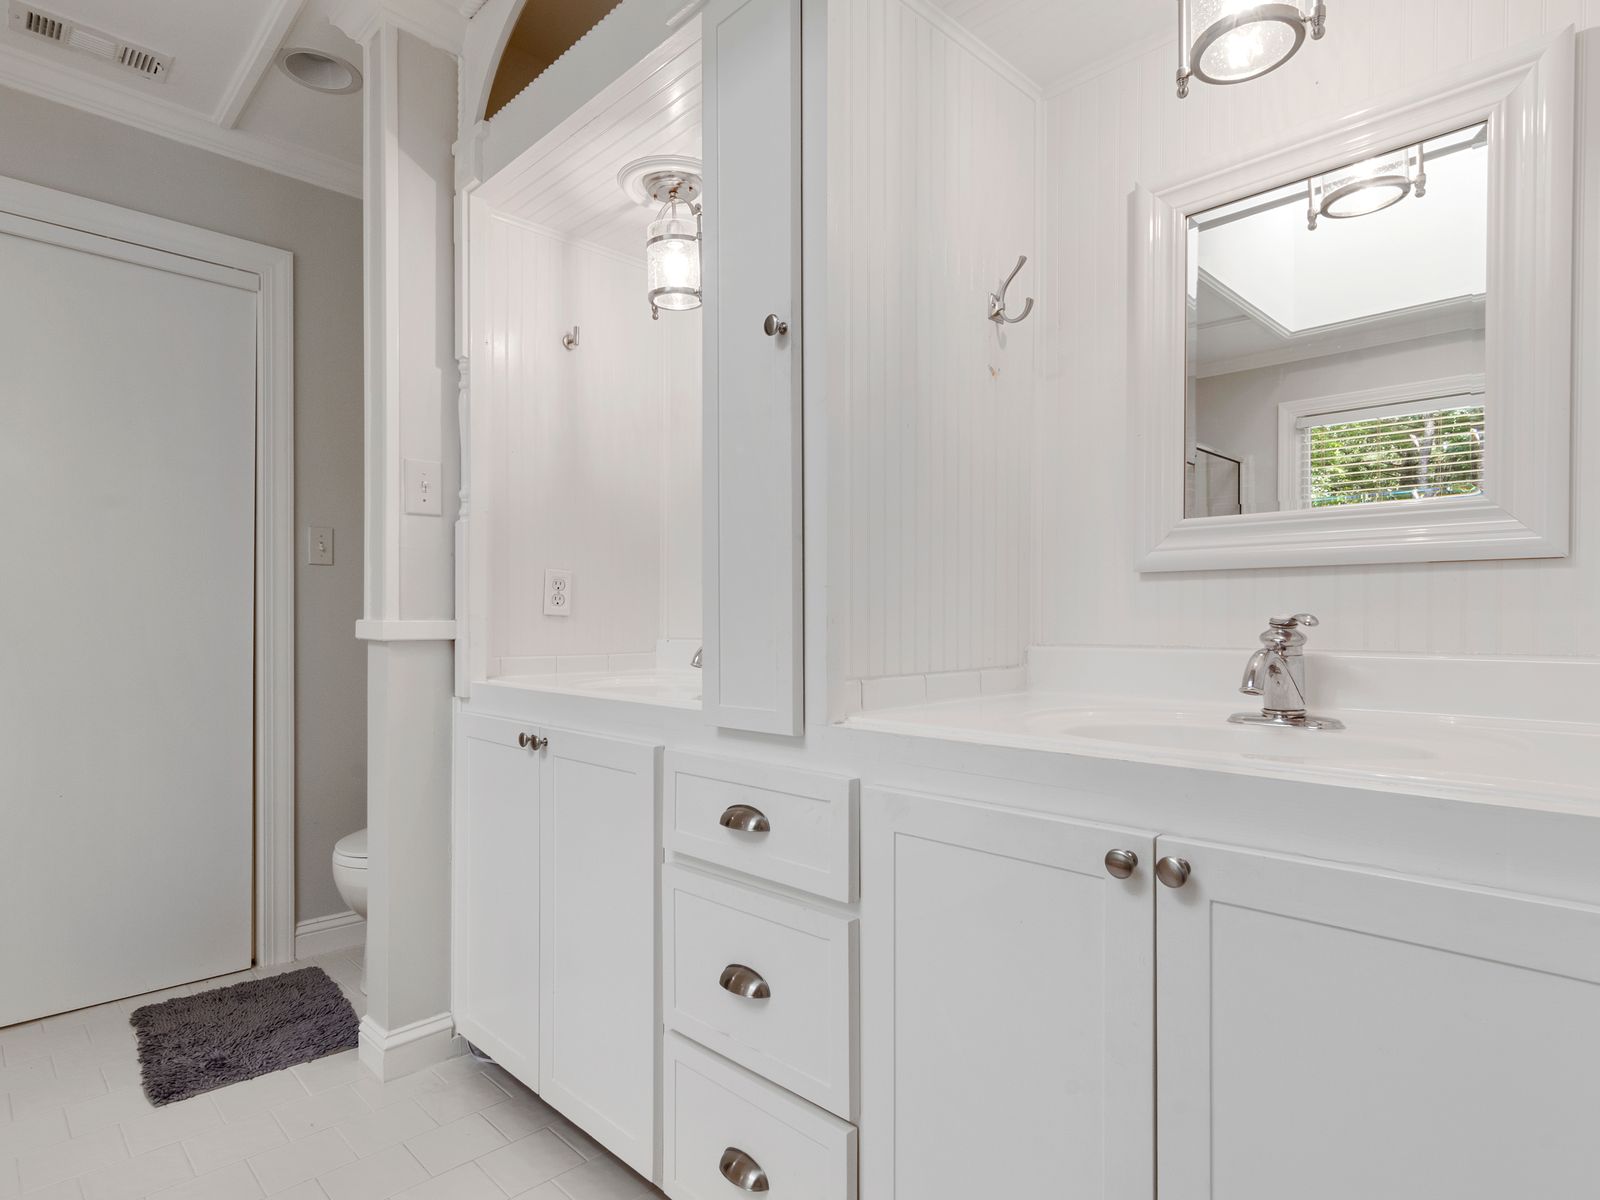
The expandable shelf and the door caddy together solve most under-sink problems on their own. If you want more no-drill tricks that use that same tension principle, our roundup of clever tension-rod uses is worth a look before you shop.
Look for organizers made of coated wire or washable plastic rather than fabric, since the area under the sink is humid and the occasional leak is a real risk. A material that wipes clean and dries fast will outlast a fabric bin that holds moisture and grows musty. Adjustable or expandable pieces are also smarter than fixed ones, because you can take them to your next rental no matter how that cabinet is shaped.
Add a little light
Don’t overlook the darkness problem. A stick-on, battery-powered LED puck light or a motion-sensor strip inside the cabinet makes the whole space instantly more usable, because you can actually see what’s at the back. These lights peel off cleanly and cost only a few dollars, and they turn a cave into a proper storage cupboard.
Zone the cabinet so nothing gets lost
With your organizers in place, assign every zone a job. The floor around the pipe holds tall bottles; the shelf above holds daily grab items; the door holds tools and flat things; a labeled bin corrals the backups. When each category has a fixed home, tidying takes seconds instead of a weekend.
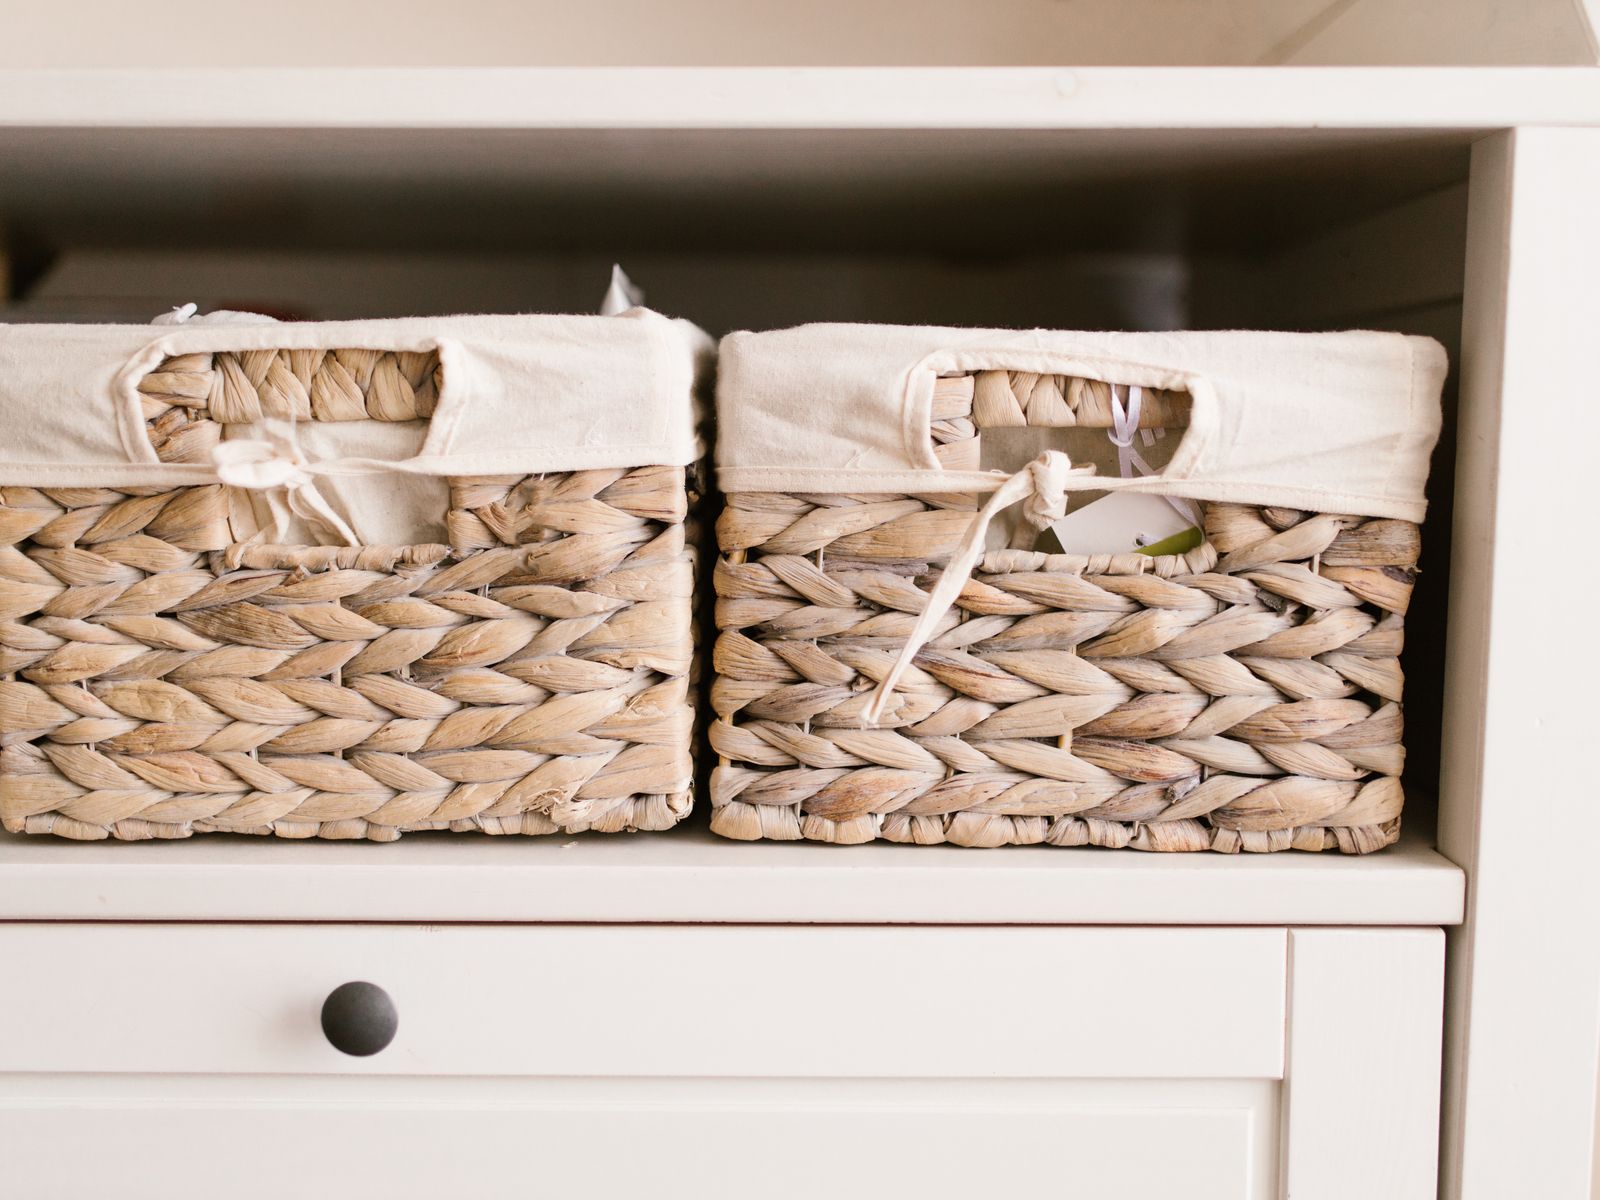
Contain any liquids that could leak, like drain cleaner or bleach, in their own waterproof bin so a slow drip never ruins the rest of your supplies or the cabinet itself. Use clear bins or add simple labels so you and anyone you live with can put things back in the right place without thinking. Grouping by category, one bin for hair, one for cleaning, one for first aid, is what keeps the space under the sink from sliding back into chaos a week later. The same zoning logic scales up to the rest of the home, as shown in our guides to vertical storage ideas that don’t touch the walls and small rental kitchen organization without a single screw.
Keeping it renter-safe and deposit-friendly
Everything here is designed to lift right out on moving day. Avoid adhesive organizers on the cabinet interior if the surface is laminate that could peel, and never screw anything into the cabinet or the wall. Freestanding and tension-based products give you all the function with none of the risk.
Keep in mind that what a landlord can charge for versus normal wear and tear varies by state, city, and your lease, so read your lease and check local tenant resources before altering anything. For general renting guidance, the USA.gov renting resources are a helpful starting point. A cheap removable liner under everything catches drips and protects the cabinet from water damage, which is exactly the kind of thing a landlord notices.
Finally, do a quick reset every few weeks. Because the space under the sink collects damp cloths and half-used products, a five-minute check keeps it from creeping back to chaos and lets you catch a slow leak before it becomes a deposit problem. Maintenance, not just setup, is what makes an organized cabinet last.
Your next step
Start with one purchase: a two-tier expandable under-sink shelf. Measure your pipe first, order the shelf, and give yourself an hour to empty, wipe, and rebuild the cabinet around it. That single organizer will transform the space under the sink from a dreaded black hole into the most quietly satisfying corner of your rental, and it all comes back out clean whenever you move.

Luiza Ferraz writes about making rental spaces feel like home. Based in Minneapolis, Minnesota, she shares practical, damage-free upgrades, smart organization hacks, and proven ways to protect your security deposit. Her goal is to help renters create beautiful homes without ever picking up a drill.