You notice them the week before move-out, when the furniture finally comes off the walls: a gray smear where the couch rubbed, a black streak from a shoe by the door, a constellation of little marks behind where the coat rack stood. Suddenly the deposit you’d forgotten about feels very real, and those scuffs look like dollar signs.
Take a breath, because the vast majority of marks on rental walls are surface-level and come off with things you already own. Before you panic about repainting or losing part of your deposit, work through the gentle-to-stronger methods in this guide. Learning how to remove scuffs and marks from rental walls the right way protects both the paint and your money.
Know your paint before you scrub
The single most important thing to understand about rental walls is the type of paint, because it decides how hard you can scrub. Flat and matte paints, the most common in rentals because they hide imperfections cheaply, mark easily and can also rub off if you’re too aggressive. Satin, eggshell, and semi-gloss are more durable and forgiving, which is why bathrooms and kitchens often use them.
Always test any cleaning method on a hidden patch first, like behind a door or low in a corner. Wait for it to dry and check that the paint hasn’t dulled, lightened, or lifted before you touch a visible area.
Not sure which paint you have? Do a quick finger test in good light. Flat paint looks chalky and reflects almost no light, while glossier finishes bounce it back. You can also press a slightly damp fingertip to a hidden spot; if color comes off onto your skin, the paint is delicate and you’ll want to stick to the very gentlest methods on those rental walls.
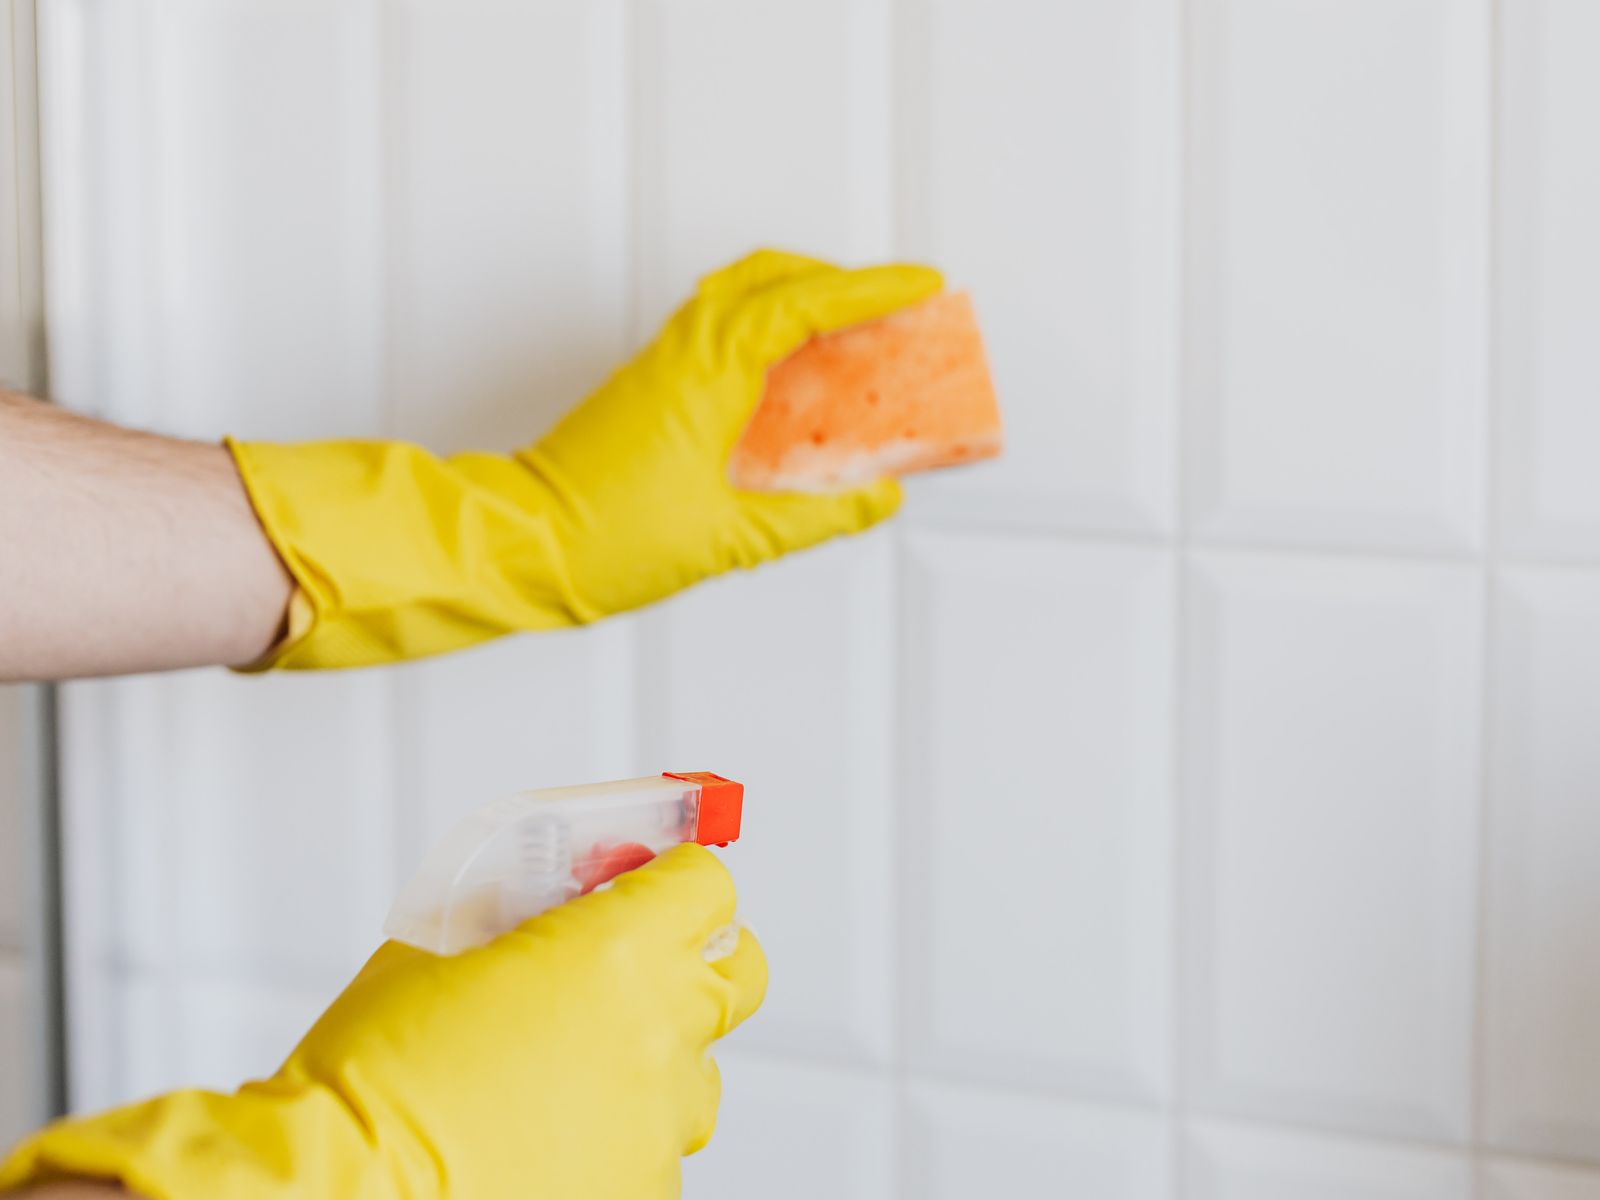
Start with the gentlest method
Always begin with the least aggressive approach and only escalate if it fails. Nine times out of ten, gentle wins. Work from the top of the mark downward and blot rather than grind, and keep a dry cloth handy to lift excess moisture before it runs and leaves a streak of its own.
- Dry first: rub the mark with a clean, dry microfiber cloth or a soft pencil eraser; many scuffs are just transferred material sitting on top of the paint.
- Warm soapy water: a drop of dish soap in warm water on a wrung-out sponge lifts most greasy and dirty marks.
- Baking soda paste: a little paste on a damp cloth adds gentle abrasion for stubborn spots.
- Melamine sponge: the magic-eraser type works wonders but is mildly abrasive, so use a light touch on flat paint.
Between each step, let the wall dry and reassess. Rushing to the strongest option first is how renters accidentally rub a shiny or faded patch into their flat-painted walls, and that burnished spot can be harder to disguise than the mark you started with.
Pressure matters as much as the product. Let the cleaner and a little dwell time do the work instead of scrubbing hard, and always move in one direction rather than scrubbing in tight circles. A gentle, patient pass usually beats an aggressive one, and it’s far kinder to delicate rental walls.
Match the method to the mark
Grease near the kitchen and light switches responds to soapy water. Crayon and marker often lift with a dab of non-gel toothpaste or a little baking soda. Scuffs from shoes and furniture usually surrender to a dry eraser or a barely-damp melamine sponge.
For ink or permanent marker, a cotton ball lightly dampened with rubbing alcohol can work, but it’s aggressive, so test it and use the smallest amount possible. Sticky residue from tape or adhesive hooks usually wipes away with a warm cloth and patience; resist the urge to scrape, which scratches the paint and turns a small mark into real damage on rental walls.
The supplies worth keeping on hand
You don’t need a cabinet full of specialty cleaners, and in fact the fancy products are often the ones that damage paint. A small, cheap kit handles almost everything that lands on rental walls:
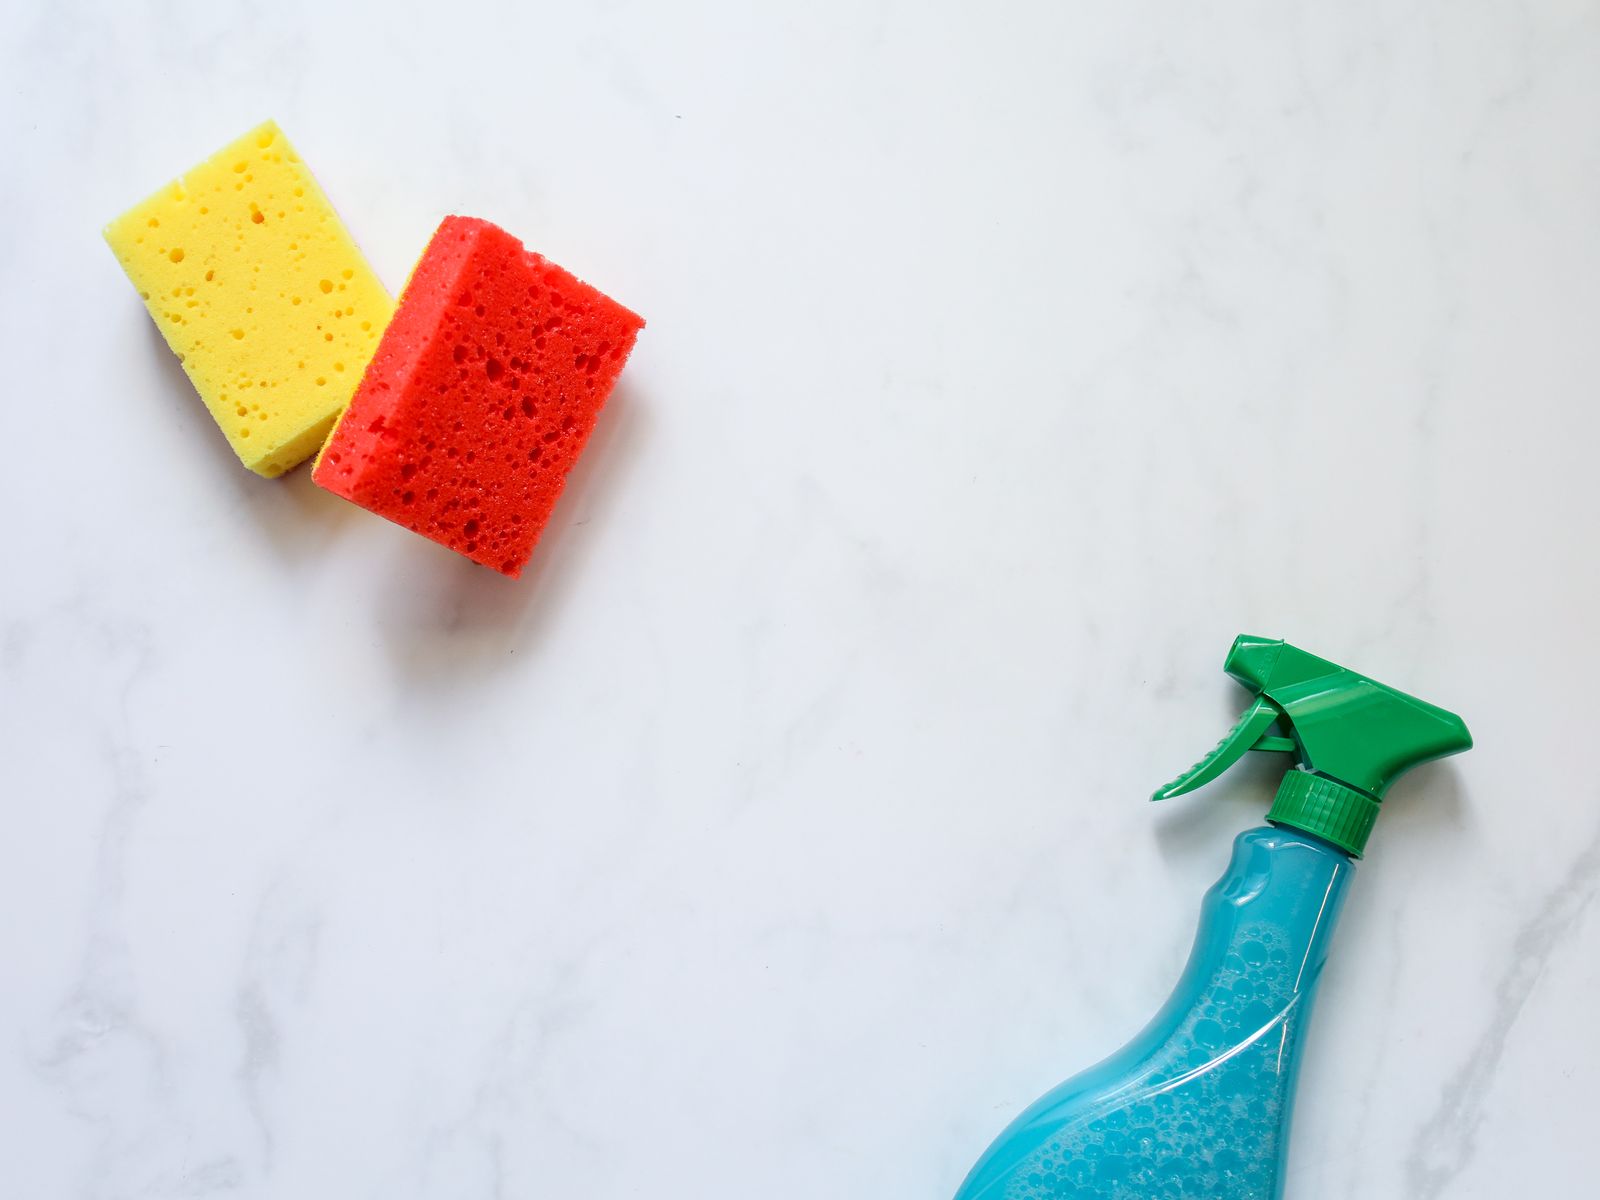
Keep microfiber cloths, a couple of melamine sponges, dish soap, baking soda, and a soft eraser together in one caddy. Add a plain white cloth so you can see what’s transferring off the wall. That’s the entire arsenal for routine marks, and it costs less than one hour of a cleaner’s time.
Skip harsh all-purpose sprays and anything with bleach on painted surfaces, since they can strip color and leave their own stains. If you want a single upgrade, a bottle of gentle, pH-neutral cleaner is safer on paint than most kitchen sprays and works on the widest range of marks.
When cleaning is not enough
Some marks are actually gouges, deep crayon, or stains that have soaked into flat paint, and no amount of scrubbing will fully erase them. At that point you’re looking at touch-up rather than cleaning. Knowing when to stop scrubbing is a skill in itself, because over-cleaning a stubborn stain often leaves a faded halo that looks worse than the original mark.
Water stains from a leak or condensation are a special case. They usually signal a problem behind the wall, so report them to your landlord rather than trying to hide them. Painting over a water stain without addressing the cause just lets it bleed back through, and documenting it protects you from being blamed for damage that wasn’t yours.
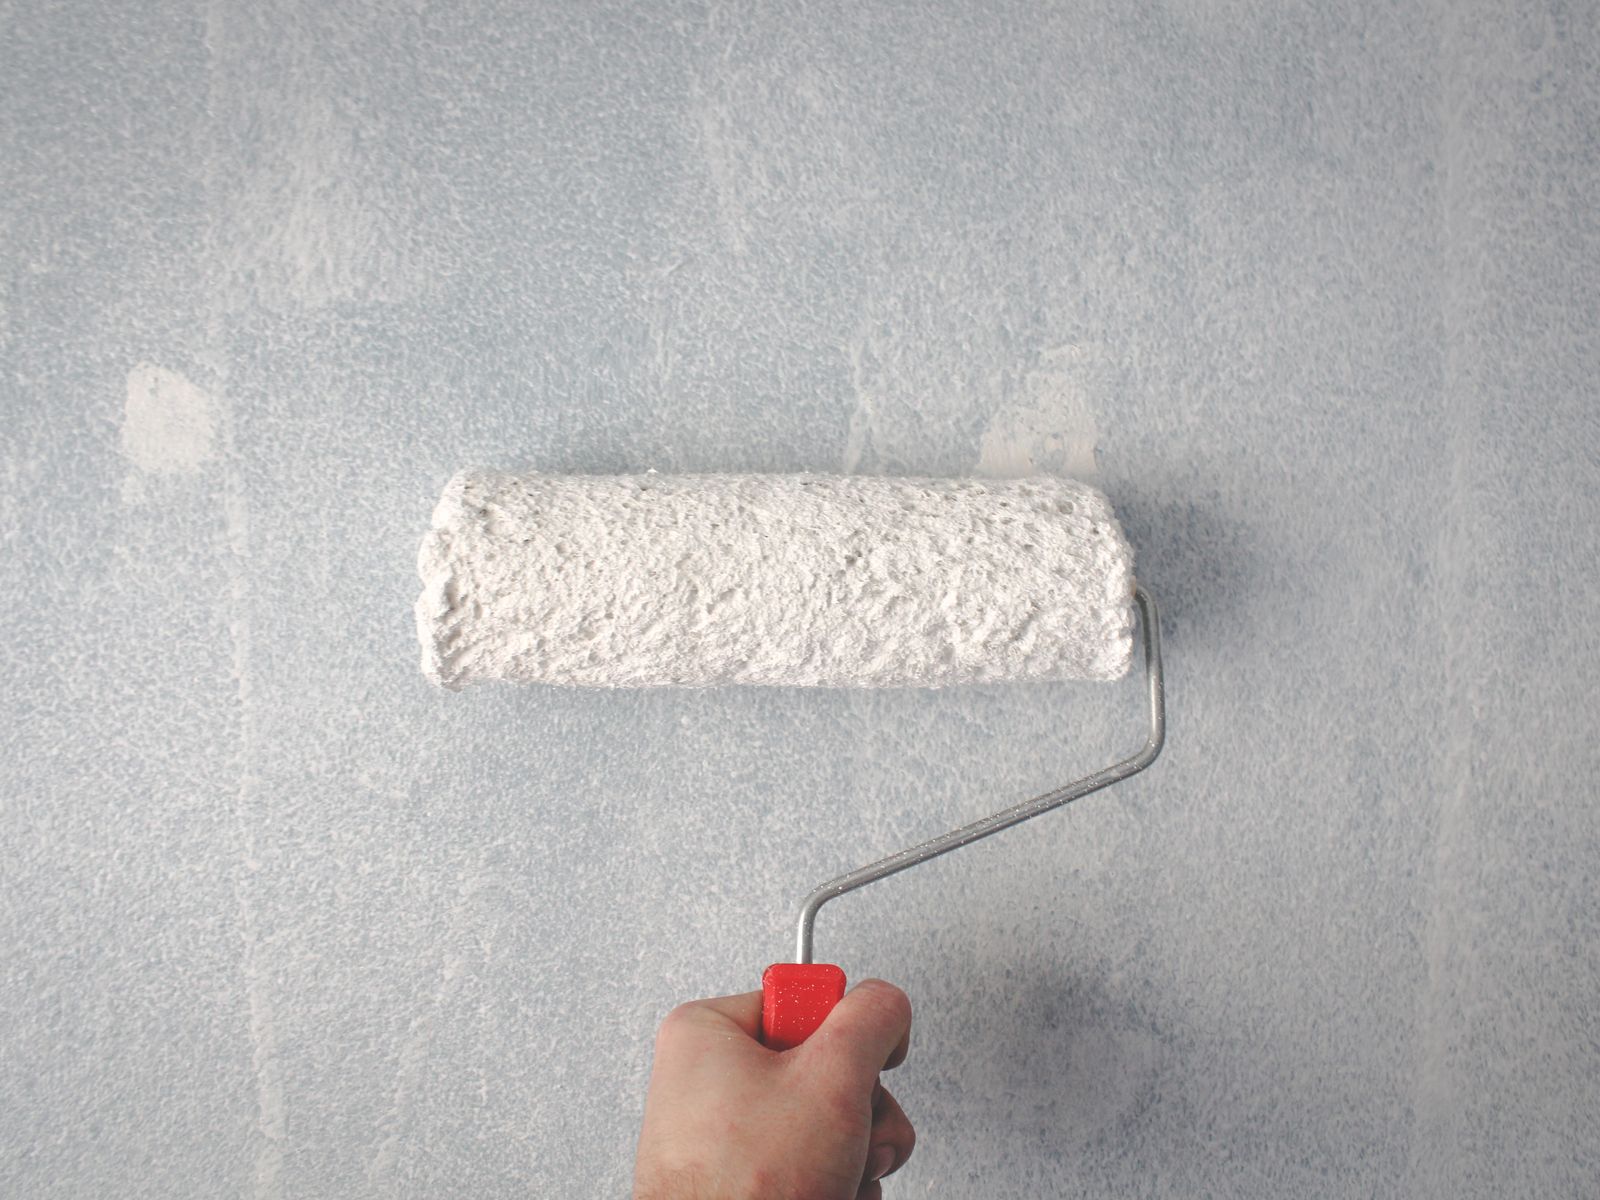
Before you reach for paint, take a photo of the mark and ask your landlord how they’d prefer it handled; some would rather touch it up themselves at move-out than have a mismatched patch. For a true touch-up, you need the exact paint color, which many leases require the landlord to provide or specify. A small artist’s brush and a light hand blend a repair far better than a roller on a tiny spot. If the damage is a hole rather than a mark, that’s a different repair covered in our guide to filling nail holes and small wall damage before moving out.
Prevention and your deposit
The easiest scuff to remove is the one that never happens. Use felt pads on furniture legs, keep chair backs from touching walls, and hang things with damage-free strips instead of leaning them. Our guide to hanging pictures without drilling is built around exactly this kind of wall-friendly habit.
High-traffic zones deserve a little extra thought. Behind doors, along hallways, and around light switches are where rental walls get grubby fastest, so a clear adhesive door bumper or a wipe-down every couple of weeks pays off. Keeping hands and greasy fingers off the wall near switches, in particular, prevents the dingy halo that builds up almost invisibly over a lease.
When move-out approaches, fold wall cleaning into your wider routine so nothing gets missed; our move-out cleaning checklist landlords actually check puts it in order. Remember that what a landlord can deduct for versus normal wear and tear varies by state, city, and your lease, so read your lease and check local tenant resources such as the HUD tenant rights resources. Minor scuffing is often considered normal wear, but don’t assume; confirm the standard where you live.
Keep expectations realistic, though. The goal is to return the walls to a clean, cared-for condition, not to make a lived-in apartment look brand new. Reasonable, honest cleaning is what protects a deposit, and a landlord who sees a genuinely well-kept unit is far less likely to nitpick a faint mark or two.
Your next step
This weekend, do a slow lap of your apartment with a dry microfiber cloth and a bowl of warm soapy water, and clean the marks while they’re fresh and easy. Tackling scuffs on rental walls as they appear, rather than in a panic at move-out, keeps the whole place looking cared for and keeps your deposit exactly where it belongs: coming back to you.

Luiza Ferraz writes about making rental spaces feel like home. Based in Minneapolis, Minnesota, she shares practical, damage-free upgrades, smart organization hacks, and proven ways to protect your security deposit. Her goal is to help renters create beautiful homes without ever picking up a drill.