The scariest part of moving out isn’t the packing or the cleaning. It’s the silence after you hand back the keys, when you’re waiting to find out how much of your deposit you’ll actually see again. And more often than not, that number comes down to one thing: proof. If you can’t show what the place looked like when you arrived, your word is up against your landlord’s memory, and that’s a fight you usually lose.
The good news is that the single most powerful protection you have costs nothing and takes about an hour. When you document your rental thoroughly on day one, you turn a vague argument into an evidence-backed conversation. This guide walks through exactly how to document your rental’s condition, what to photograph, how to organize it, and why those early photos can quietly save you hundreds of dollars.
Why documentation is your cheapest insurance
Security deposits get withheld for damage that goes beyond normal wear and tear. The problem is that “damage” and “wear and tear” are subjective terms, and the person deciding is the one holding your money. A scuff that was there before you moved in can easily become “your” scuff at move-out.
Timestamped photos flip that dynamic. They establish a baseline both sides can point to, which means fewer surprises and faster deposit returns. Landlords who know a tenant documented everything tend to be more careful and more honest at move-out, simply because they know the record exists.
Keep in mind that deposit rules, timelines, and what counts as normal wear and tear vary by state, city, and your specific lease. Always read your lease and check your local tenant resources so you know the exact rules where you live.
Think about the math for a moment. A typical deposit runs one to two months’ rent, so in many cities that’s well over a thousand dollars sitting in limbo. Spending sixty minutes with your phone to protect that amount is one of the highest hourly returns you’ll ever see. And unlike renter’s insurance, this protection has no premium and no deductible.

When to document your rental (timing matters)
The ideal moment to document your rental is before you move a single box in, when the unit is empty and every surface is visible. An empty apartment hides nothing. Once your furniture is in place, half the walls and most of the floor disappear behind your belongings.
Try to do your walkthrough within the first 24 to 48 hours of getting the keys. If the unit is already partly furnished or you couldn’t get in early, document it the same day you arrive and note anything you couldn’t fully access.
Pair photos with a written checklist
Photos are strongest when they’re backed by a dated written inventory. Many leases include a move-in condition form; if yours does, fill it out honestly and keep a copy. A proper walkthrough is the foundation of getting your money back, and it pairs naturally with doing a proper move-in inspection the same day.
What to photograph, room by room
Be systematic. Work through the apartment one room at a time so you don’t miss anything. For each room, take a wide shot for context, then close-ups of any flaw. Here’s a room-by-room checklist to follow:
- Walls and ceilings: nail holes, cracks, scuffs, stains, and paint condition.
- Floors: scratches, worn carpet, stained grout, chipped tile, and loose boards.
- Kitchen: countertop burns or chips, cabinet doors, appliance dents, and the inside of the oven and fridge.
- Bathroom: caulk condition, grout, mirror edges, tub or shower chips, and any mildew.
- Windows and doors: cracked panes, torn screens, sticking locks, and scuffed doors.
- Fixtures: light switches, outlets, blinds, and any loose or missing hardware.
Don’t skip the parts you’ll rarely look at again: the back of closets, under the sink, the corners of the balcony. Those are exactly the spots where pre-existing damage tends to get blamed on the tenant later.
Capture the small stuff too
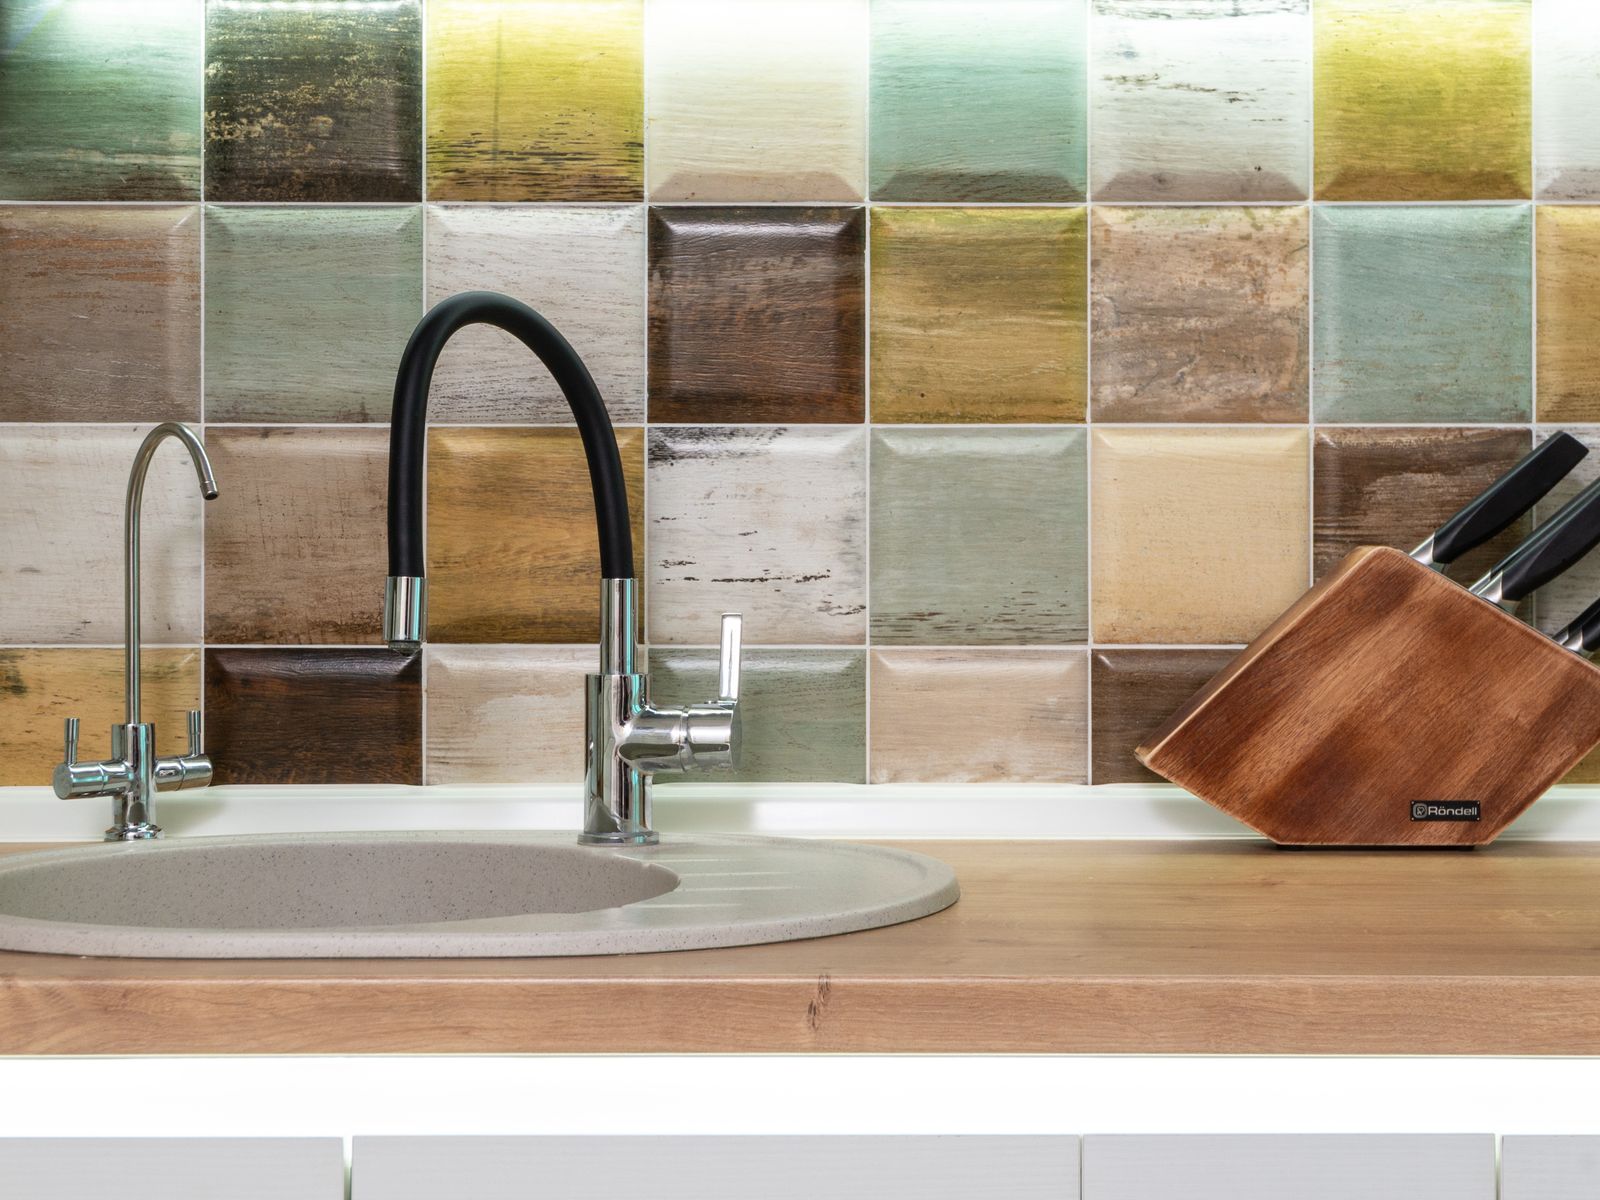
A dripping faucet, a wobbly toilet, or a burner that doesn’t light are all worth a quick video clip. Video captures function in a way a still photo can’t, and it timestamps the issue so there’s no argument about when it started.
How to take photos that actually hold up
A blurry, dark photo of a wall proves almost nothing. To make your documentation useful, follow a few simple rules that keep every image clear and credible.
- Turn on the lights and open the blinds so surfaces are well lit.
- Hold steady and tap to focus before each shot; a sharp photo is a believable photo.
- Include a reference object, like a coin or a ruler, next to small damage to show scale.
- Keep your phone’s date stamp and location settings on so metadata backs up the timeline.
- Shoot both a wide angle and a tight close-up of every flaw you find.
Expect to end up with 60 to 150 photos for an average one-bedroom. That may feel excessive, but storage is free and a missing photo is the one you’ll wish you had.
If your phone lets you, shoot in the highest resolution available. A high-detail image can be zoomed in later to show a hairline crack or a faint stain that a compressed photo would blur into nothing. Avoid editing or filtering the shots in any way, since untouched originals are far more credible if a dispute ever escalates.
Common mistakes renters make
The biggest mistake is waiting. Renters often plan to document their rental “this weekend,” then furniture arrives and the moment passes. If you can only manage a rushed ten-minute video walkthrough on move-in day, do that; a quick imperfect record beats a perfect one you never made.
Another trap is being vague. A single wide shot of a room won’t prove a specific scratch existed. Get close, and get the whole flaw in frame. Finally, don’t rely on a single device. Phones get lost and cracked, so the moment you finish, that backup step is what turns your effort into lasting protection.
How to store and share your evidence
Photos only help if you can find them later and prove when they were taken. Back everything up to cloud storage the same day, ideally in a folder labeled with the address and move-in date. That timestamped upload becomes a second layer of proof.

One popular trick is to email the full photo set to yourself and to your landlord within the first few days, with a short note like “documenting move-in condition.” That creates a dated, shared record neither side can quietly edit later. Keep the whole set until well after your deposit is returned.
Do the same thing at move-out
The day you leave, repeat the entire process after the apartment is empty and cleaned. Matching move-in and move-out photos side by side is the clearest possible way to show you left the place as you found it. It pairs well with following the move-out cleaning checklist landlords actually check so the space photographs clean.
If a dispute does come up, your organized before-and-after set is the backbone of the case, and it slots neatly into the wider strategy for getting your full security deposit back. For an overview of your rights and typical timelines, the HUD tenant rights resources are a solid starting point, though you should still confirm the specifics for your state.
Your next step
You don’t need special equipment or legal knowledge to protect yourself, just an hour and a phone. Before you unpack another box, walk every room, photograph every flaw, and back the whole set up to the cloud with today’s date. When you document your rental this carefully on day one, you give your future self the one thing that wins deposit disputes: proof. It’s the cheapest insurance policy you’ll ever buy, and it pays out in real dollars.

Luiza Ferraz writes about making rental spaces feel like home. Based in Minneapolis, Minnesota, she shares practical, damage-free upgrades, smart organization hacks, and proven ways to protect your security deposit. Her goal is to help renters create beautiful homes without ever picking up a drill.