Rental bathrooms seem designed by someone who owned exactly one toothbrush. There’s a sink, a mirror, maybe a shallow medicine cabinet, and nowhere to put the towels, the hair dryer, the cleaning supplies, or the second person’s things. And the walls? You’d love to add a shelf, but you can already picture your landlord’s face when they spot the anchor holes.
You don’t have to choose between a functional bathroom and your deposit. There’s a whole category of no-drill bathroom storage that mounts with tension, adhesion, or gravity alone, and comes off without a trace. This guide covers the solutions that add real space and won’t anger your landlord, organized by where they go.
Why no-drill bathroom storage is the renter’s best friend
Drilling into bathroom tile or drywall is exactly the kind of alteration that costs deposits, and cracked tile can cost far more than a shelf ever saved you. Most leases also flag holes in tile as tenant damage rather than normal wear. No-drill options sidestep that risk entirely while still giving you the storage you need.
They’re also portable. Every piece here can move with you to the next rental, which makes them a genuine investment rather than a sunk cost. When done well, no-drill bathroom storage looks just as intentional as anything screwed to the wall.
Before you buy anything, spend ten minutes taking stock of what you actually store. Group your bathroom items into daily, weekly, and rarely used, then match each group to a zone: daily items at eye level and within reach, weekly items a little lower or higher, and rarely used backups tucked away. Shopping with that map in hand stops you from buying pretty containers that don’t fit your real routine.
Storage inside the shower
The shower is where clutter piles up fastest, and it’s also where wall-mounting is riskiest because a cracked tile is one of the most expensive things a renter can be charged for. Fortunately it’s the easiest zone to solve without tools.
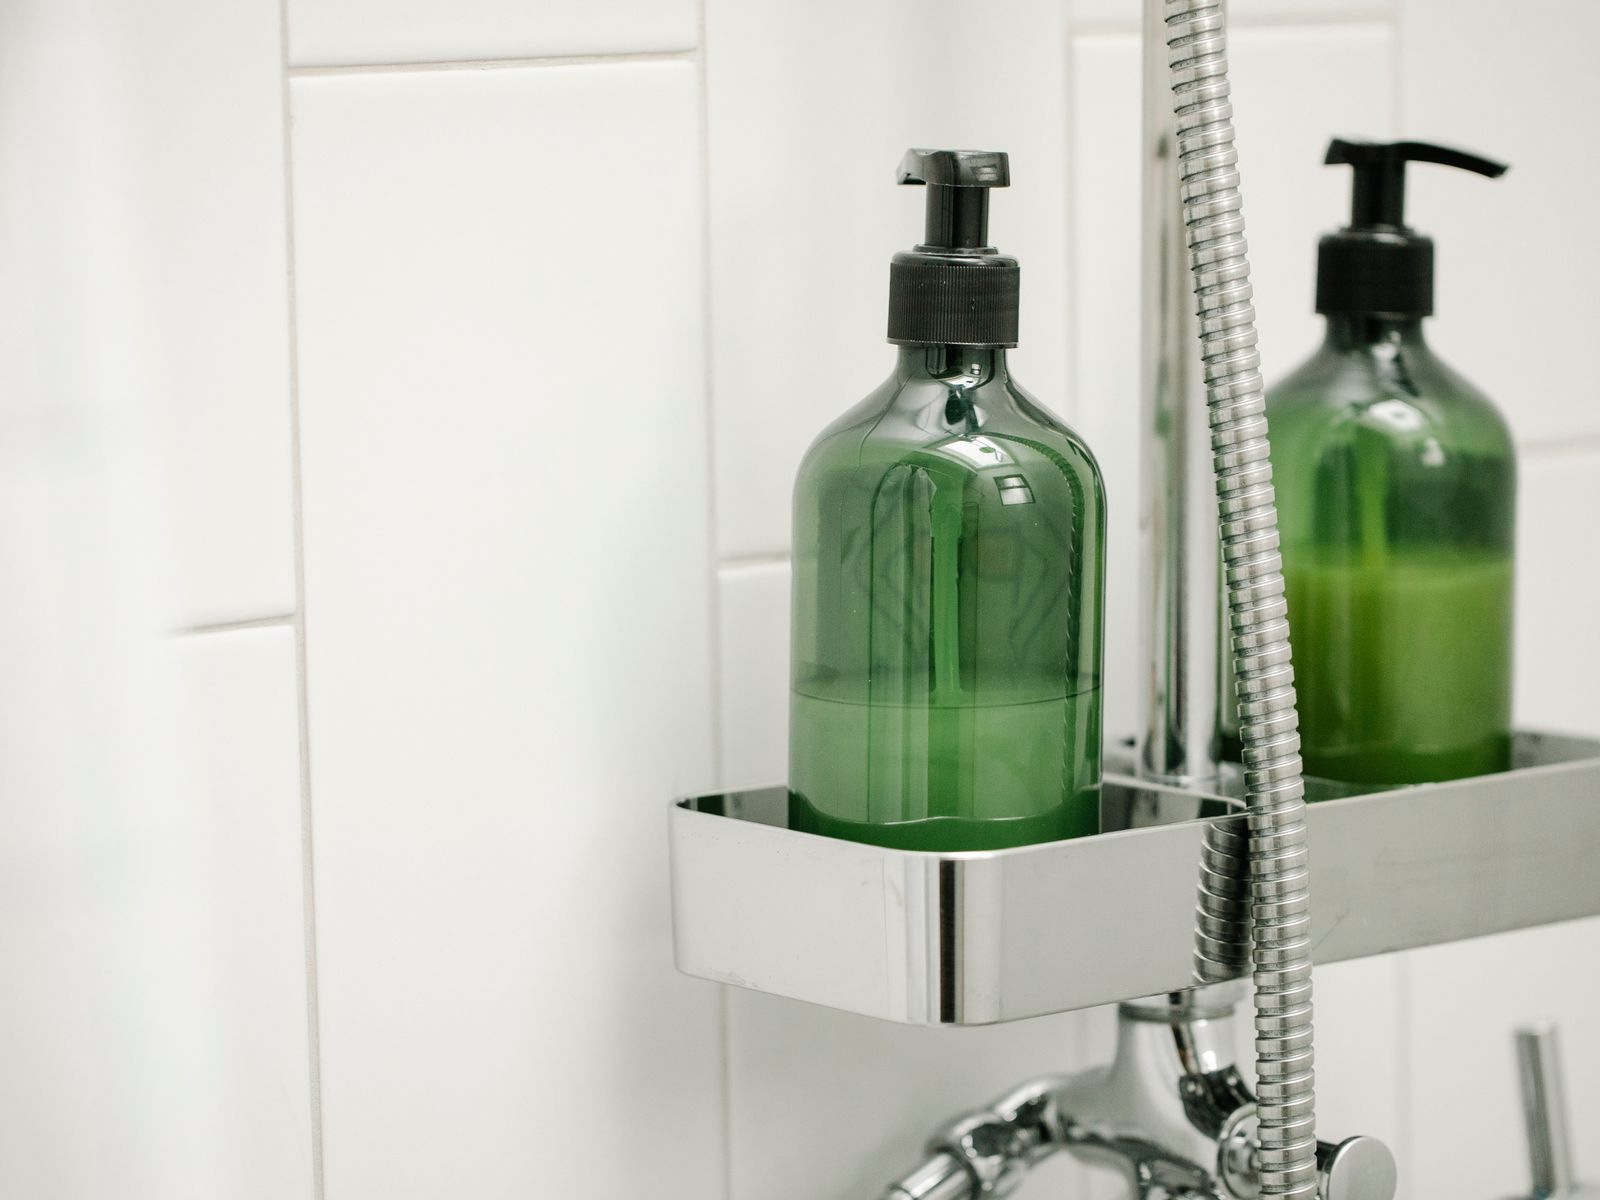
A tension-pole shower caddy wedges between the tub floor and the ceiling, giving you several shelves in the corner with zero wall contact. An over-the-showerhead caddy simply hangs where the plumbing already is. For a sleeker look, adhesive-mounted shelves rated for wet areas stick to the tile and peel off cleanly later.
If you share the shower, look for a tension caddy with adjustable shelves so each person gets a level. A hanging mesh bag or a simple suction basket handles kids’ bath toys or a razor, and both drain and dry between uses. The goal is to get bottles up off the tub ledge, where they collect grime and are the number-one cause of that slippery pink film in rental showers.
Keep water in mind
Choose rustproof materials like coated wire, aluminum, or plastic for anything in the shower. Let adhesive mounts cure fully, often 24 hours, before you load them, and keep weight low so a slip doesn’t pull the mount off the wall. Skip anything with untreated metal or fabric, which will rust or grow mildew within weeks in a steamy rental bathroom.
Storage around the sink and counter
The area around the sink is prime real estate, and a few freestanding pieces multiply it instantly. None of them require a single hole, and most cost less than fifteen dollars.
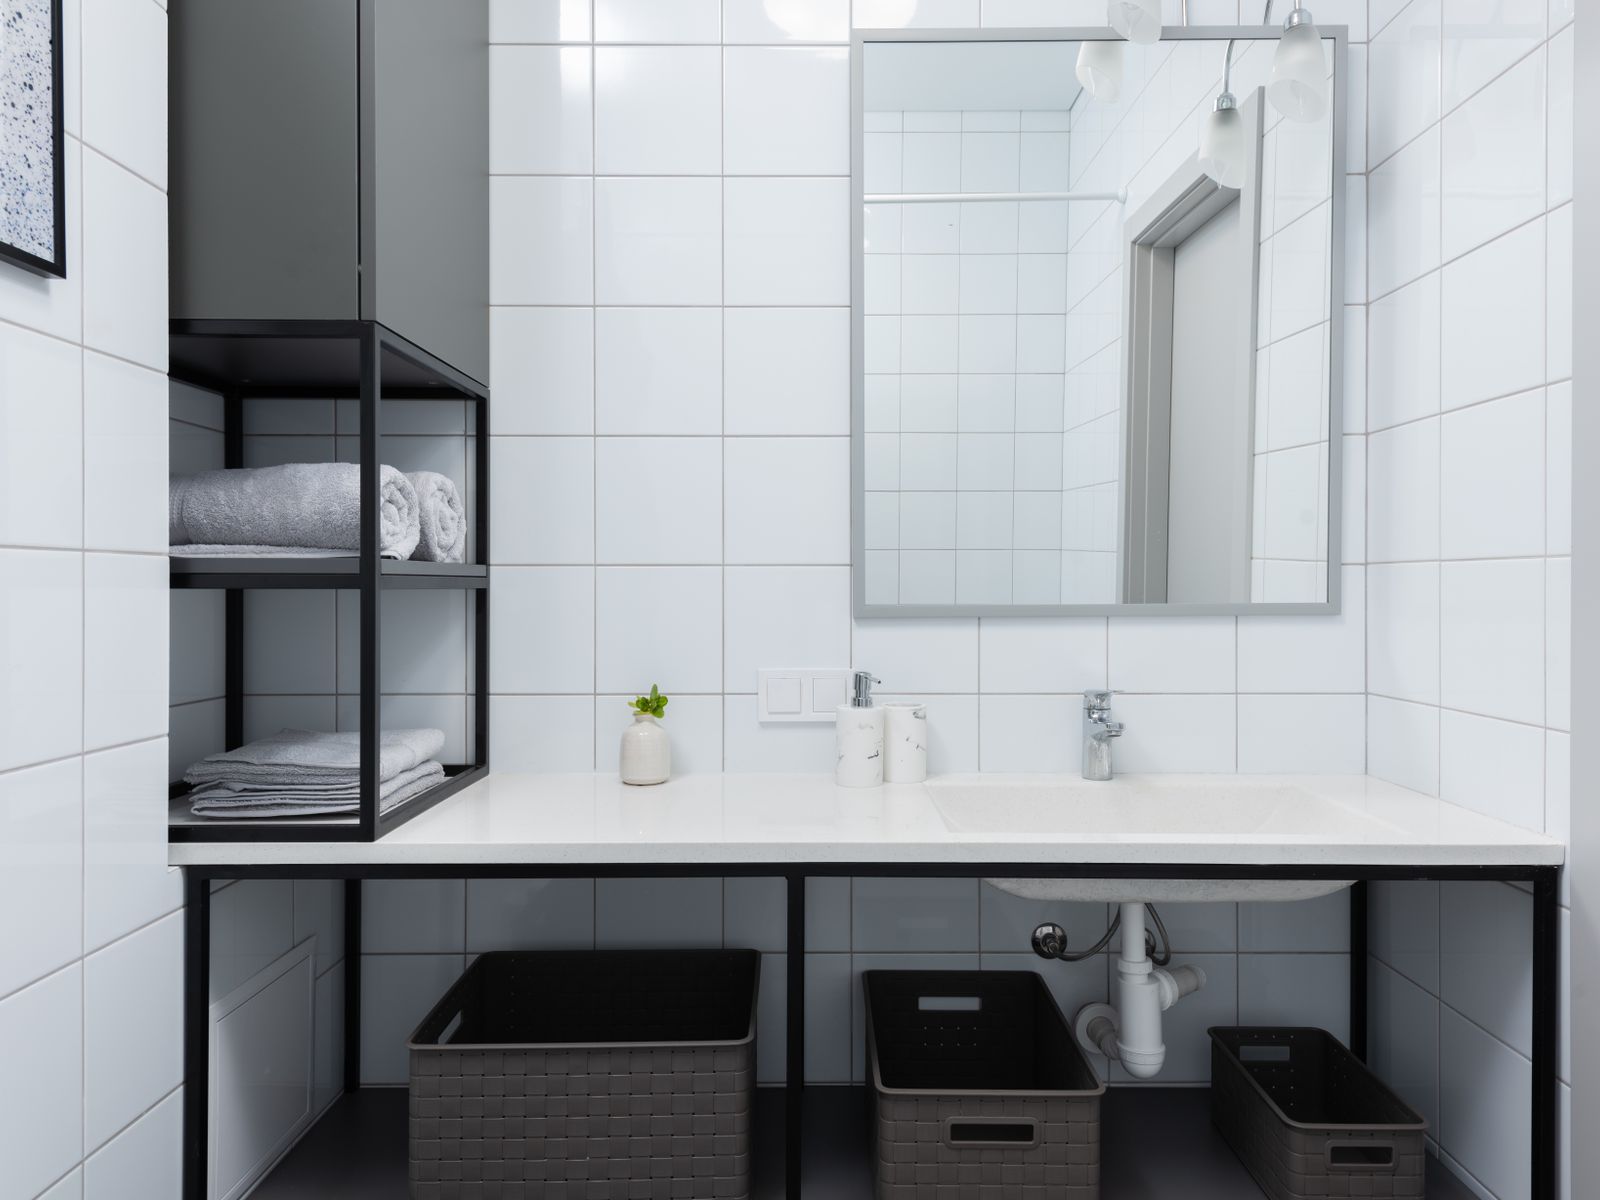
- Countertop organizers: a small tiered tray or a caddy corrals daily items and frees up flat space.
- Under-sink shelving: an expandable shelf that straddles the pipe doubles the cabinet’s capacity.
- Freestanding mirror cabinet: a mirror with hidden storage sits on the counter and hides clutter.
- Adhesive wall cups: small stick-on holders keep toothbrushes and razors off the counter.
If the cabinet beneath your sink is a disaster, it deserves its own dedicated fix, which we cover step by step in our guide to organizing under the sink in a rental bathroom. That hidden cabinet is often the single biggest pocket of unused bathroom storage in the whole apartment.
Vertical and behind-the-door storage
When the floor and counter are full, go up and go behind. The back of the bathroom door and the empty wall above the toilet are the two most wasted surfaces in the room, and both can be put to work without a single screw. In a tiny rental, this vertical space is often the difference between a cramped bathroom and a comfortable one.
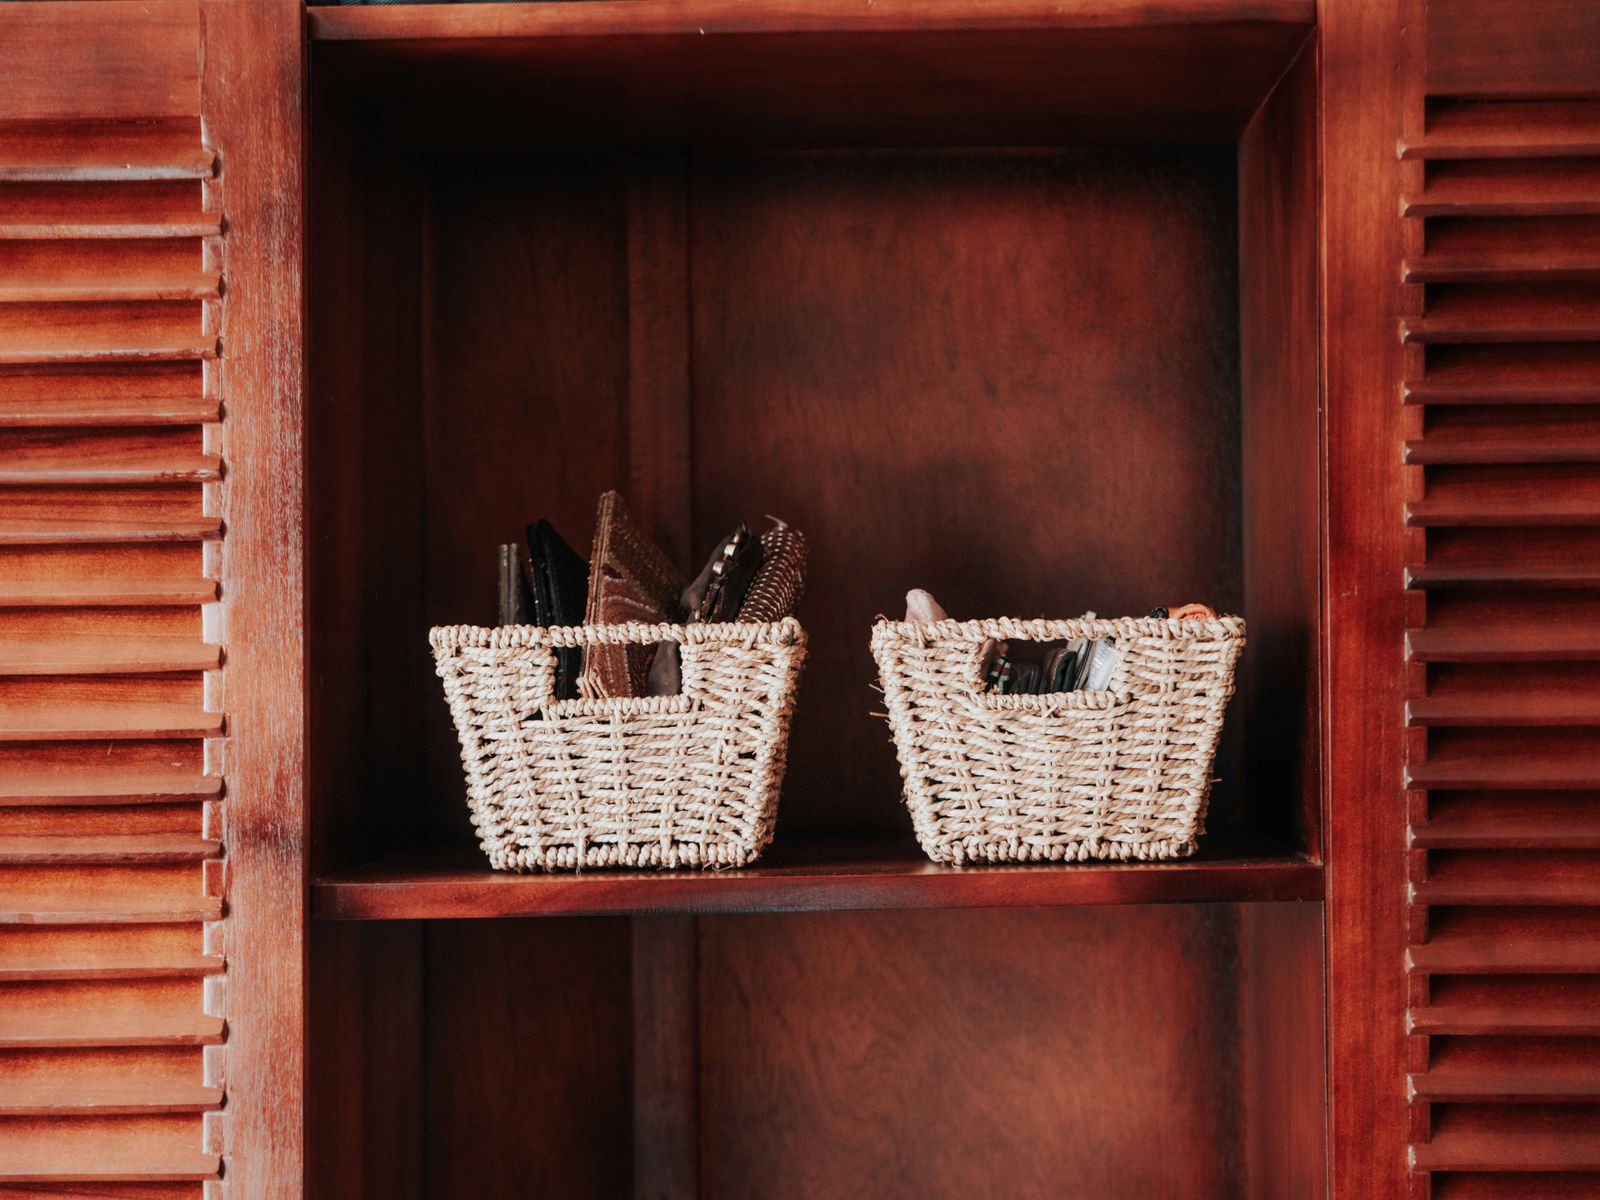
An over-the-door rack hangs from the top edge and holds towels, robes, or a multi-pocket organizer, all without a screw. A freestanding over-the-toilet shelving unit straddles the tank to reclaim vertical space, often adding three shelves in a footprint you weren’t using at all. Baskets and bins on those shelves keep everything grouped and tidy while hiding the visual clutter of mismatched packaging. For more ways to build height without touching the walls, our guide to installing shelves without drilling goes deeper on the freestanding and tension approaches.
Adhesive hooks are the unsung heroes of vertical bathroom storage. A row of removable hooks on the back of the door holds towels, robes, and a hanging caddy, while a single well-placed hook near the shower keeps a loofah or squeegee off the floor. Because they’re rated by weight, just check the limit and you can add a surprising amount of hanging storage for a couple of dollars.
Choosing pieces that won’t damage anything
The golden rule of no-drill bathroom storage is to match the mount to the surface. Adhesive hooks and shelves love smooth tile and painted drywall but struggle on textured or freshly painted walls. Tension and freestanding pieces work anywhere and carry zero risk, so if you’re unsure about your walls, start there.
Pay attention to finishes as well as function. Choosing one metal tone, such as matte black or brushed nickel, and repeating it across your caddy, hooks, and shelf brackets makes a collection of budget pieces look coordinated and deliberate. A rental bathroom reads as cheap when everything clashes, and as thoughtful when a few colors repeat, so a little consistency goes a long way for no extra money.
The tension-rod principle is so versatile it deserves its own read; our roundup of clever tension-rod uses shows how one cheap rod becomes a shelf, a divider, or a hanging bar. Whatever you pick, respect the weight limit and give adhesives time to cure.
Keeping your landlord (and deposit) happy
Remove adhesive mounts slowly and straight, warming them with a hair dryer if needed so they release without lifting paint or tile glaze. Keep any hardware you removed to make room, and photograph the bathroom before and after so you can prove its condition. A little dental floss slid behind a stubborn adhesive strip pops it off cleanly without scraping.
Remember that what counts as damage versus normal wear and tear varies by state, city, and your lease, so read your lease and check local tenant resources such as the USA.gov renting guide before mounting anything. When unsure, default to freestanding pieces, which are essentially impossible to get charged for.
One last tip: give damp items a way to dry. A towel bar that hangs over the door, a hook for the bath mat, and a well-ventilated caddy all prevent the musty smell and mildew that make a rental bathroom feel neglected. Storage that keeps things dry is storage that keeps your deposit intact.
Your next step
Measure your key spaces first, jot the numbers on your phone, and shop from that list rather than by impulse. Then pick your single biggest pain point, probably the shower or the under-sink chaos, and solve just that one this week with a tension caddy or an expandable shelf. Momentum builds fast once you see how much calmer the room feels. Piece by piece, no-drill bathroom storage turns a cramped, cluttered rental bathroom into one that works, all without a single hole to explain at move-out.

Luiza Ferraz writes about making rental spaces feel like home. Based in Minneapolis, Minnesota, she shares practical, damage-free upgrades, smart organization hacks, and proven ways to protect your security deposit. Her goal is to help renters create beautiful homes without ever picking up a drill.