My first Minneapolis apartment had exactly one closet, and it was in the bedroom, three rooms away from the kitchen. There was no pantry, no linen cupboard, no coat closet by the door. When my boxes arrived, I stood in the middle of the living room holding a stack of pots with genuinely no idea where they were supposed to live.
If you are staring down a rental with zero storage, you are not doomed to clutter. You just have to think differently. The trick is to treat every vertical surface, empty gap, and piece of furniture as potential storage, all while keeping everything reversible so your deposit stays safe.
Why zero storage is a design problem, not a you problem
Older rentals and studios were often built when people simply owned less. A closet-free layout is not a reflection of your organizing skills. It is a floor plan that never accounted for a modern amount of stuff.
Once you reframe it that way, the solution becomes obvious. You are not failing to fit into the apartment; you are adding the storage the apartment forgot to include. And because you rent, every addition needs to come back out cleanly when you leave.
Before you buy anything, spend twenty minutes walking through each room and noting the dead space: the area above door frames, the gap beside the fridge, the empty wall behind a door, the hollow underneath the bed. That inventory becomes your shopping list.
Renters facing zero storage often make one of two mistakes: they either cram everything into the one closet they have, or they give up and let clutter spread across every surface. A better path sits in the middle, spreading storage thoughtfully across the whole apartment so no single spot gets overwhelmed.
Go vertical: walls and doors are free real estate
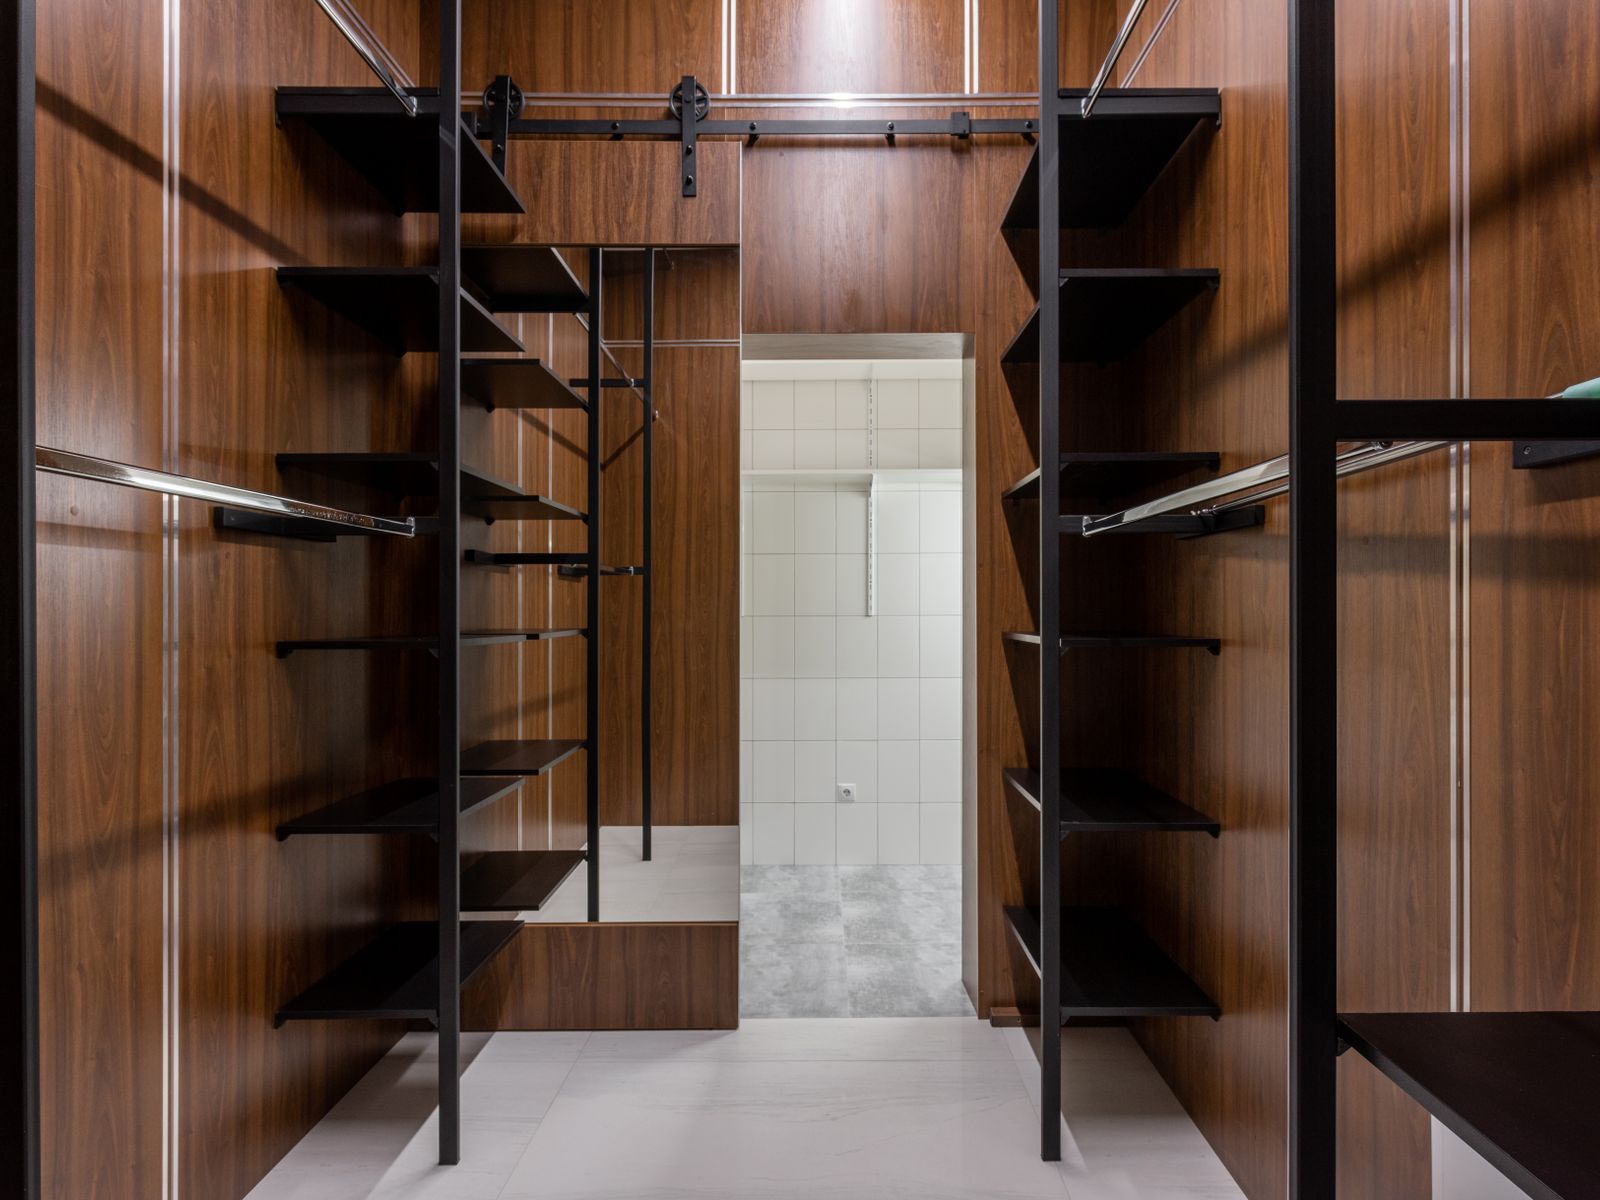
When you have zero storage on the floor, look up. Wall and door space is the single biggest opportunity in a small rental, and most of it can be used without a single hole.
Tension rods are the unsung hero here. A rod wedged inside a cabinet, across a window recess, or between two walls of an alcove instantly creates a place to hang, stack, or clip things. Expect to pay roughly $8 to $18 per rod, and they install in under a minute.
No-drill shelving options
Adhesive-backed floating shelves rated for light loads (usually 5 to 15 pounds) can hold books, spices, or bathroom bottles. Freestanding leaning ladder shelves lean against the wall and hold surprising amounts without any hardware, typically running $40 to $90.
Over-the-door racks hook over a standard 1.5-inch door and add five or six shelves for shoes, pantry cans, or cleaning supplies for about $15 to $30. They are the closest thing to conjuring a pantry out of thin air. If you want a permanent-looking wall of shelves, our guide to installing shelves without drilling walks through the reversible options in detail.
Make the most of cabinet interiors
The insides of your existing cabinets are storage you already pay for but rarely use fully. Stick-on wire baskets mount to the inside of a cabinet door to hold foil, wraps, or hair tools. A single extra shelf riser can double the usable height of a deep shelf for about $10 to $20.
Under-shelf baskets that slide onto an existing shelf create a second hidden layer for mugs or small linens. None of these touch the walls, so they leave zero trace when you move out.
Buy furniture that does two jobs
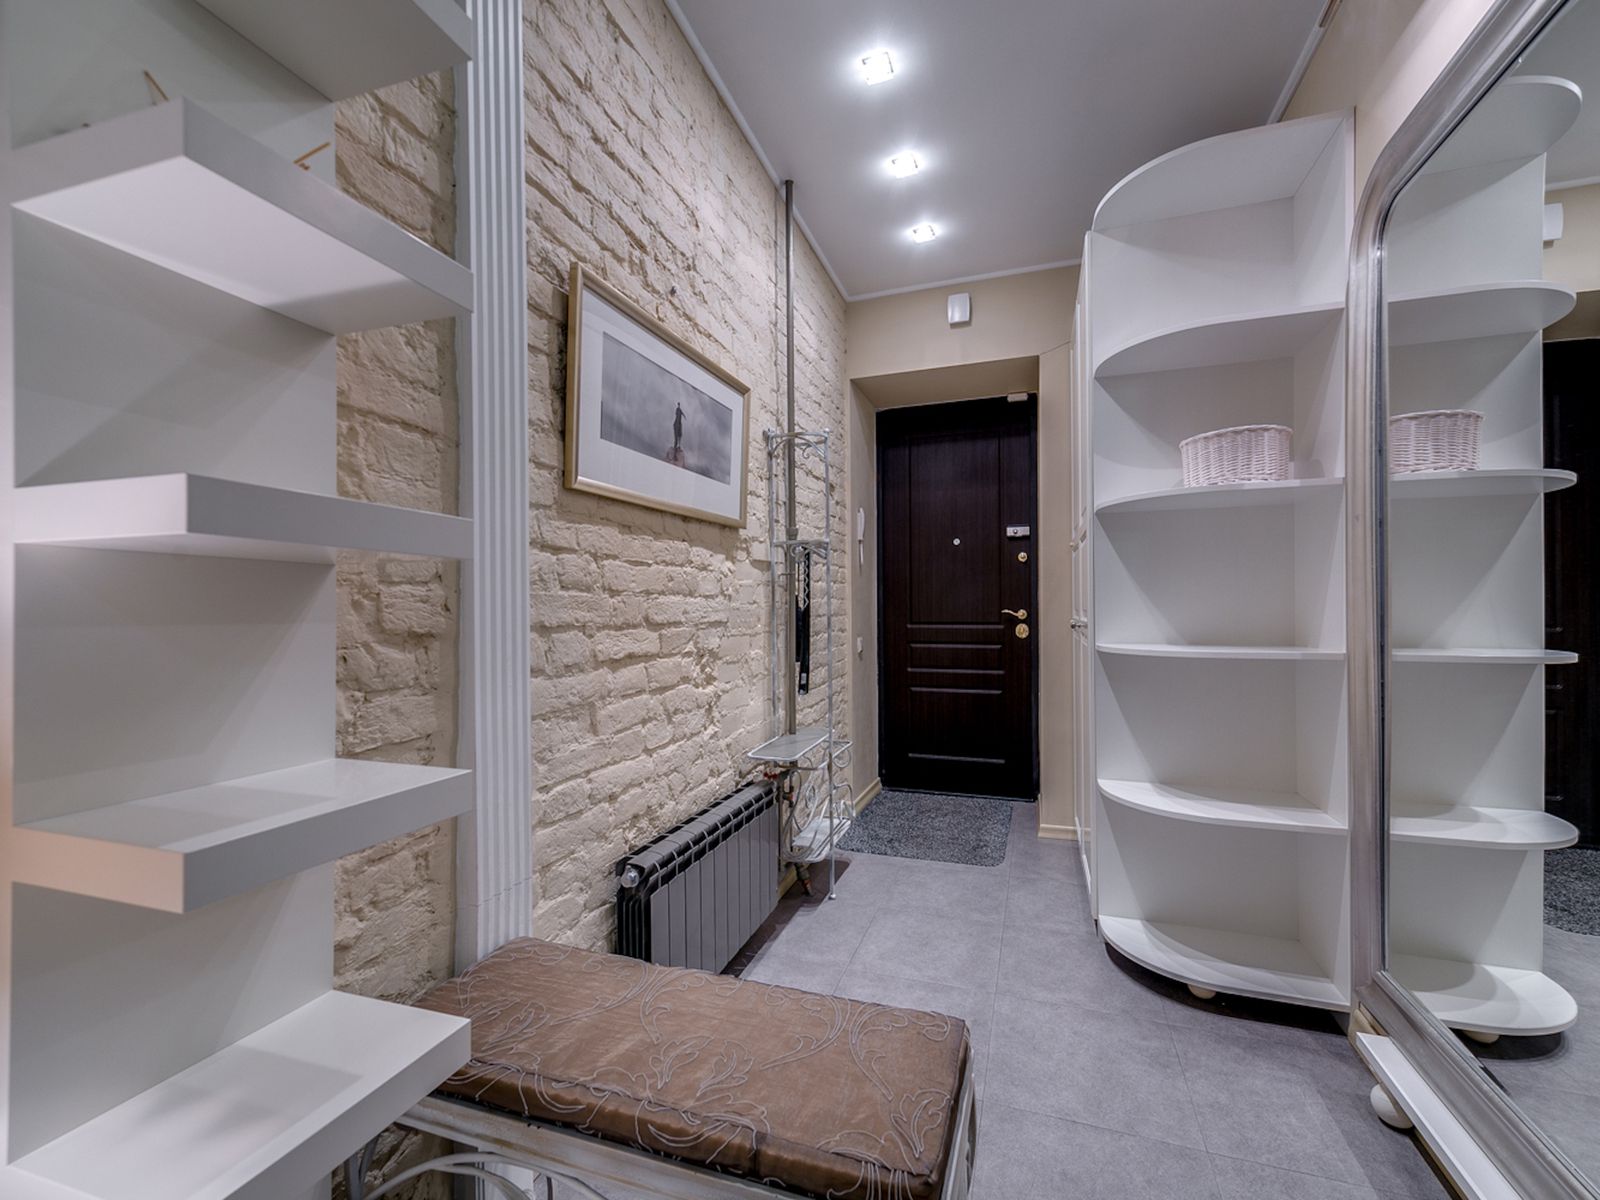
In a zero-storage rental, every piece of furniture should earn its footprint twice. A storage ottoman is a footrest, a seat, and a hidden bin for blankets. A bed frame with built-in drawers or enough clearance for under-bed bins can swallow an entire wardrobe of off-season clothes.
Think about the entryway too. A slim bench with cubbies underneath handles shoes and bags while giving you a place to sit and lace up. These pieces cost more upfront (a good storage ottoman runs $60 to $150), but they replace the closets your apartment never had.
Here is a quick priority list when budget is tight and space is tighter:
- Storage ottoman or bench — hides blankets, games, or shoes and adds seating’,
- Bed risers plus under-bed bins — turns wasted floor clearance into a dresser’,
- Rolling cart — moves between kitchen, bathroom, and desk as needed’,
- Nightstand with a drawer and shelf instead of a bare table’,
- Console table with baskets underneath for the entryway or behind a sofa.
If you rent a place with a tiny kitchen, many of these same principles apply there too; our small rental kitchen organization guide covers cart and cabinet tricks in more depth.
Measure before you buy, too. In a zero-storage rental, an inch matters, and a cart or shelf that is two inches too wide for the gap beside your fridge becomes clutter instead of a solution. Jot down the key dimensions on your phone before any shopping trip.
Contain the small stuff with baskets and bins
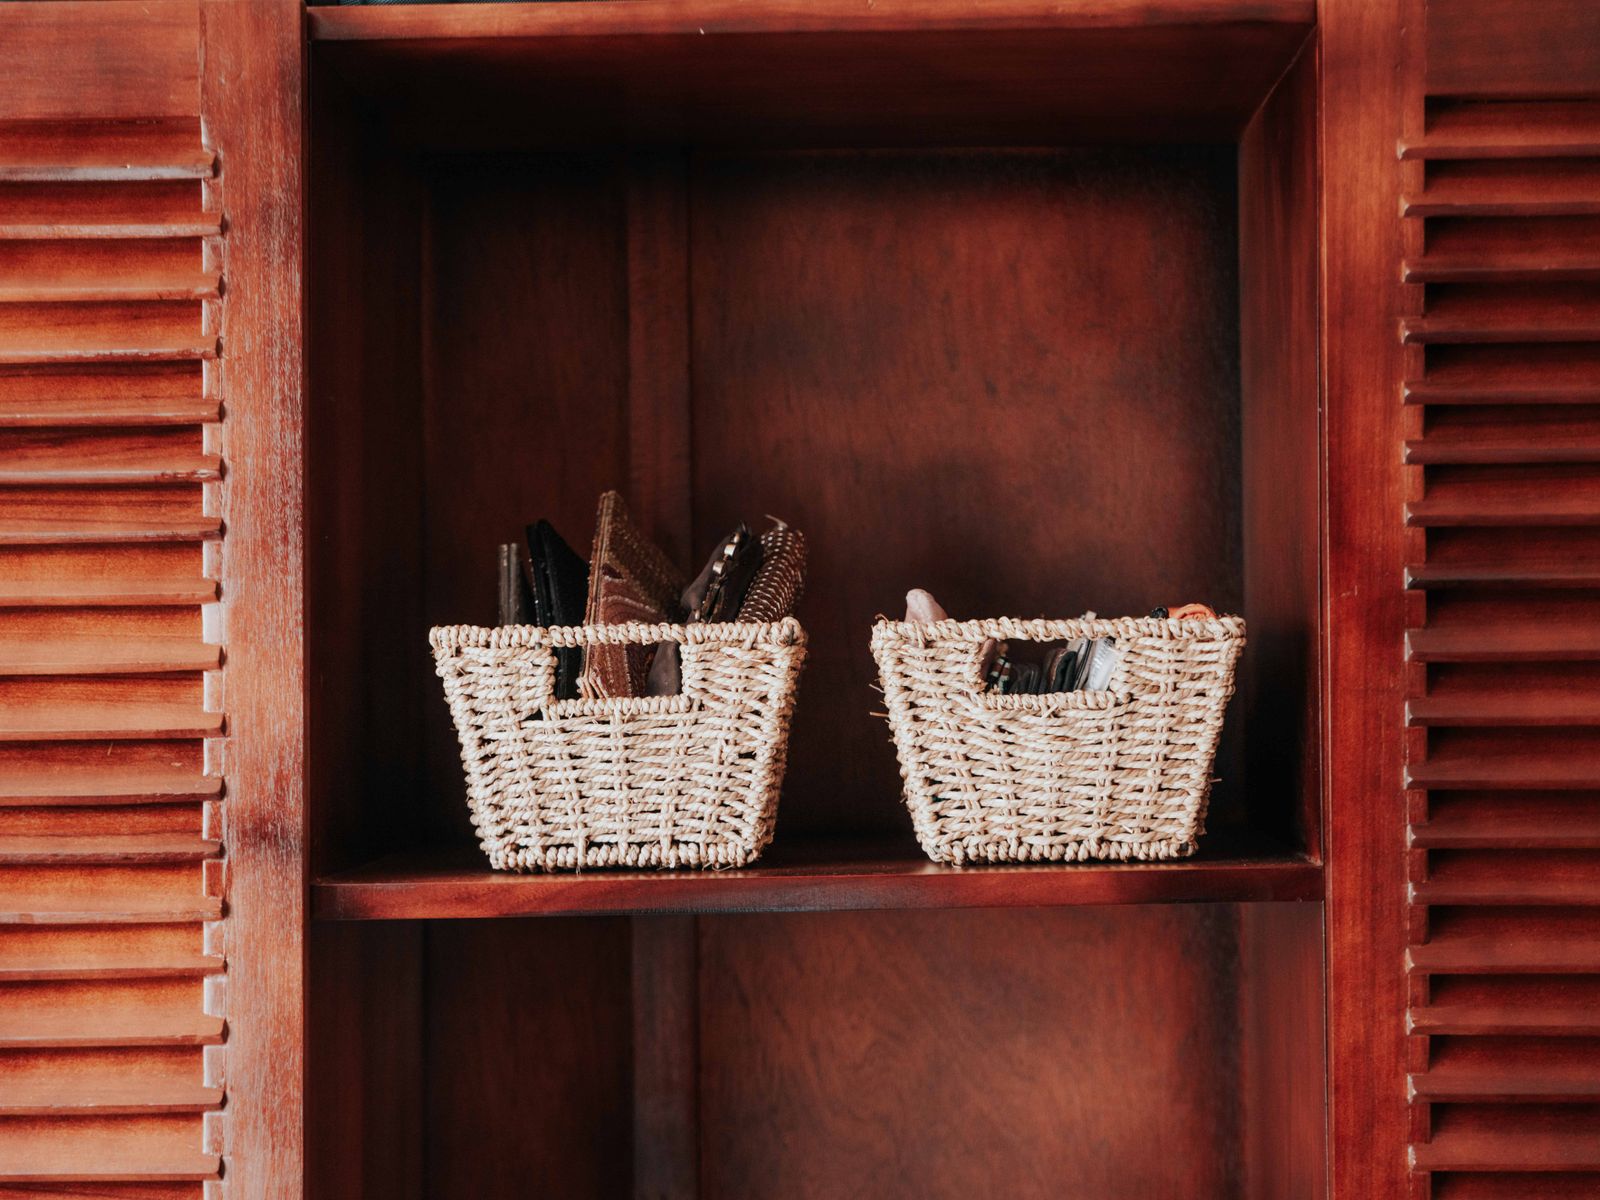
Once you have created surfaces and hidden compartments, the small things still need corralling. Open shelving looks cluttered fast, so baskets and bins do the heavy lifting of hiding visual noise.
Group items by zone rather than by type. A basket for “everything I grab on my way out” beats separate homes for keys, sunglasses, and gloves. Woven baskets, fabric cubes, and clear labeled bins all work; clear ones win in deep cabinets where you cannot see the back.
For the bathroom, a caddy or tiered organizer under the sink turns a chaotic cabinet into usable rows. If that is your trouble spot, we have a full walkthrough on how to organize under the sink in a rental bathroom.
Edit ruthlessly before you organize
No amount of clever storage fixes a zero-storage rental if you own more than the space can reasonably hold. The cheapest storage upgrade is owning less, and it costs nothing but an afternoon.
Work one category at a time. Pull every mug, every towel, every pair of shoes into one pile so you can see the true volume. Keep what you use, donate the duplicates, and be honest about the “someday” items that have not moved in a year.
A useful rule for renters who move often: if an item would not be worth boxing and hauling to the next apartment, it probably is not worth the storage space here either.
If parting with things feels hard, try a “maybe box.” Put the uncertain items in a labeled bin, tuck it under the bed, and note the date. If you have not reached for anything in it after three months, you have your answer without the pressure of deciding on the spot.
Keep it all deposit-safe
Everything in a zero-storage strategy should be reversible. Favor tension-mounted, adhesive, and freestanding solutions over anything screwed or nailed into walls. When you do use adhesive hooks or strips, remove them slowly and follow the manufacturer’s directions to avoid pulling paint.
Keep in mind that what counts as normal wear and tear versus tenant damage varies by state, city, and the exact wording of your lease. Before you drill even a small hole or make any semi-permanent change, check your lease and review your local tenant resources so you know where you stand.
The U.S. government’s housing and rental help resources are a good starting point for finding your state’s tenant protections and security-deposit rules.
Putting it together
Tackling a rental with zero storage is really a sequence: pare down what you own, claim the vertical and door space, choose furniture that hides things, and contain the rest in baskets. None of it requires permission from your landlord, and all of it comes with you when you move.
Start with just one zone this weekend, maybe the entryway or the space under your bed. Once you see how much a rental with zero storage can actually hold, the rest of the apartment stops feeling so impossible.

Luiza Ferraz writes about making rental spaces feel like home. Based in Minneapolis, Minnesota, she shares practical, damage-free upgrades, smart organization hacks, and proven ways to protect your security deposit. Her goal is to help renters create beautiful homes without ever picking up a drill.